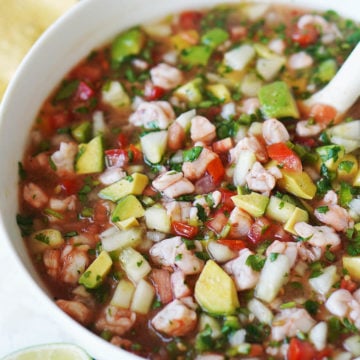
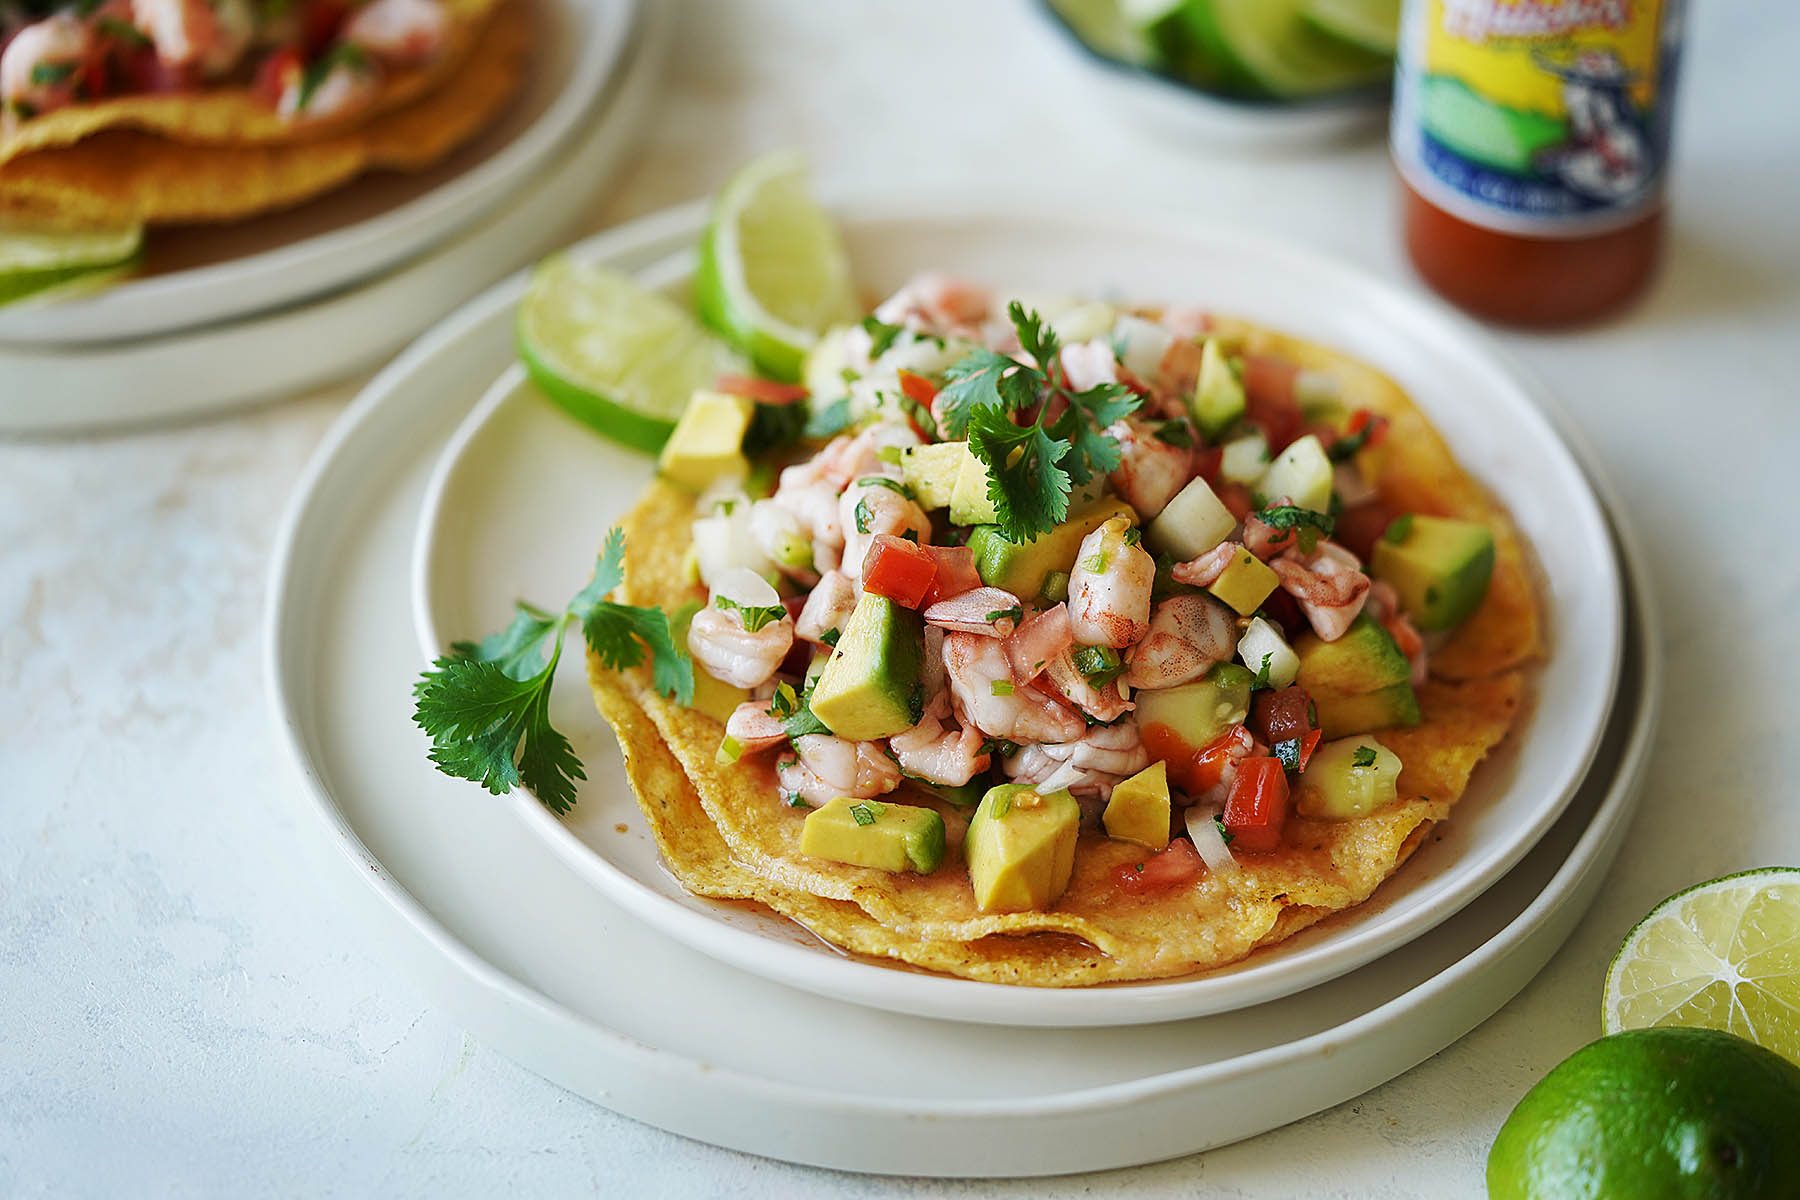
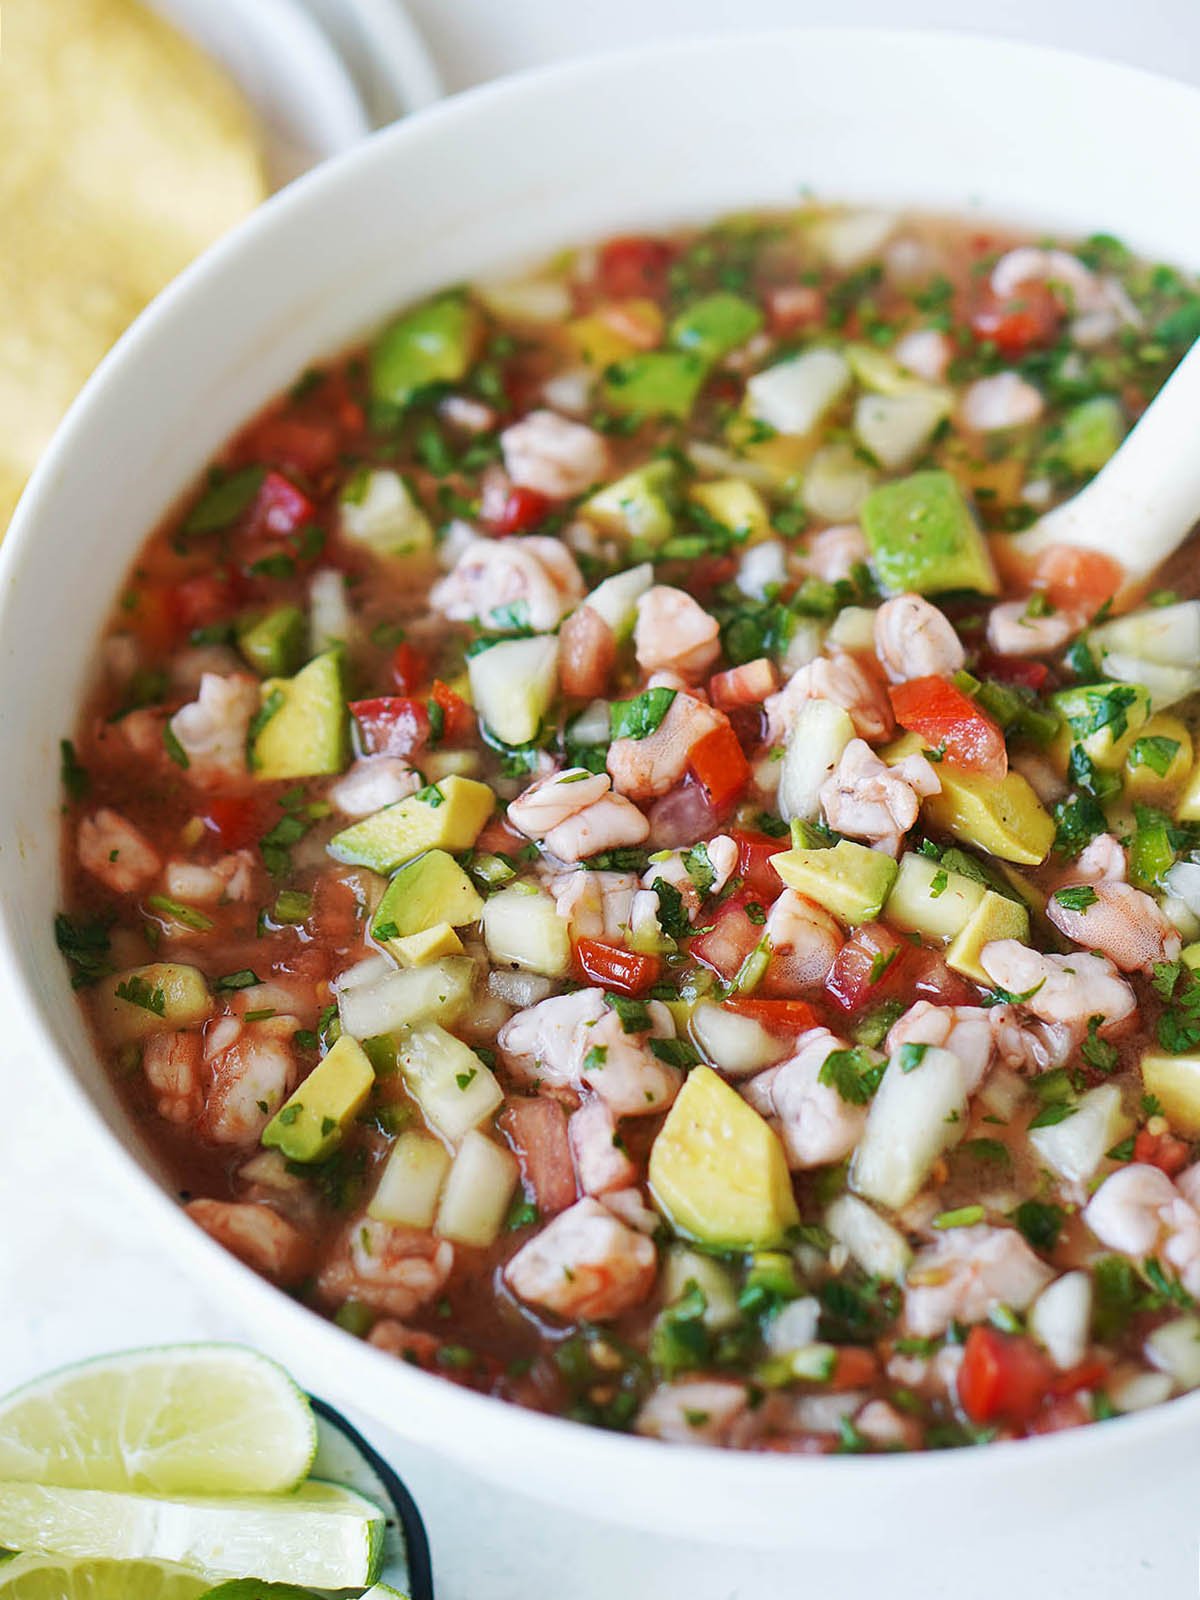
Ceviche De Camaron is one of the ultimate healthy Mexican dishes. It doesn’t get any better than this: fresh seafood and lots of “good for you” vegetables. Serve it as an appetizer or a light meal with tortilla chips, tostadas, or saltines.
Hello, everyone! I’d like to share with you a family recipe for Shrimp Ceviche Sonora Style. I have no doubt you’ll love it!.
It’s so different from place to place and even country to country that I had to call it Sonora Style (because I was born in Mexico in Sonora). As you know, ceviche is made throughout latin America and is now popular all over the world.
Ceviche is a refreshing citrus-marinated seafood dish that originates from Latin American coastal regions. The lime juice not only infuses loads of flavor but also causes the proteins in the seafood to denature taking on a cooked texture without heat. This chemical reaction between the citric acid and proteins is what makes ceviche possible to prepare without any cooking.
Shrimp ceviche is especially popular in Mexico The succulent shrimp soaked in tangy lime juice and tossed with fresh veggies makes for a bright, zesty appetizer or light meal I’ll walk you through how to make the best Mexican shrimp ceviche from scratch right at home. It’s surprisingly easy with just a few key tips!
Overview of Shrimp Ceviche
Ceviche goes by many names across Latin America including cebiche, seviche, or sebiche. But the basic premise remains the same – raw seafood “cooked” by an acidic marinade, usually citrus juice.
While fish and scallop ceviches exist, shrimp ceviche reigns supreme in Mexico. Juicy shrimp marinated in lime juice along with tomatoes, onions chilies, cucumbers and cilantro. It’s served as a tostada topping, with tortilla chips, or enjoyed straight up in a bowl with a squeeze of lime.
The exact ceviche recipe varies across different regions of Mexico. The Sonora-style tends to be on the milder side while ceviches along the coastal states can be quite fiery with habanero chiles.
No matter what the preparation, shrimp ceviche captures the bright, fresh flavors of Mexican cuisine. It takes just 20 minutes active time to prepare too!
Why Make Shrimp Ceviche?
Here are some of my favorite things about whipping up a batch of Mexican shrimp ceviche:
-
It’s healthy: Shrimp ceviche is light, fresh, and nutritious without being loaded down with calories. You get a good hit of lean protein from the shrimp.
-
It’s customizable: Tailor the ceviche to your taste preferences by playing with the amount of heat or sweetness. Switch up the veggies too.
-
It’s easy: As long as you have a good lime juice marinade, the ceviche comes together with just chopping and mixing.
-
It’s versatile: Enjoy ceviche as an appetizer, light meal, taco topping, dip, or stuff it into avocados.
-
It’s impressive: Your guests will be amazed that such a fresh tasting, “cooked” dish required no cooking at all!
Step-By-Step Guide to Prepare Shrimp Ceviche
As promised, I’ll walk you through exactly how to make authentic Mexican-style shrimp ceviche from start to finish:
Ingredients
- 1 lb raw shrimp, peeled, deveined and diced
- 1/2 white onion, diced
- 1 cucumber, seeded and diced
- 2 Roma tomatoes, diced
- 1 jalapeno, seeded and minced
- Juice of 6 – 8 limes
- 1 avocado, cubed
- 1/4 cup cilantro, chopped
- 1 tsp kosher salt
- Cracked black pepper
- 1 cup clamato or tomato juice
Prep the Shrimp
Rinse the shrimp under cold water and pat dry. Remove the shells and tail. Cut along the back to remove the vein. Lastly, dice the shrimp into bite-sized pieces. Place the prepped shrimp into a non-reactive bowl (glass or stainless steel).
Marinate the Shrimp
Squeeze the fresh lime juice over the shrimp until they are fully submerged. I prefer using a hand juicer for easy lime juicing. Stir to evenly coat. Cover and refrigerate for 1-2 hours until the shrimp pieces turn opaque and “cook” through. Stir occasionally to redistribute the marinade.
Prep the Veggies
While the shrimp marinates, prep the veggies. Dice the onions, cucumbers, tomatoes, and jalapeno. Chop the cilantro. Combine in a bowl and chill until ready to use.
Finish the Ceviche
Once the shrimp is opaque, drain off some of the excess lime juice. You still want it well coated though.
Add the chilled vegetables, avocado, cilantro, and season with salt and pepper. Gently fold together.
For extra flavor and to balance the acidity, stir in 1 cup of clamato or tomato juice. Taste and adjust seasoning as desired.
Chill for at least 15 minutes before serving for best flavor.
Serving Suggestions
The ceviche can be served right away but it’s even better after chilling which allows the flavors to meld.
-
Scoop into bowls and enjoy with tortilla chips, tostada shells or saltine crackers for dipping.
-
Stuff into halved avocado halves for a fun presentation.
-
Heap onto tostadas and top with cilantro and crema.
-
For shrimp ceviche tacos, serve in corn tortillas with shredded cabbage, avocado and hot sauce.
That’s all it takes to make the most irresistible shrimp ceviche packed with Mexican flair! Adjust the recipes to your tastes by adding more heat, different vegetables, or extra lime juice and seasonings.
FAQs About Making Shrimp Ceviche
Here are answers to some common questions about preparing shrimp ceviche:
How long does it take to “cook” the shrimp in lime juice?
The shrimp will turn opaque and firm up after marinating in lime juice for 1-2 hours depending on size. I recommend checking it hourly after the first hour. Drain immediately once fully opaque to prevent over-curing.
Can I use frozen shrimp?
Yes, frozen shrimp works well too! Just thaw overnight in the fridge or do a quick thaw by sealing in a bag and placing in cold water for 20-30 minutes.
Is lemon juice a good substitute for lime?
No, you really need lime juice (or a combo of lime and lemon) for preparing ceviche. Lime juice is more acidic which facilitates the curing process. Lemon juice alone won’t properly “cook” the shrimp.
Can I make ceviche in advance?
You can prep all the ingredients up to 2 days in advance but only combine everything together right before serving. The curing continues beyond the initial marinade so the texture declines with prolonged marinating.
Should ceviche be spicy?
It’s totally up to your heat preference! Ceviche ranges from mild to very spicy depending on the region. I like mine with just a bit of jalapeno heat but you can use serranos or habaneros for extra kick or eliminate chiles altogether.
Variations for Delicious Shrimp Ceviche
Here are some tasty ways to put your own spin on classic Mexican shrimp ceviche:
- Use citrus juices besides lime such as lemon, grapefruit, or orange juice
- Include tropical fruits like mango, pineapple, or jicama
- Add diced avocado or cucumber for extra creaminess
- Swap in thinly sliced radishes or julienned jicama for crunch
- Garnish with red onion, micro greens, or toasted pepitas
- Kick up the heat with a habanero, serrano, or diced jalapeno
- For mild ceviche, eliminate chile peppers completely
- Mix in corn, diced bell pepper, or cherry tomatoes
- Finish with chopped cilantro or parsley for freshness
- Use clamato or tomato juice instead of water for depth of flavor
- Substitute fish, scallops, calamari or a combination of seafoods
- Infuse citrus juice with garlic, cumin, oregano, or chile powder
- Make it more Peruvian-style by adding sweet potato or corn
- Top with Cholula or Tapatio hot sauce at the table
The possibilities are endless when making ceviche so take inspiration from different regions and let your creativity guide you! The lime-soaked shrimp makes the perfect canvas to build endless bright, refreshing flavors on top of.
Tips for the Best Shrimp Ceviche
Here are some key tips to ensure your homemade Mexican shrimp ceviche is amazing every time:
- Use ultra fresh shrimp for the best flavor and texture
- Quickly rinse off shrimp instead of soaking to prevent water-logging
- Cut shrimp into small, uniform pieces so it cures evenly
- Generously coat shrimp with fresh-squeezed lime juice
- Marinate just until opaque, not longer to prevent toughness
- Chill completely before serving for flavors to meld
- Fold in any avocado or soft veggies at the end to prevent oxidation
- Let citrus-cured seafood mixtures rest at least 15 minutes for best results
- Store leftovers in an airtight container for up to 2 days max
With a few simple tricks and quality
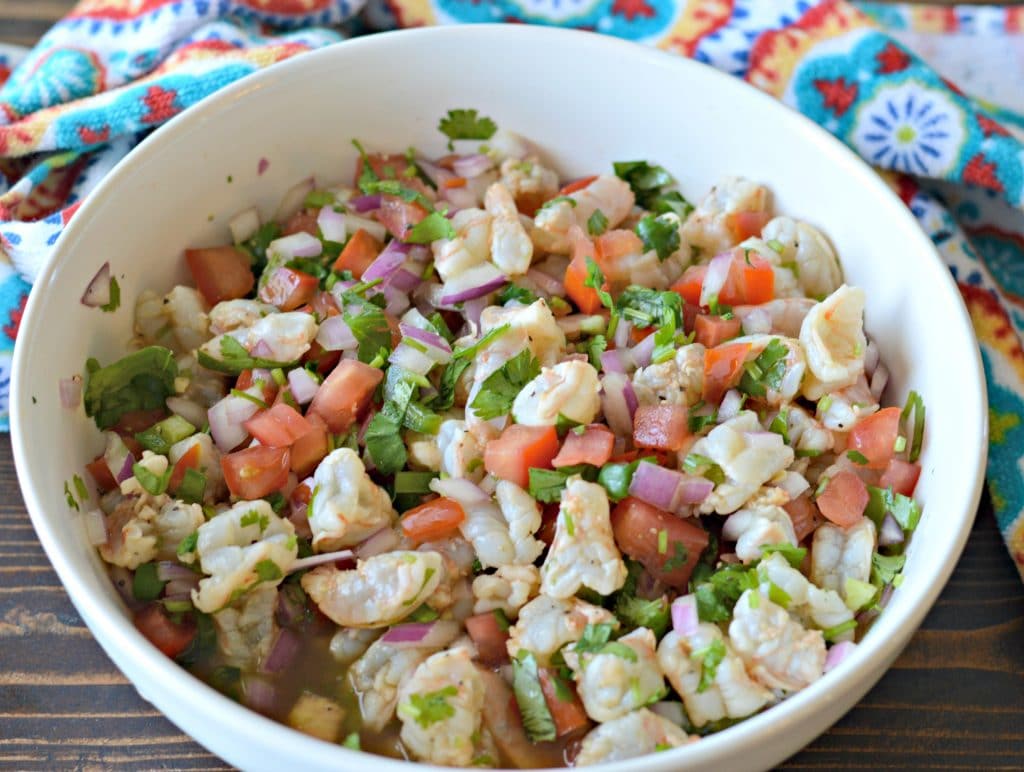
How to thaw frozen shrimp:
Thawing frozen shrimp is a breeze! Here are two simple methods:
- In the fridge: Moving frozen shrimp from the freezer to the fridge is the best way to thaw them if you have time. Put the shrimp in a bowl or on a plate and let them slowly thaw overnight, or for 12 to 24 hours. This slow process of thawing helps keep the shrimp’s quality and texture.
- If you need to thaw shrimp quickly and don’t have much time, just put the frozen shrimp in a plastic bag and put it in cold water. Make sure the bag is closed tightly so water doesn’t get inside. Every 5 to 10 minutes, change the water to keep it cold. Under this method, it takes 20 to 30 minutes at most to thaw a pound (450 grams) of shrimp.
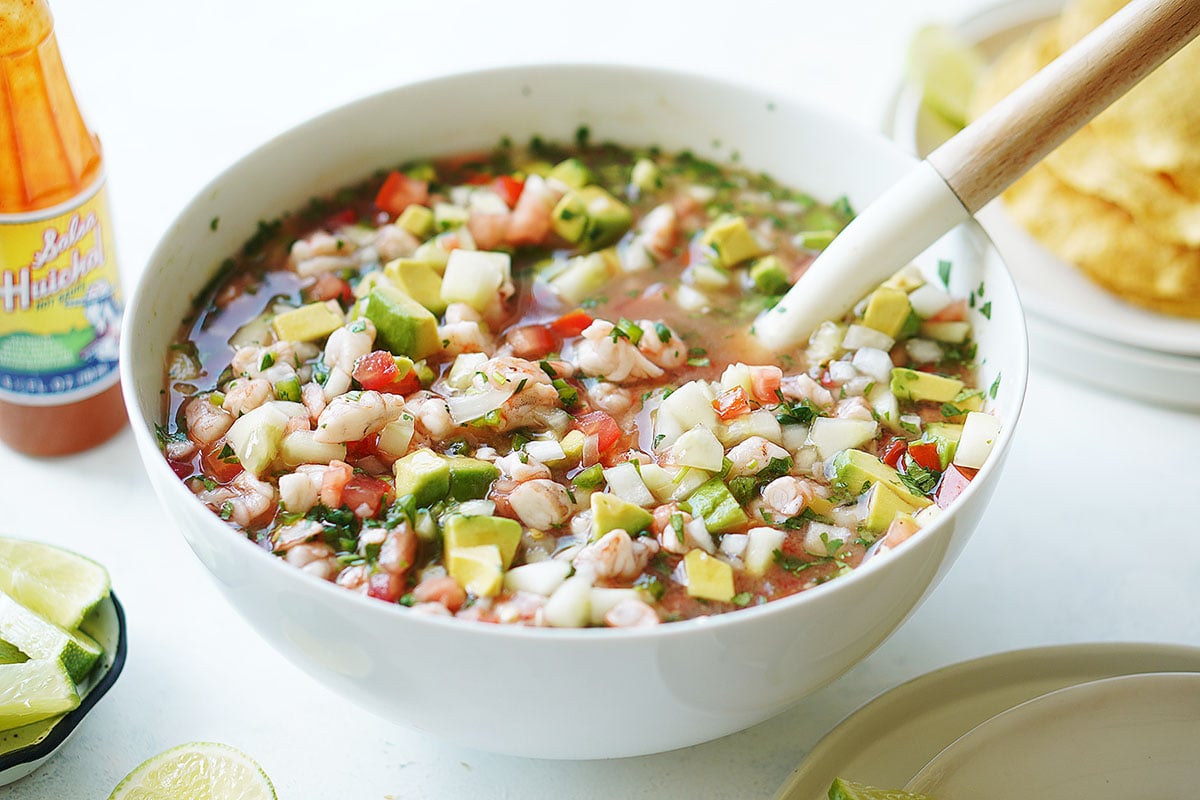

How To Make Ceviche De Camaron
- Cut shrimp into very small pieces and put them in a glass or plastic jar. Metal shouldn’t be used because the acid from the lime doesn’t work well with it.
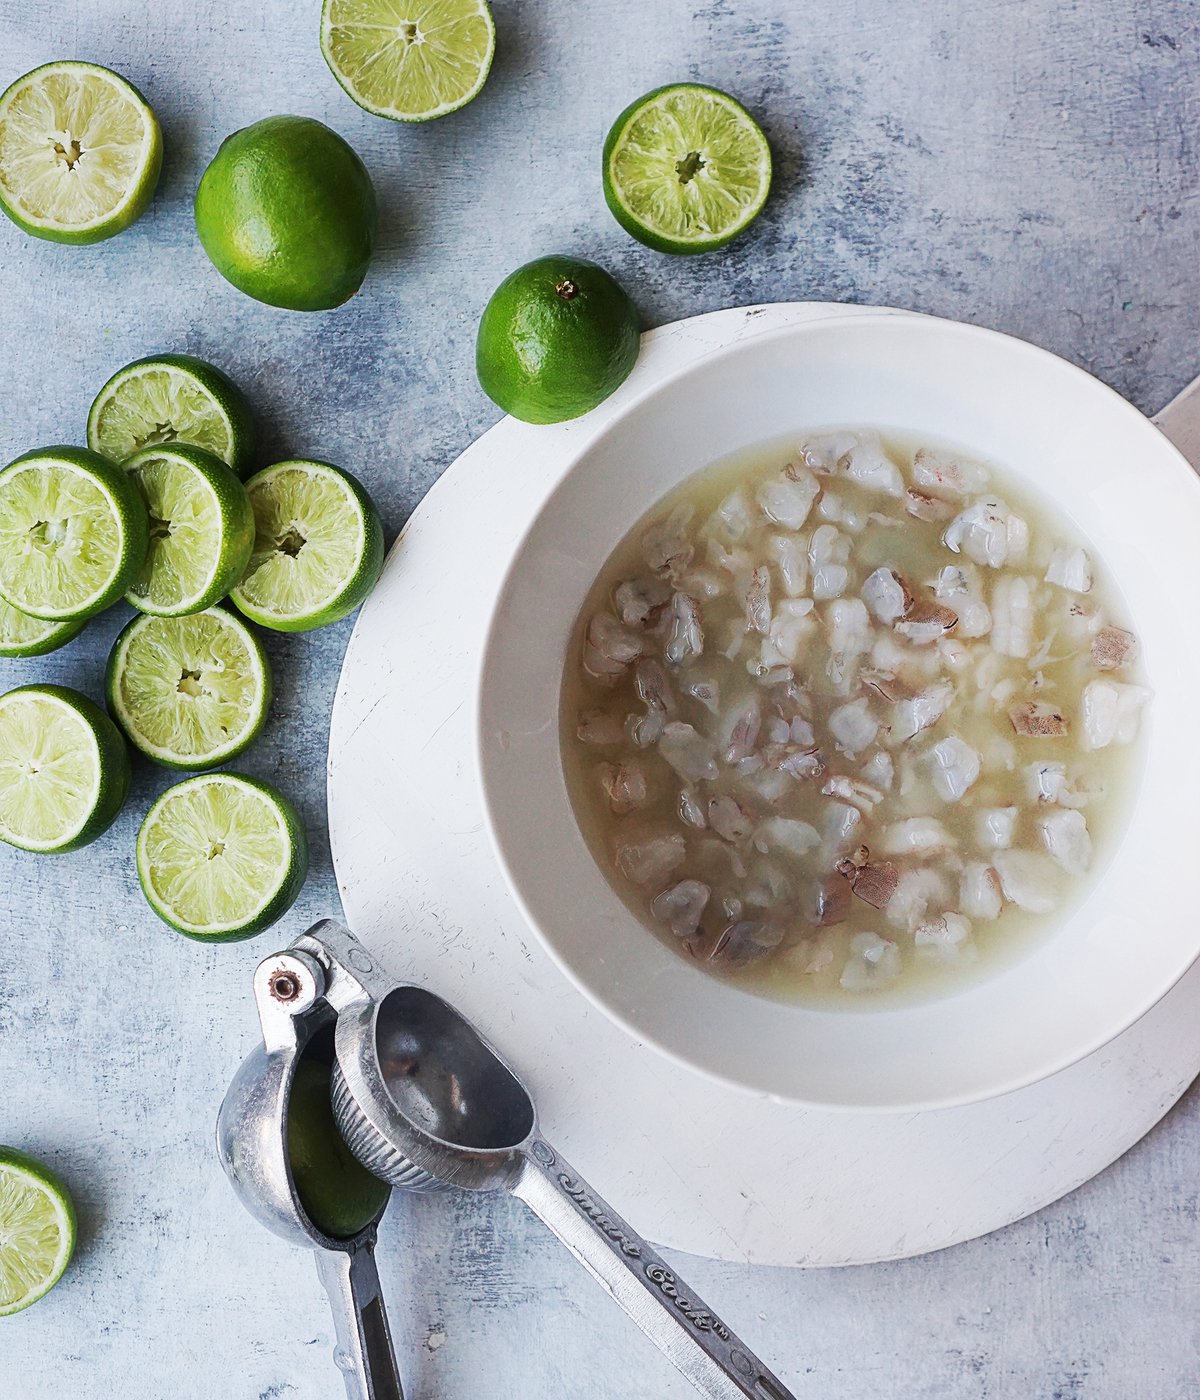
- Be sure to cover all of the shrimp with lime juice when you add it. For ease of use, I suggest you use a citrus squeezer! An “esprimidor,” or manual lemon/lime juicer, is a kitchen tool I recommend to anyone who loves Mexican food!
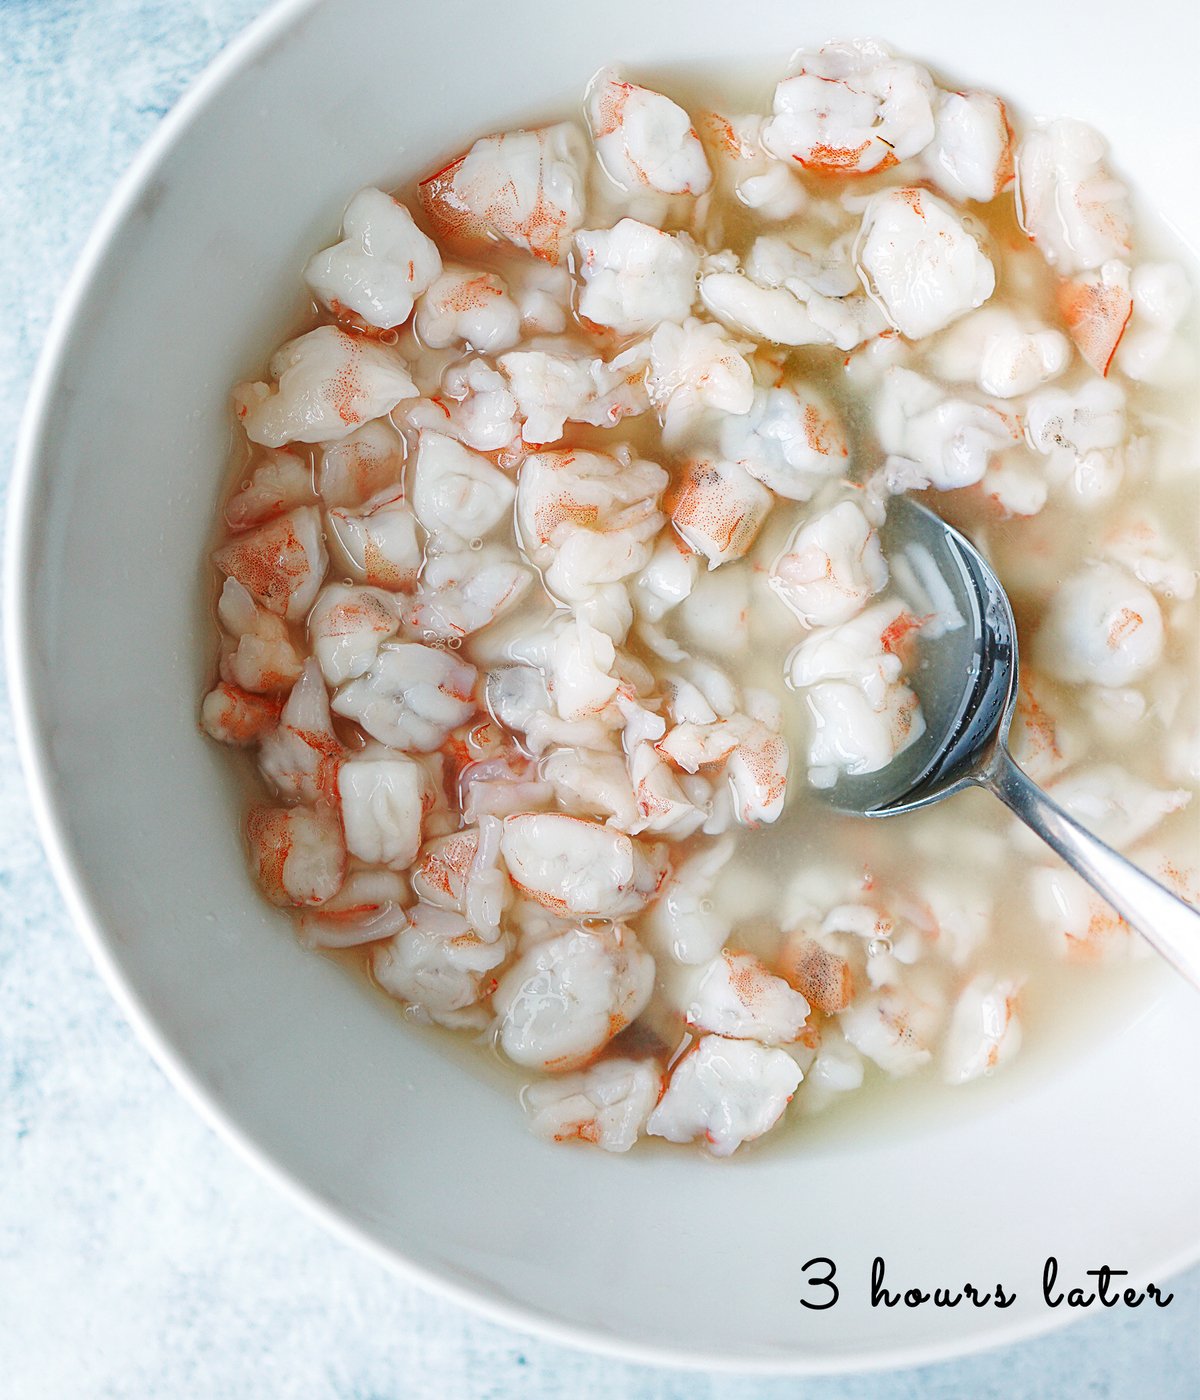
- Put the shrimp container in the fridge for at least three hours, but preferably overnight. Cover it with plastic wrap.
- Cut up the vegetables and put them in the fridge while the shrimp is marinating.
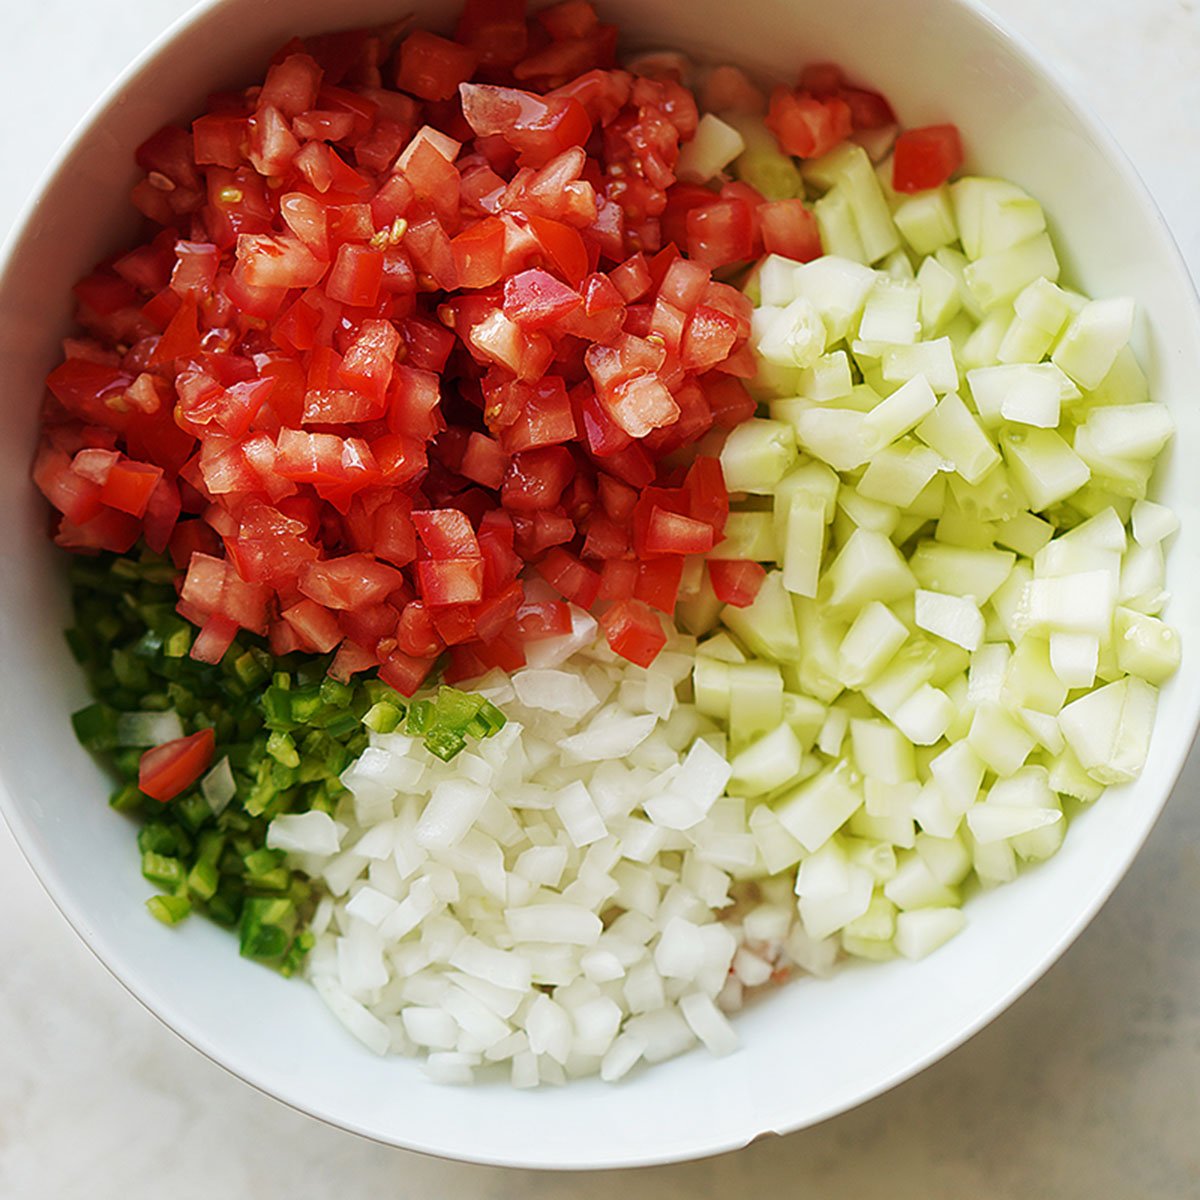
- When the shrimp is done (it will be pink), mix it with all the vegetables (except the avocado), clam juice, salt, and pepper.
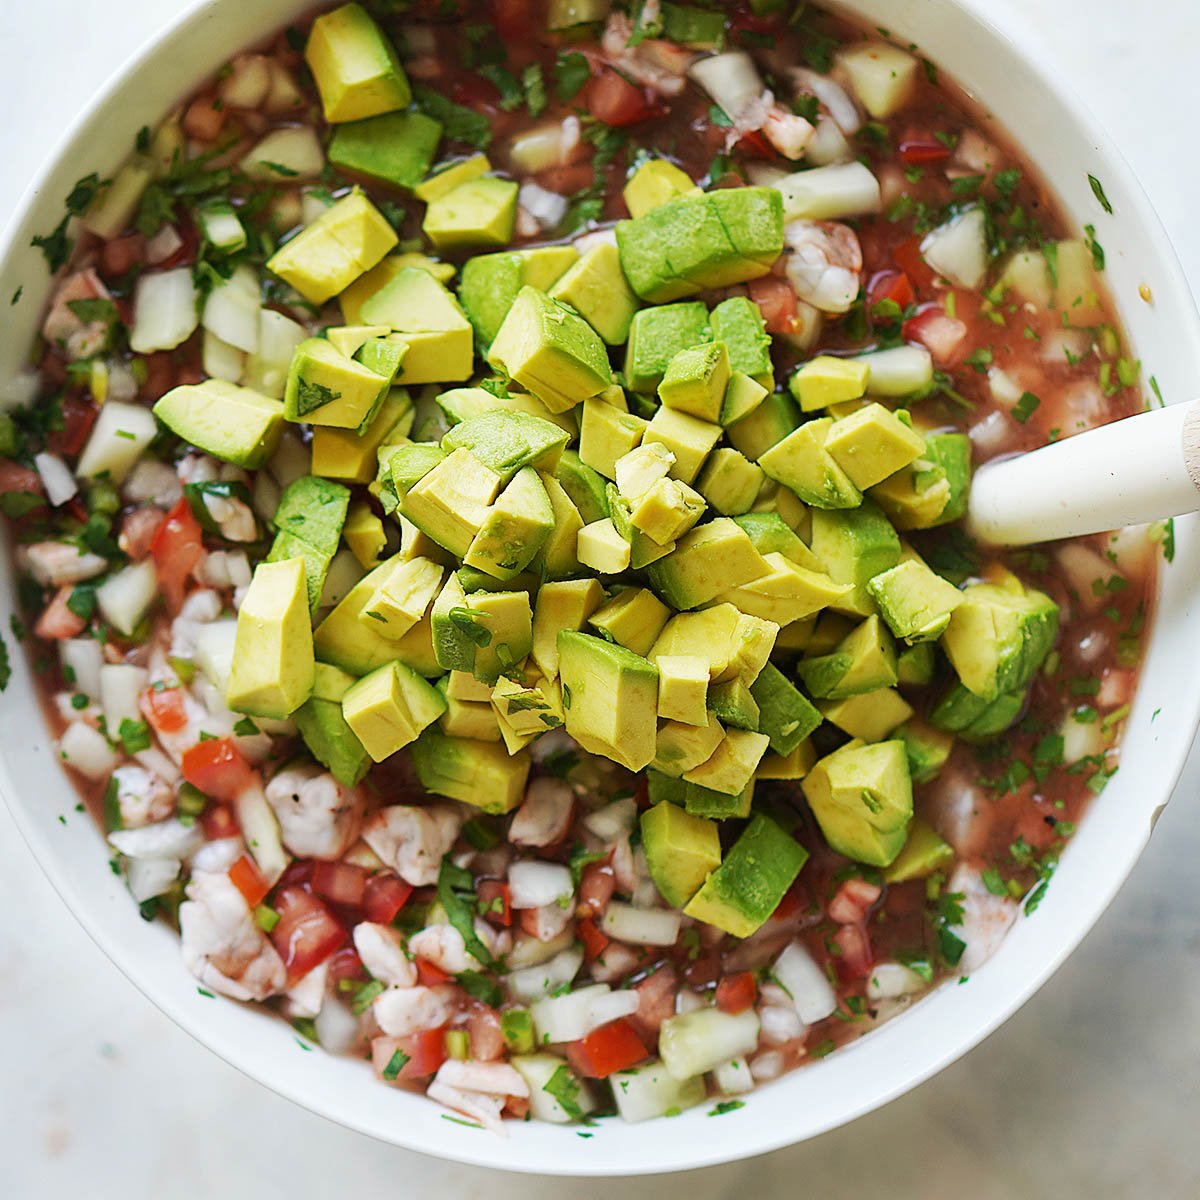
- Lastly add the avocado and fold gently into the mix.
This is such a simple dish and is perfect when you don’t want to heat the kitchen. There is no need for side dishes as it’s considered a one pot dish!.
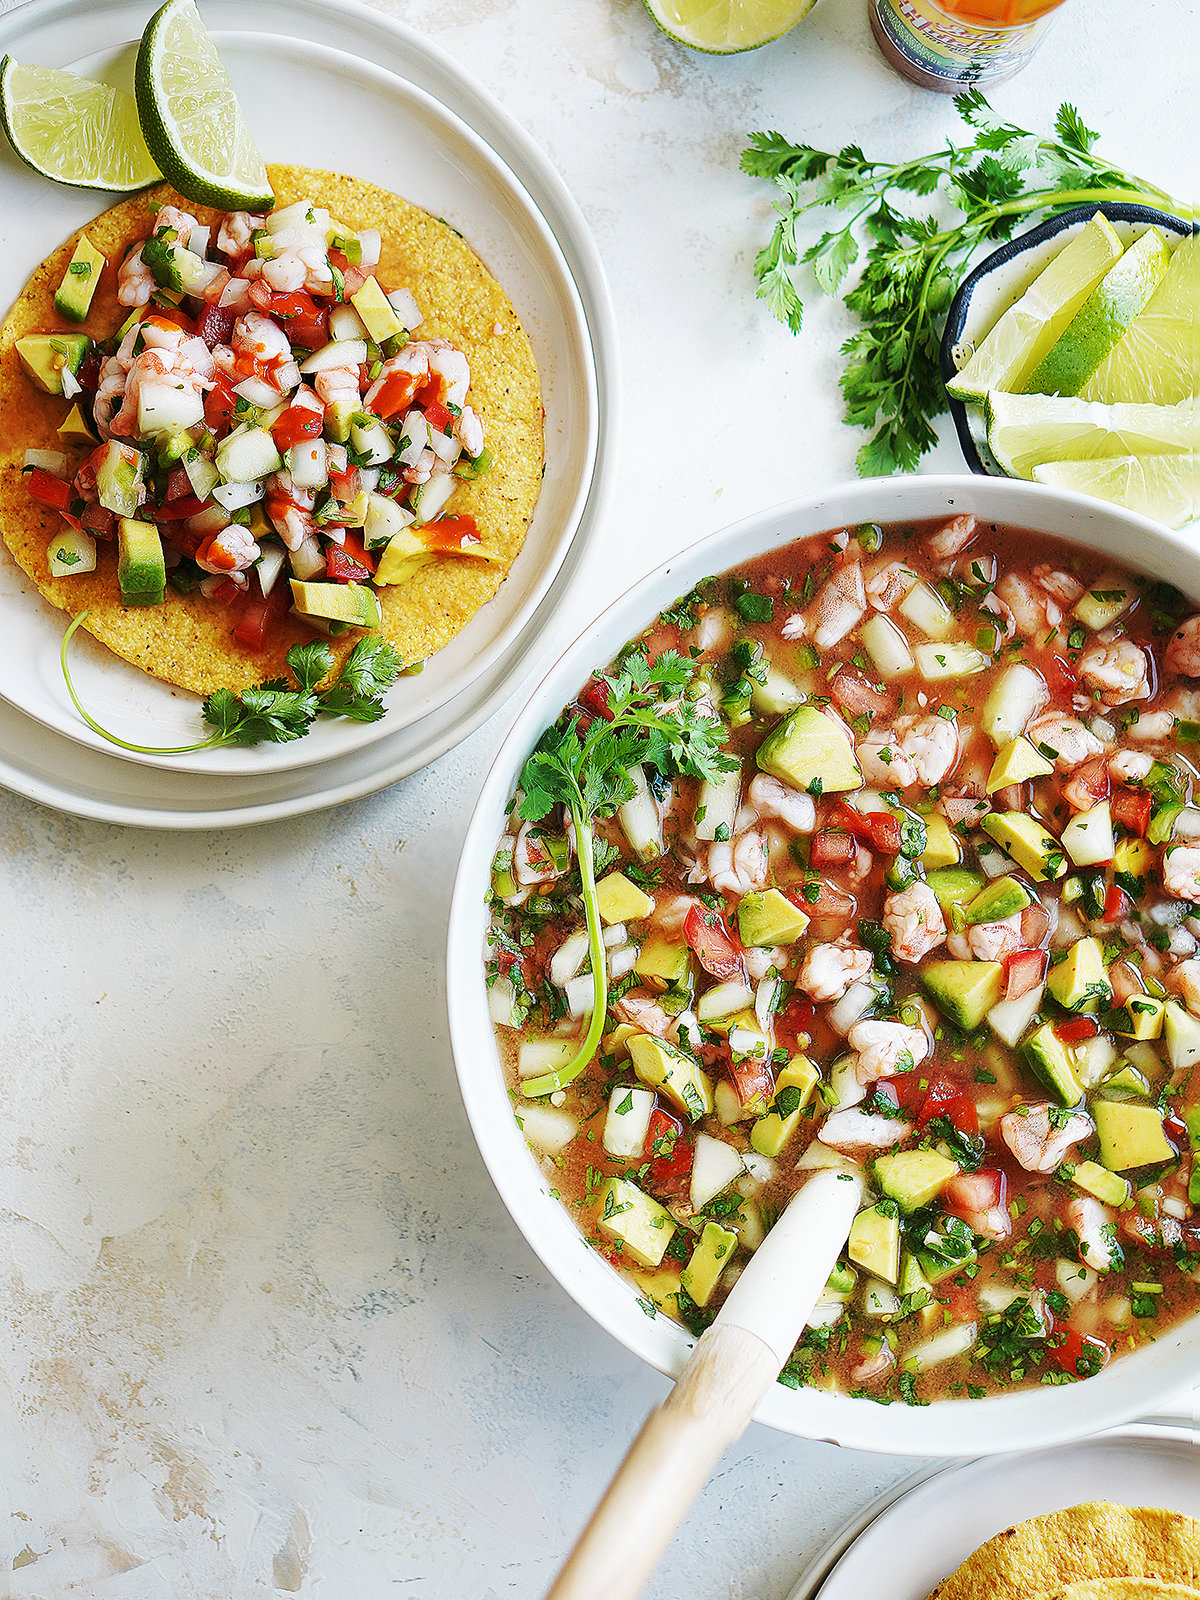
Serve on tostadas or in a bowl to enjoy with saltines or corn tortilla chips. Mix in some hot sauce and/or ketchup to individual servings if desired. Now all you need is a delicious Agua Fresca or a Michelada for the ultimate experience. Buen provecho!.
![]()
- Fridge: Ceviche tastes best when it’s still fresh, so put it in a container that won’t let air in or wrap it tightly in plastic wrap. This keeps the shrimp from drying out and keeps it from picking up tastes from the fridge that you don’t want. Consume within 48 hours of preparation. The shrimp will continue to “cook” in the citrus juices the longer it sits, which could change its texture.
- Freezer: Freezing is not recommended.
Short answer is NO! Is called Ceviche when the seafood is cured (cooked) in citrus juice. The rest of the ingredients can vary by region or taste Shrimp Cocktail is made with boiled shrimp. The ingredients can be similar but the liquid part is made with some of the shrimp boiled water. So one is cooked in citrus juice while the other is cooked in water.
In the traditional sense, lime juice doesn’t “cook” raw shrimp. However, it can change the shrimp’s texture and look through a process known as “denaturation.” “When lime juice or any other acidic citrus juice is added to raw shrimp, it starts a chemical reaction that changes its proteins, making them opaque and firm, like cooked shrimp.” In ceviche recipes, raw seafood is marinated in citrus juices and other tasty ingredients for a while. This is often called “cooking” or “curing” the shrimp. Because lime juice is acidic, it kills some of the bacteria and parasites that are in raw seafood, making it safer to eat.
It’s important to be careful when eating raw seafood, even though marinating raw shrimp in lime juice can change its texture and kill some bacteria and parasites. The acidity of the lime juice helps reduce the risk, but it may not eliminate it entirely. If you want to eat shrimp raw, you need to make sure you get fresh, high-quality shrimp from a reliable source. Additionally, it’s a good practice to freeze the shrimp beforehand, as this can help kill any potential parasites. Freezing at -4°F (-20°C) for at least 24 hours is generally recommended.
![]()
I hope you like this recipe! Share it, or leave a rating and comment below. For questions that need an answer right away, please contact me and I’ll get back to you asap. Gracias!!!! xx, Ana.
