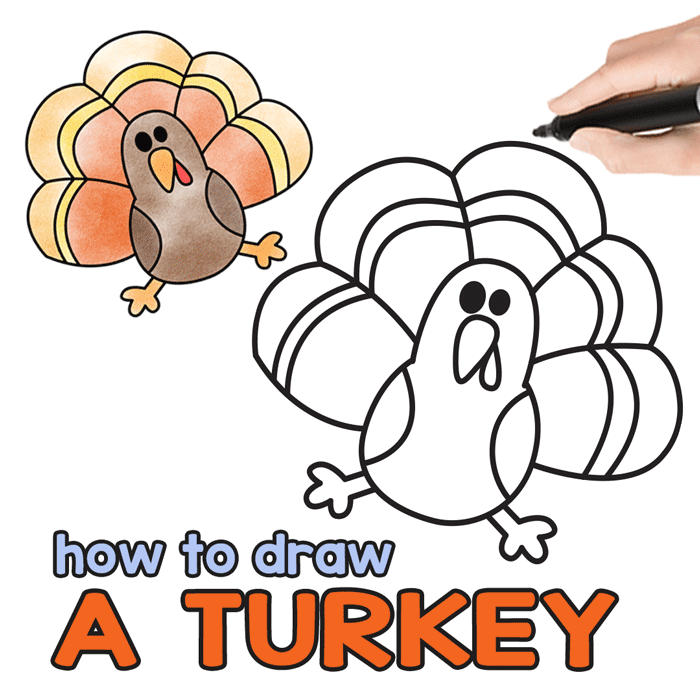
Learn How to Draw a Turkey with our Step by Step Turkey Drawing instructions. For Thanksgiving, teachers should assign this excellent project to their students, which is suitable even for those who are just beginning.
Fall is not just about the changing colors of the leaves; it’s also when turkeys show up (well, they’re around all year long, but they’re more prevalent in this season).
Gobble gobble! Fall is in the air, and what better way to celebrate than by unleashing your inner artist and drawing a majestic turkey? Whether you’re a seasoned sketcher or a complete beginner this easy-to-follow guide will have you creating a feathery masterpiece in no time.
Gather Your Supplies:
- Paper: A blank canvas for your artistic vision.
- Pencil or Marker: Your choice of weapon for capturing the turkey’s essence.
- Coloring Supplies (Optional): Crayons, markers, or colored pencils to bring your turkey to life.
Step 1: The Head
Start with a simple inverted U shape – this will be the foundation for your turkey’s head.
Step 2: The Body
Continue with a rounded shape beneath the head, forming the turkey’s plump body. Imagine a pear shape and you’re on the right track.
Step 3: Eyes and Beak
Add those expressive eyes and a beak with a few details, Don’t forget the two round shapes for the wings – they’ll be flapping soon!
Step 4: Tail Time!
Get ready for the magnificent tail feathers. Start by drawing a curve on each side, like a pair of parentheses.
Step 5: Connecting the Curves
Five is the magic number when it comes to connecting the ends of the parentheses with a series of arches.
Step 6: Tail Feathers Take Shape
To create the base of the tail feathers, draw a line from the bottom of each arch to the turkey’s body.
Step 7: More Arches, More Feathers
Add another row of arches beneath the first, further defining the tail feathers.
Step 8: The Final Touches
Finish off the tail with one more row of arches, adding even more detail to those impressive feathers.
Step 9: Feet First
Now, it’s time for the turkey’s feet. Draw two simple shapes, resembling bird feet, beneath the body.
Step 10: Voila! A Turkey is Born
Congratulations! You’ve just drawn a magnificent turkey. Now, grab those coloring supplies and bring your creation to life with vibrant colors.
Bonus Tip: Printable Guide for Members
We have a unique treat for our members: a printable guide to drawing turkeys. This useful tool will make your drawing experience even more enjoyable by offering clear instructions and beneficial illustrations.
Become a Member and Unlock a World of Creativity
Membership unlocks a treasure trove of educational and crafty printables, including our exclusive turkey drawing guide. With new resources added regularly, you’ll always have the perfect activity at your fingertips. Plus, you’ll save time searching for quality resources and spend more quality time with your kids.
So, what are you waiting for? Join our community and embark on a creative adventure with your very own turkey drawing!
Step by Step Easy Turkey Drawing Tutorial

Start by drawing a inverted U :). This will be the head of the turkey.
Continue with the round shape under the head, this will make the body of your turkey.
You should be seeing a somewhat nice pear shape.

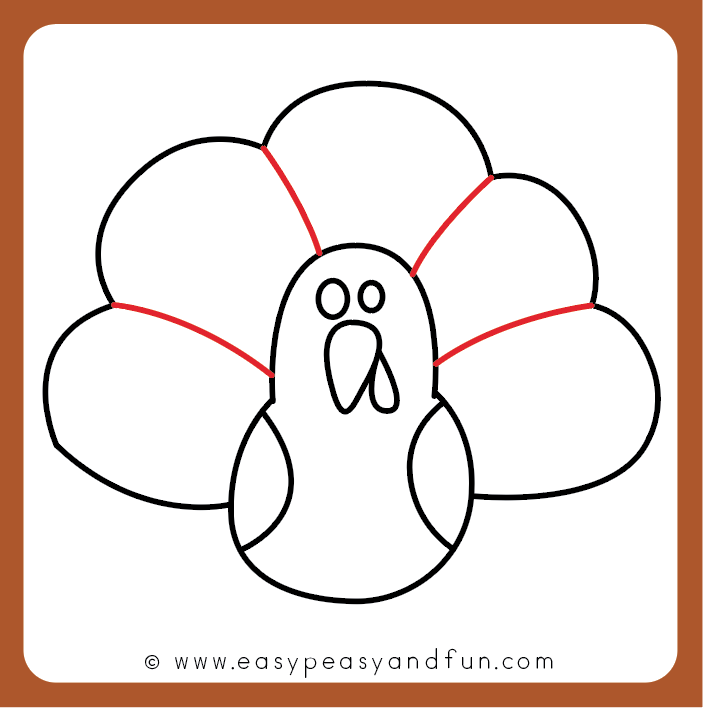
Draw eyes and beak (with details). Also draw two round shapes for the wings.

Time to start drawing those magnificent tail feathers. Start by drawing a curve on the left side and on the right.

Connect the ends with a few arches (5 is ideal).

Draw a line from the “bottom” of the arch to the turkey body.

Next come the arches under the arches. Let’s draw those details on the tail feathers.

And another row under it.

Lastly, draw some turkey feet.

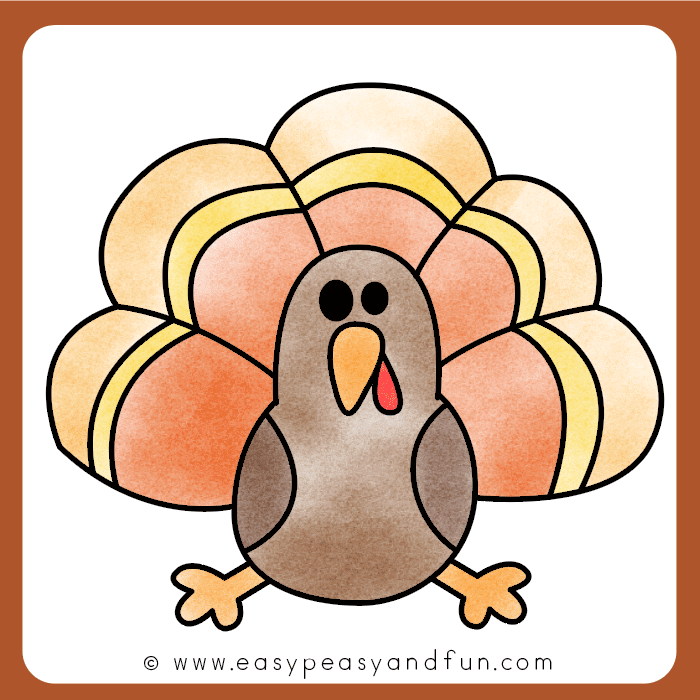
All done! You have learned how to draw an turkey. It was easy wasn’t it!
Color your turkey drawing.

How to Draw a Turkey

What you need:
- a turkey guided drawing guide that can be printed out and found in our members area (optional)
- paper
- pencil or marker
- coloring supplies
