To feed their fish, some people choose to hatch their own brine shrimp instead of buying new ones all the time from the pet store. Finding high-quality brine shrimp eggs is easy, and technically speaking, hatching them is quite easy as well. Now, most people will tell you that you need an air pump in order for brine shrimp eggs to hatch. This is because the eggs need to stay in the water column all the time and need a lot of oxygen, which an air pump can provide.
However, what if your air pump breaks or you don’t want to buy a new one? Will you still be able to hatch brine shrimp without one?
The answer here is yes, you can technically hatch brine shrimp without an air pump. You’ll just need a few specific tools or pieces of equipment, and a bit of ingenuity too. Let’s get to it and tackle this issue of hatching brine shrimp without an air pump.
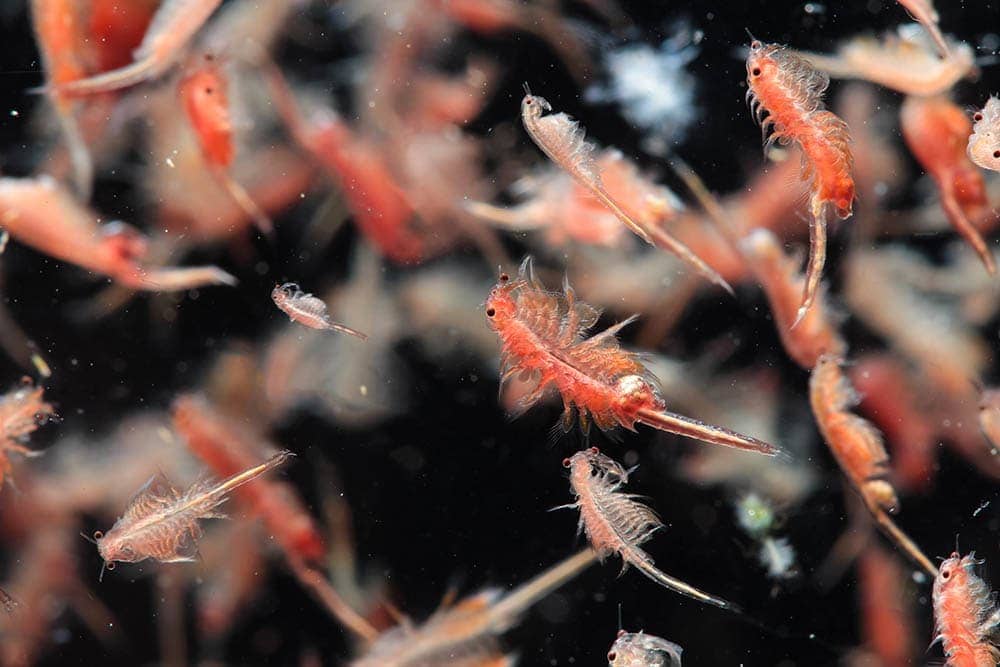
Brine shrimp eggs, also known as sea monkeys or aqua dragons, are a popular live food source for feeding freshwater and saltwater fish They are packed with nutrition and have a long shelf life in their dry state. Hatching them is an easy way to generate nutritious baby brine shrimp (nauplii) to feed your fish
While most guides recommend using an air pump to hatch brine shrimp eggs it is possible to hatch them without any specialty equipment. All you need are a few inexpensive household items.
In this comprehensive guide I’ll walk through every step of the process including
- Brine shrimp egg prep
- DIY hatchery setup
- Hatching tips for maximum yields
- Harvesting and feeding your brine shrimp
Follow this air pump-free guide for breeding swarms of baby brine shrimp your fish will love!
Overview of Brine Shrimp Eggs
Before we get into the hatching methods, let’s quickly go over what brine shrimp eggs are:
-
The eggs come in a dried state and have an indefinite shelf life. Just keep sealed.
-
Under ideal conditions, the eggs hatch in 18-30 hours. Newly hatched brine shrimp are 1-2mm long.
-
Each egg can produce 10-15 nauplii over a 2 week hatching period before the embryo sac is depleted.
-
Unhatched eggs and shells should be removed promptly from the hatchery to prevent fouling the water.
Now that you know the basics, let’s look at the supplies you’ll need to DIY hatch brine shrimp eggs without an air pump.
Supplies for Hatching Brine Shrimp Without an Air Pump
Here are the supplies for an air pump-free brine shrimp hatchery:
- Brine shrimp eggs
- Glass jar or small aquarium
- Non-chlorinated saltwater
- Light source
- Bubbler (optional)
- Spoon and siphon
- Feeding pipette
I’ll go into more detail on these supplies and how to prepare them below.
Brine Shrimp Eggs
You can purchase brine shrimp eggs at most pet stores, online, and sometimes bait shops. When selecting eggs:
-
Look for eggs marketed specifically for aquarium use. Avoid culinary or bait shop eggs.
-
Check the expiration date and avoid old eggs. Hatch rates plummet as eggs age.
-
Look for eggs labeled “decapsulated” or “pre-hatched.” The hatchery process is easier with these.
For a standard small home hatchery, 50-100g of eggs is plenty. Keep extras sealed in a cool, dry place.
Glass Jar or Small Aquarium
The hatching vessel can be as simple as a 1-2 gallon wide-mouth glass jar or small aquarium. Key features:
-
Glass or plastic – Avoid metal containers which may leach toxins
-
1-3 gallon capacity – Gives adequate room for hatching
-
Wide opening – Makes harvesting easier
-
Clear sides – Allows light penetration
Make sure to thoroughly clean and rinse the vessel before use. Avoid soap or cleaners which leave residues.
Non-Chlorinated Saltwater
Brine shrimp require brackish water to hatch:
-
Salt concentration: Dissolve 2-3 tablespoons marine salt per gallon of water. Or use saltwater from an established aquarium.
-
Temperature: Ideal is 75-85°F. Room temperature above 70°F also works.
-
pH: 7.5-8.5. The salt should stabilize the pH.
-
Dechlorinator: Use if needed to neutralize chlorine and chloramines.
Avoid using distilled water which lacks essential minerals for brine shrimp.
Light Source
Light triggers the hatching response in brine shrimp eggs. A standard aquarium light over the jar works well. Other options:
- Daylight window (avoids direct sun which overheats)
- Desktop lamp with a 40W-60W bulb
- Fluorescent light fixture
Keep the light on a 12-16 hour cycle to mimic natural photoperiods.
Air Bubbler (Optional)
For larger hatching operations, an air bubbler is recommended. However, it’s not essential for smaller home setups. The benefits include:
-
Oxygenates the water for higher hatch rates
-
Circulates the water to prevent “dead” zones
-
Keeps eggs in suspension so they don’t settle on the bottom
If you do use an air bubbler, position the outlet near the water’s surface to maximize surface agitation.
Spoon and Siphon
Use a spoon to skim off hatched shells and debris. This keeps the water clean.
A siphon is helpful for removing the freshly hatched brine shrimp once they grow large enough. Any aquarium siphon/gravel vac will work.
Feeding Pipette
A turkey baster, eye dropper, or pipette makes it easy to feed harvested brine shrimp to your fish.
Now that you have the equipment, let’s look at the hatching process step-by-step.
Hatching Brine Shrimp Eggs Without an Air Pump
Follow these steps for maximum brine shrimp egg hatch rates:
Step 1 – Mix Saltwater
Mix clean, non-chlorinated water with marine salt according to the package directions. Aim for a specific gravity of 1.010-1.015. Use an aquarium hydrometer to check the salinity.
Condition the water to 75-85°F and a pH between 7.5-8.5 if needed. Let the salt fully dissolve before introducing eggs.
Step 2 – Add Brine Shrimp Eggs
Add a half teaspoon of brine shrimp eggs (about 50 eggs) per gallon of saltwater. Gently sprinkle eggs across the water surface.
Let the eggs hydrate for 1 hour before proceeding. They will sink to the bottom initially then float up to the surface as they absorb water.
Step 3 – Provide Light
Place the hatchery jar near an artificial light or daylight window. The light triggers the brine shrimp eggs to start hatching.
Maintain the light on a 12-16 hour daily photoperiod. Keep ambient room light low when the main light is off.
Step 4 – Aerate (Optional)
If using an air bubbler, turn it on now at a low-moderate flow rate. Position the outflow near the water’s surface.
The bubbles will gently circulate the eggs and prevent clumping or settling on the bottom.
Step 5 – Wait for Hatching
Within 18-30 hours of hydrating and illuminating the eggs, the brine shrimp nauplii will begin hatching out.
The empty egg casings will float to the surface while the live brine shrimp sink and scatter.
Step 6 – Remove Casings
Use a clean spoon to skim any unhatched eggs and empty casings floating at the surface. Discard the debris.
Repeat daily to prevent buildup of waste in the hatchery. This keeps the water conditions optimal.
Step 7 – Harvest Brine Shrimp
Once the brine shrimp grow to 5-10 days old and are large enough to feed to your fish (3-5mm), use a siphon to harvest them.
Aim the siphon just above the shrimp and use it like a vacuum to slurp them into a container.
Step 8 – Feed Fish
Use a feeding pipette to deliver live brine shrimp to your fish. Target feeding 2-3 times a day.
Newly hatched brine shrimp can also supplement dry foods. Mix into a slurry before feeding.
That covers the complete hatchery process from start to finish! Now let’s look at some tips for maximizing your results.
Tips for Maximum Hatch Rates
Follow these best practices for bumper crops of baby brine shrimp:
-
Use high quality brine shrimp eggs before their expiration date
-
Avoid rapid temperature changes which shock the eggs
-
Keep eggs suspended – use an air bubbler or swirl the water gently daily
-
Monitor pH and salinity – keep relatively stable around optimal levels
-
Don’t overfeed eggs to avoid fouling the water – add more as needed
-
Exchange 10-20% of water daily to replenish minerals
-
Provide bright, full spectrum light to strongly trigger hatching
-
Remove debris consistently to maintain clean conditions
-
Harvest brine shrimp promptly once they reach target size
Troubleshooting Issues
Here are some common hatching problems and how to address them:
Cloudy water – Bacterial bloom. Improve aeration. Change 10% water daily.
Few hatches – Old eggs, improper lighting, or water issues. Start with fresh eggs and optimal saltwater.
**

Add Water
Put some water in the glass bowl, and then set the mason jar inside of that glass bowl.
The 5 Easy Steps to Hatch Brine Shrimp Eggs Without an Air Pump
Take a look at the steps below to learn how to use the above tools to hatch brine shrimp eggs without an air pump.
First of all, take the mason jar and add about a cup of water to it. Put water into the mason jar first. Then add a full teaspoon of salt and a pinch or two of baking soda.
Very Simple Way To Hatch Many Brine Shrimp Eggs WITHOUT USING AIRPUMP!! And Can Harvest Up To 3X!
Do you need an air pump for baby brine shrimp?
How To Hatch Baby Brine Shrimp Eggs EASY (No Air Pump). 1 cup water 1 tsp salt 1 pinch baking soda to raise pH If you feed the baby brine shrimp to your fry immediately, there’s no need for an air pump (If you keep them longer than 24 hours, though, use an air pump so the little guys don’t suffocate).
Do you need an air pump to hatch brine shrimp eggs?
Now, most people are going to tell you that you absolutely need an air pump in order to hatch brine shrimp eggs. The reason for this is because the eggs need to be constantly suspended in the water column, and they require lots of oxygen, both things that an air pump will provide.
How do you hatch brine shrimp?
Here are the steps for hatching the brine shrimp, separating the babies from the eggs, and feeding the nutritious shrimp to your fish: Fill both compartments with sea water, which could be old tank water. Add about 1/4 teaspoon of brine shrimp eggs (or a little more) to the darkened compartment.
How do you aerate brine shrimp eggs?
Fill both compartments with sea water, which could be old tank water. Add about 1/4 teaspoon of brine shrimp eggs (or a little more) to the darkened compartment. Aerate the darkened compartment with a small air pump. The eggs hatch better with some aeration, but they will also hatch without it.