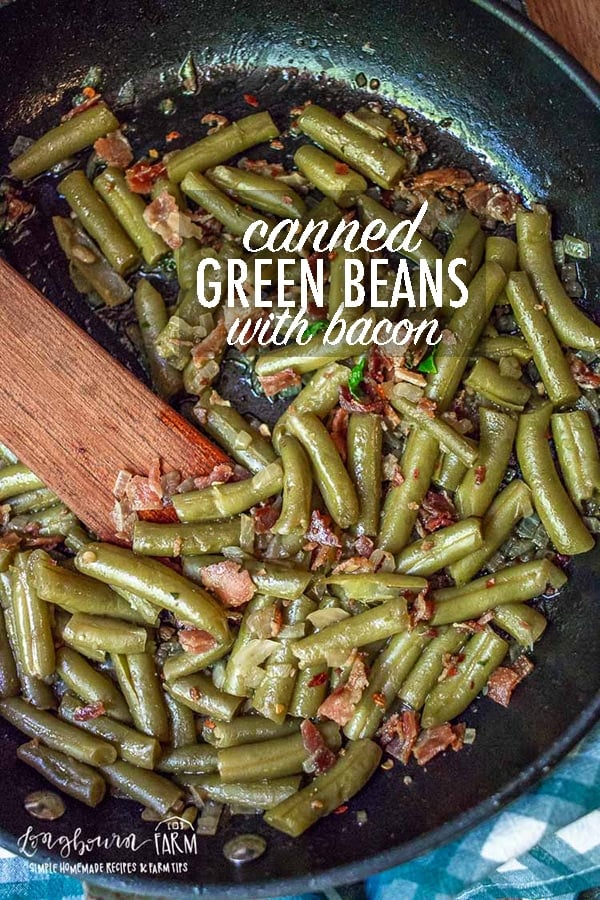
Don’t have any canned green beans? This recipe is a quick and easy way to use them up. A few ingredients make a veggie the family will love!.
I always like to have a stock of canned goods in my pantry. Most of the time, I have canned vegetables like tomatoes, zucchini, and broccoli in my freezer or fresh vegetables from my garden. But sometimes I need to quickly make some vegetables if I want to have dinner ready on time. This is where this easy canned green bean recipe comes in!.
Put green beans from a can into a pot, heat them up, and serve. I beg you. Your kids probably wont eat them. And then youll be mad and never want to make dinner again. And thats just way too sad! Instead, make this canned green bean recipe.
Canning green beans is one of the easiest ways for beginner home canners to get started preserving fresh produce. I absolutely love having jars of crunchy, flavorful green beans on hand year-round to add to soups casseroles and side dishes. If you’ve got an abundance of fresh green beans from your garden or a local farmer’s market, canning them is a great option to enjoy their flavor and nutrition all year long!
In this article, I’ll walk you through the simple process of canning green beans using a pressure canner. I’ve been canning for over 10 years, and I find green beans to be one of the most approachable vegetables for new canners. With just a few basic supplies, you’ll end up with delicious pints or quarts of home-canned green beans that will last up to a year. Let’s get started!
What You’ll Need to Get Started Canning Green Beans
Canning green beans is simple, but there are a few essential supplies you’ll need:
-
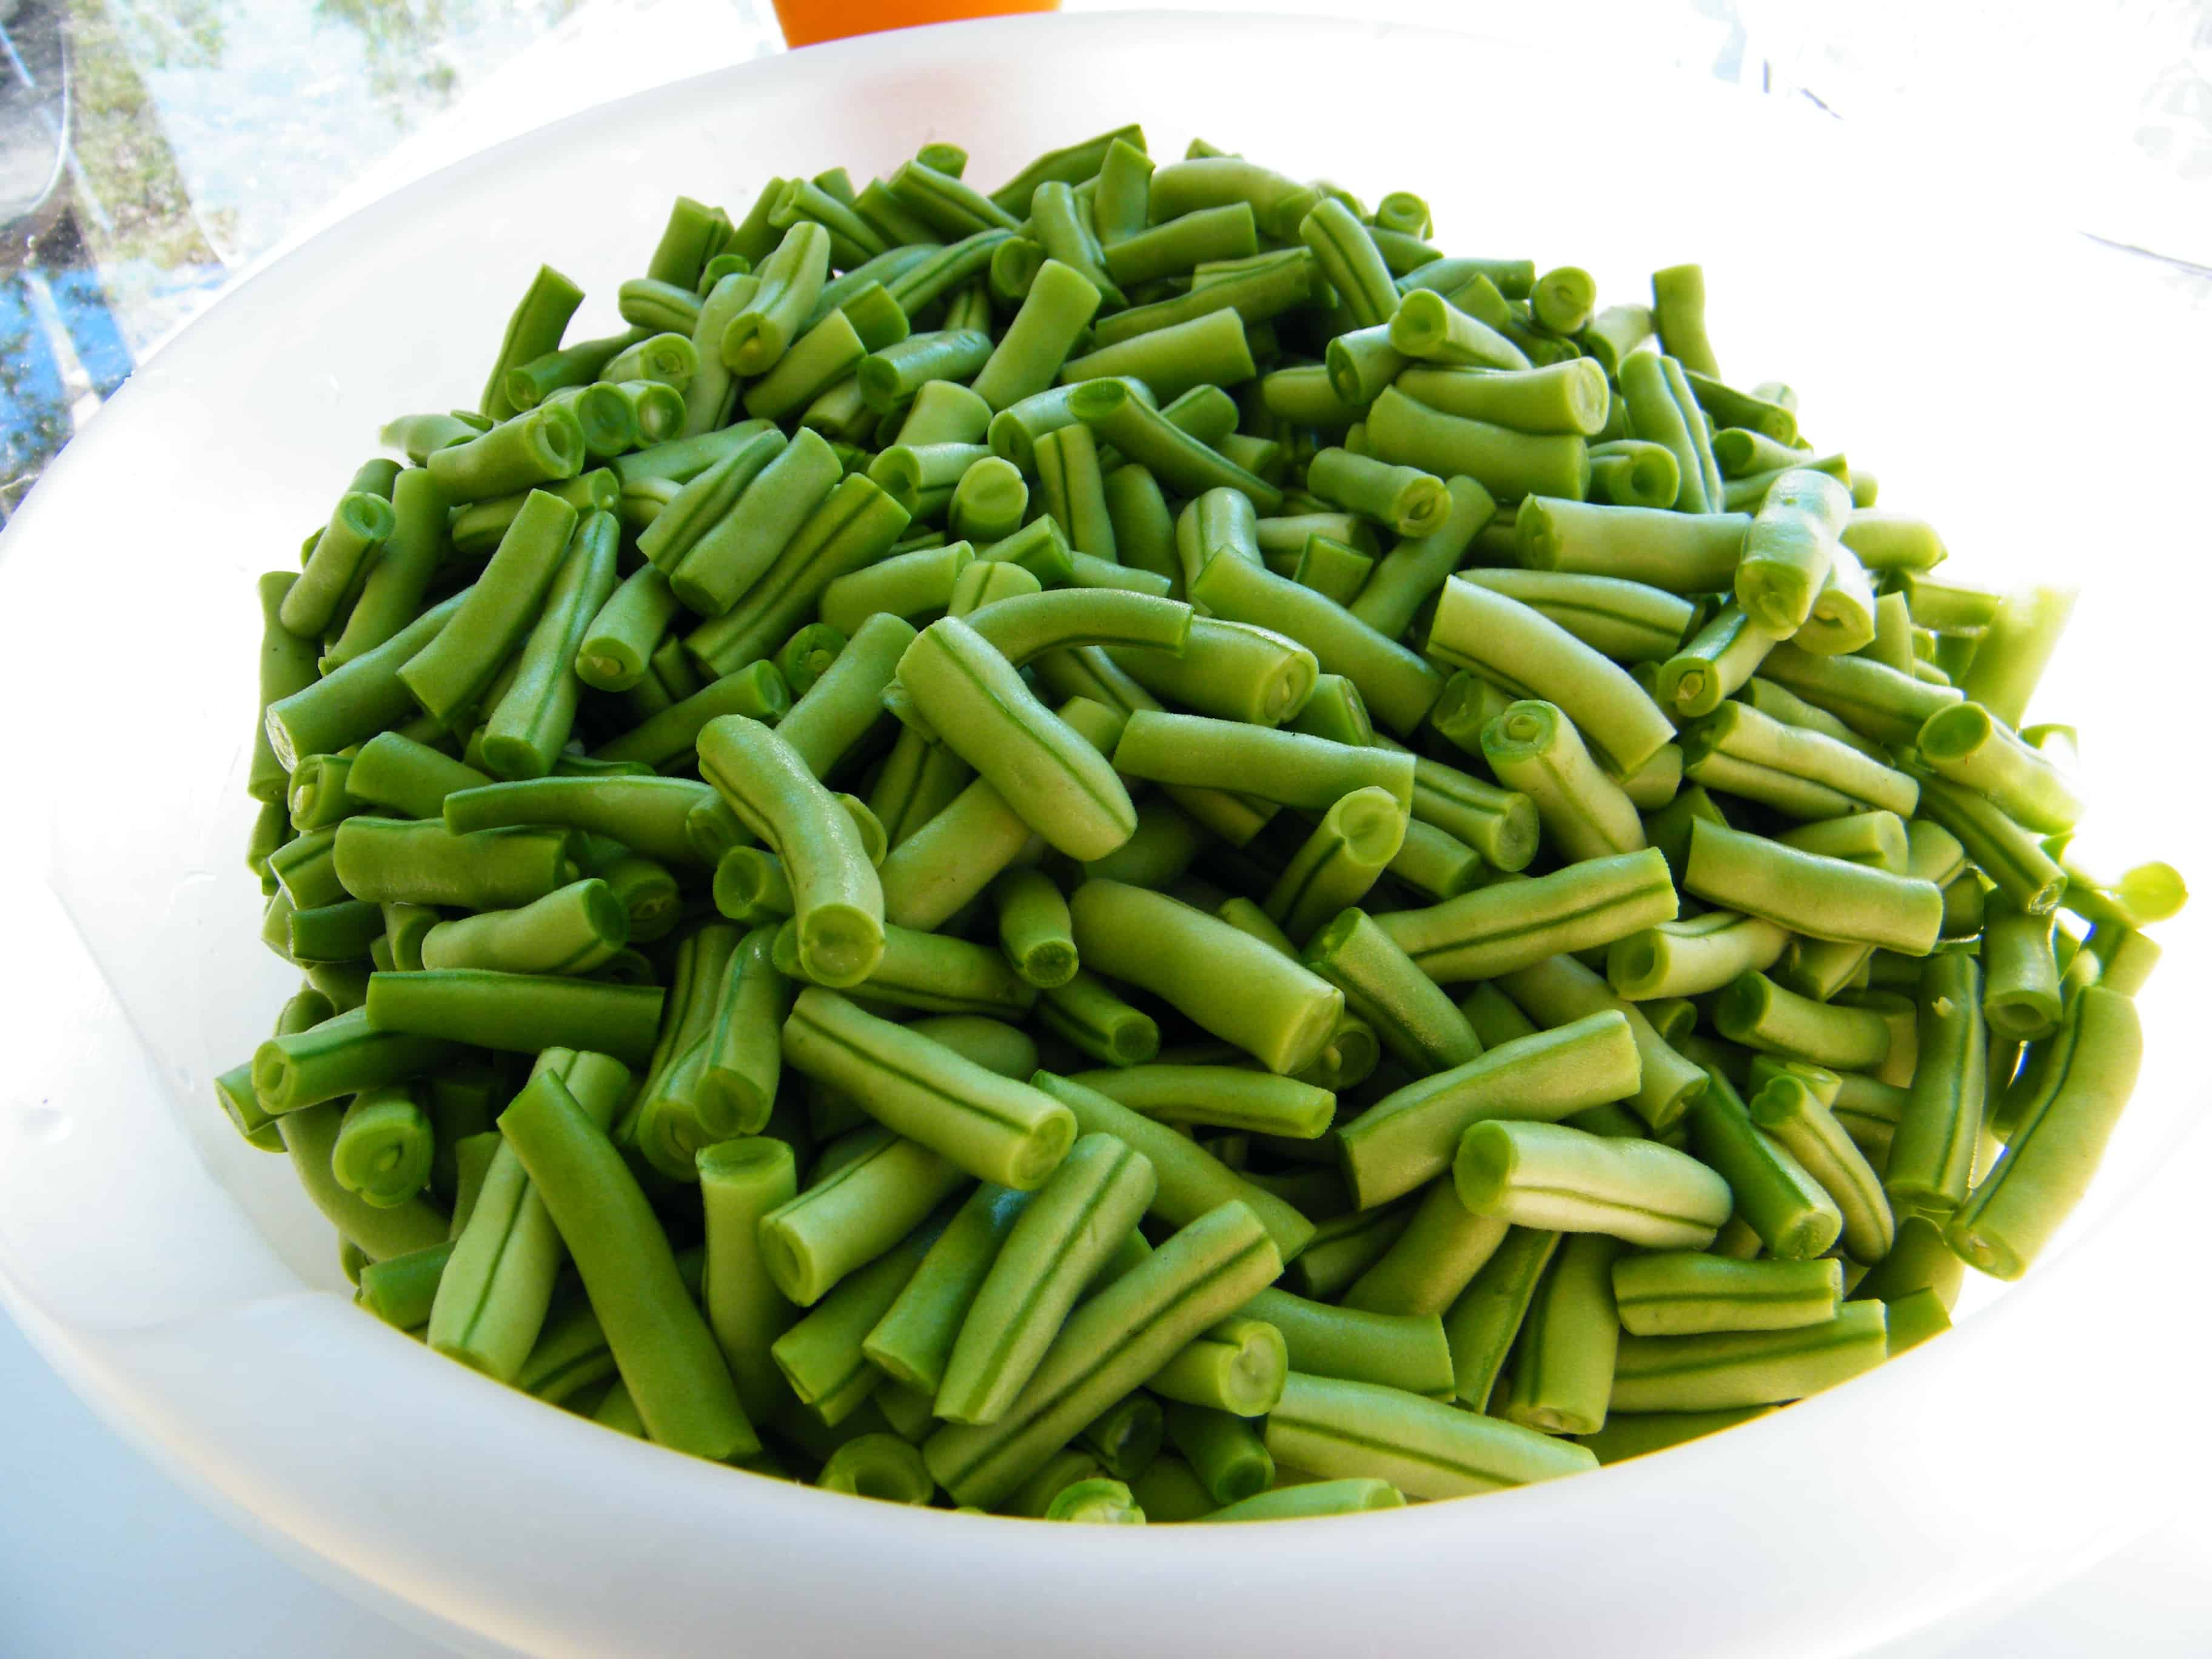
Green beans! Plan to have about 3 pounds of beans per quart jar you want to fill. Pick tender, slender beans for the best results.
-
A pressure canner with rack – Green beans must be processed under pressure for safe long-term storage.
-
Canning jars, lids, and bands – Make sure they are in good condition with no cracks or defects
-
Other canning tools jar lifter lid lifter funnel, bubble remover, clean kitchen towels
-
Canning salt (optional but recommended)
Step-by-Step Instructions for Canning Green Beans
Once you’ve gathered your supplies, it’s time to get canning! Here are the detailed steps for safely canning green beans:
1. Prepare the green beans
Rinse the green beans under cold water and trim the ends. Remove any beans that are overly mature or damaged. Cut or snap the beans into 2 inch pieces.
2. Fill the canning jars
There are two methods for packing the green beans into the jars:
Raw pack: Fill the jars tightly with raw green beans, leaving 1 inch of headspace at the top. Pack the beans as tightly as you can without crushing them.
Hot pack: Blanch the prepared green beans in boiling water for 5 minutes. Loosely pack the hot beans into the jars, leaving 1 inch of headspace.
For either pack method, I recommend adding 1/2 teaspoon of canning salt to each pint jar or 1 teaspoon per quart jar. This is optional but helps retain flavor.
3. Remove air bubbles
Slide a bubble remover or other thin plastic utensil down along the inside of the jar 2-3 times to release any trapped air bubbles. Add more beans if needed to maintain the proper headspace.
4. Wipe rims & apply lids/bands
Wipe the rim of the jars with a clean, damp cloth to remove any food residue or salt. Center the lids on the jars and screw on the bands just fingertip tight.
5. Process the filled jars in a pressure canner
Place the filled jars on the rack in the pressure canner filled with 2-3 inches of hot water. Lock the lid in place. Bring the canner to a steady rocking pressure based on the chart below for your altitude.
| Altitude | Weighted Gauge | Dial Gauge |
|---|---|---|
| 0-1,000 ft | 10 lbs | 11 lbs |
| 1,000-2,000 ft | 15 lbs | 11 lbs |
| 2,000-4,000 ft | 15 lbs | 12 lbs |
| 4,000-6,000 ft | 15 lbs | 13 lbs |
| 6,000-8,000 ft | 15 lbs | 14 lbs |
| 8,000-10,000 ft | 15 lbs | 15 lbs |
Process pint jars for 20 minutes and quart jars for 25 minutes at the required pressure for your altitude. Allow the pressure to naturally return to zero, then remove the lid. Wait 5 minutes before removing the jars.
6. Cool and store the jars
Place the finished jars on a towel or rack, allowing space for air circulation between the jars. Let them sit undisturbed for 12-24 hours. Once cooled, check the seals on the lids. Any jars that haven’t sealed properly should be refrigerated immediately for short term storage.
Properly sealed green bean jars can be stored in a cool, dark place for up to a year. Always inspect jars for spoilage before consuming and discard any with mold, odors, or other issues.
And that’s it – you now have delicious home-canned green beans to enjoy all year long! As you can see, the process is very straightforward and suitable even for novice canners.
Tips for Canning the Best Green Beans
Here are a few extra pointers to help you can great tasting green beans:
-
Choose slender, tender young beans for optimal flavor and texture. Avoid bulging or overly mature beans.
-
Trim ends and remove any strings for easier eating after canning.
-
Maintain headspace requirements to allow for expansion and prevent siphoning.
-
Use new lids each time to ensure a proper seal. Reuse bands as needed.
-
Let pressure fully normalize after processing before attempting to open the canner.
-
Check seals on cooled jars; refrigerate any that haven’t sealed within 24 hours.
-
Label jars with name and date before storing so you know what’s inside!
Frequently Asked Questions about Canning Green Beans
If you’re new to pressure canning, you probably have some questions! Here are answers to some of the most common FAQs about canning green beans:
Is it safe to can green beans in a water bath canner? No, a pressure canner is required. Green beans are a low-acid vegetable so they must be processed under pressure to destroy botulism-causing bacteria.
How long will canned green beans last on the shelf? Properly canned and sealed green beans stored in a cool, dark place should retain best quality for 12-18 months. Always inspect jars before consuming and discard any that show signs of spoilage.
Can I add ingredients like bacon or chicken broth to the jars? It’s not recommended to add anything other than green beans, water, and optional salt to your jars. Other ingredients may alter the acidity or density and are not considered safe for home canning.
Is it necessary to boil home-canned green beans before eating them? The latest USDA guidance states this is no longer required for products processed correctly in a pressure canner. However, you should still visually inspect jars before consumption and boil any that appear at all questionable.
My altitude isn’t listed on the chart. How do I know which pressure to use? Consult your pressure canner manual for guidance on proper pressure adjustments at additional altitudes not included in the chart. Be conservative and err on the side of extra pressure if in doubt.
Enjoy Canned Green Beans in Lots of Ways
Now that you’ve got shelves stocked with canned green beans, how will you use them? Here are some of my favorite ways to enjoy home-preserved green beans:
-
Combine with potatoes and bacon for old-fashioned green bean casserole
-
Toss with olive oil, salt, pepper, and halved cherry tomatoes for a quick side dish
-
Add to soups, stews, and pot pies for extra nutrition and texture
-
Drain and sauté with garlic, mushrooms, and Parmesan cheese
-
Mash with cream cheese, garlic powder, salt, and pepper to make a savory spread for crackers
-
Mix with tuna or chicken salad along with other veggies for extra crunch
Canning green beans gives you so many options for easy sides, apps, and ingredients year-round. The next time you spot a bumper crop of fresh green beans, grab them and can a batch. Once you discover how fun, frugal, and rewarding it is to preserve foods yourself, you might get hooked!
k
Why You’ll Love This Recipe
- Seriously, its so easy. But so dang good.
- Butter, onion powder, salt, and pepper are the only things you need. Simple but magical!.
- Make this dish to use up garden-fresh beans that you’ve canned at home or when they’re on sale at the store.
- Canned green beans, any cut
- Butter
- Onion powder
- Salt
- Pepper
For the exact amounts needed, please see the recipe card below.

How to Make Easy & Flavorful Canned Green Beans
- Green beans should have half of their liquid drained off. Add the beans to a skillet along with the half of the canning liquid that was saved.
- Add butter, onion powder, salt, and pepper.
- Cover and simmer, stirring every now and then, until almost all of the liquid has evaporated.
- Taste and adjust seasonings if necessary.
Yes, but only drain half of the liquid from the can of beans. The rest of the liquid is needed for the cooking process.
Yes! You can scale this recipe up as needed. We usually make 2 or 3 cans at a time and just adjust the seasonings accordingly.
The green beans will need to be cooked until almost all of the liquid has evaporated. Since you’re using canned green beans, they are already soft. All that’s left to do is warm them up and cook them for long enough for the seasonings to soak in.
- To make this recipe work, you need to let the liquid simmer out all the way. This helps the butter and seasonings stick to the green beans, making every bite tasty. If you don’t drain the beans, the good stuff you add will be lost when you serve them.
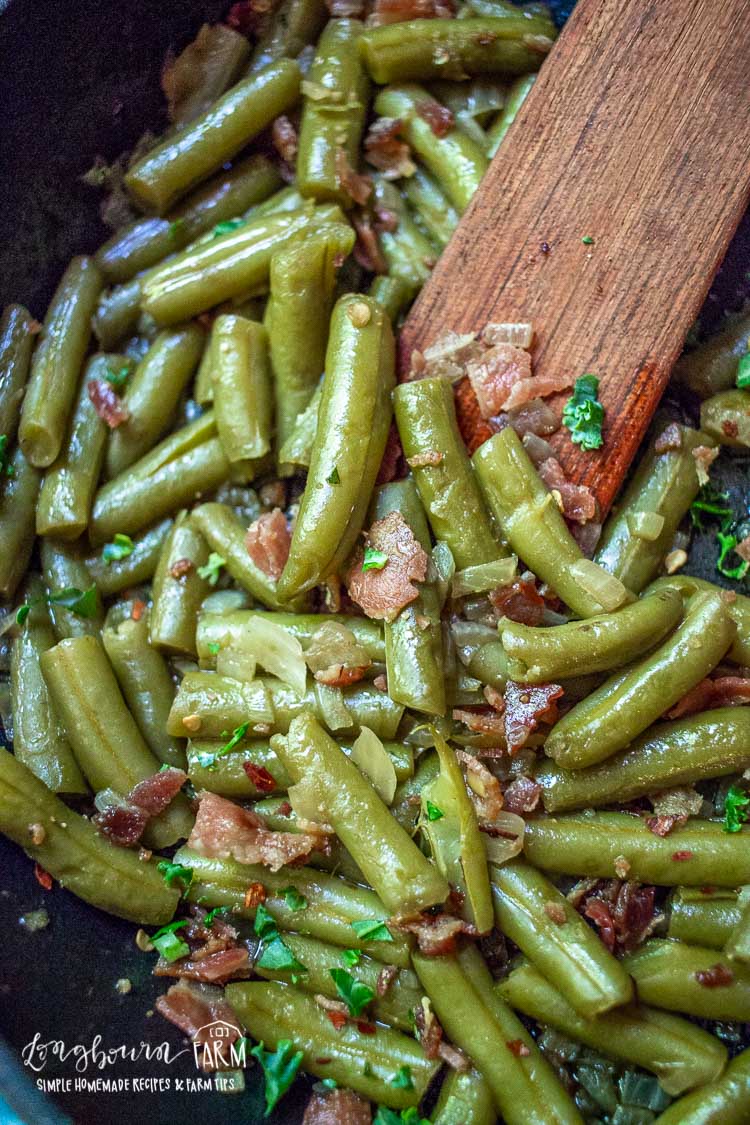
- A great addition to this recipe is some bacon. Because everything is better with bacon. Especially veggies. Is that an oxymoron? Never mind, dont answer that. I don’t want to be right if bacon and vegetables are wrong.
- You can make more of this recipe if you need to. We usually make two or three cans at a time and just change the seasonings to fit.