Dehydrated beans are a light way to get plant-based protein, and they only take a few minutes to rehydrate. This makes them perfect for meals in the pantry or while backpacking.
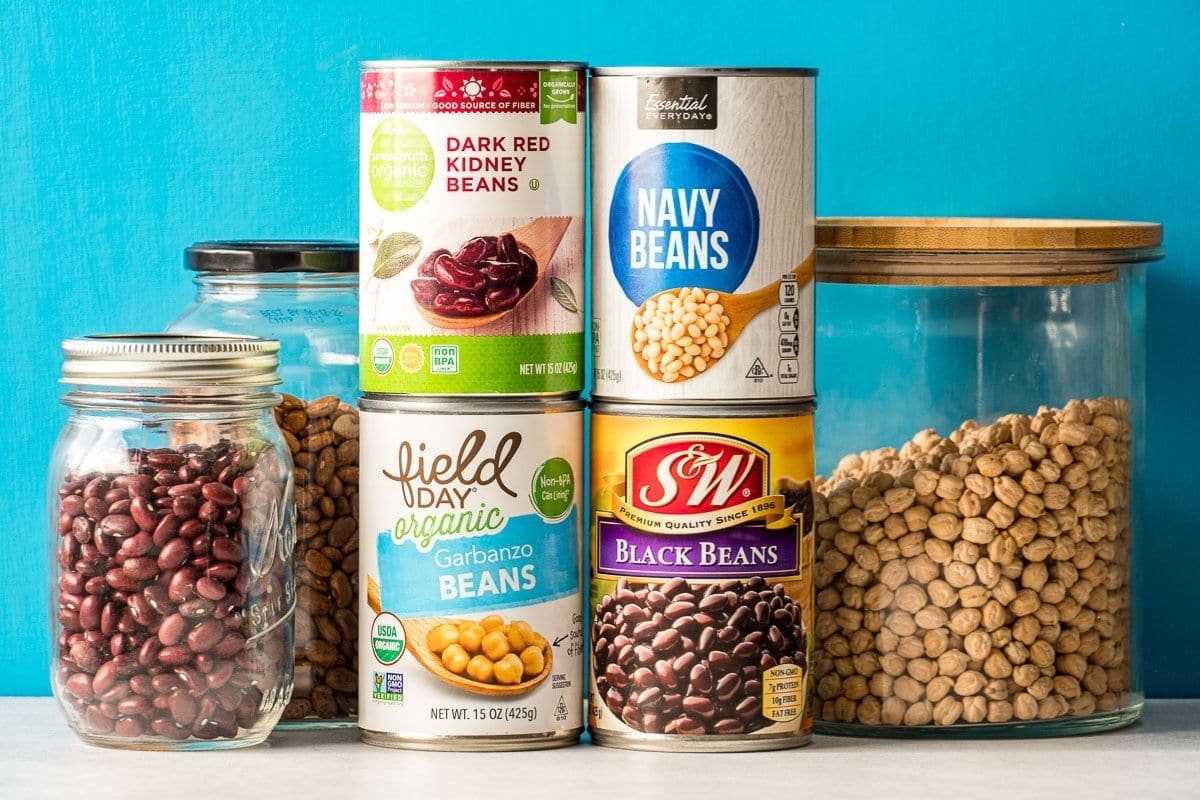
Both store-bought canned beans and bulk dried beans can last for a while on the shelf, but canned beans are big and heavy, and bulk dried beans can take up to an hour to cook all the way through. Neither are good options for backpacking.
You can make beans that are light, easy to pack, shelf-stable, and quick to cook by dehydrating them at home. These beans are great for throwing into a backpacking meal.
The plant-based protein found in beans is very versatile and can be easily added to almost any type of food. You should be able to find a bean that works for any dish, from Mexican to Italian to Middle Eastern to Indian.
Here is everything you need to know about dehydrating your own beans, so let’s get started!
Canned beans may seem like a convenient pantry staple, but did you know you can make your own dehydrated beans at home? With just a few simple steps, you can prepare batches of dried beans that cook up fast and allow you to pull together quick and healthy meals anytime
As a busy homesteader and food blogger I rely on homemade dehydrated beans to save time while still serving nutritious homemade food. If you’d like to skip the hours of simmering traditionally required for dried beans read on to learn my process for making dehydrated beans at home.
Why Make Your Own Dehydrated Beans?
Drying beans yourself offers many benefits:
-
Cost savings – Home dried beans cost a fraction of the price of canned beans from the store. You can buy beans in bulk for cheap and preserve multiple pounds at once.
-
Faster cooking – While regular dried beans take 1-2 hours to cook, dehydrated beans cook in only 10-20 minutes. Great for weeknight meals!
-
More nutrients – Homemade dried beans retain more nutrients than canned varieties. You control additives like salt, sugar and preservatives.
-
Custom flavors – Tailor beans to your taste by seasoning them before dehydrating. Make spicy, herby, smoked or other flavored beans.
-
Space saving – Dehydrated beans take up much less pantry space than cans or even glass jars of home canned beans.
-
Long shelf life – Properly stored, dehydrated beans can last 1-2 years or longer. Great for stocking your emergency pantry.
Clearly, homemade dehydrated beans offer much to love. Let’s look at how to make them.
Step-by-Step Instructions
Drying beans requires just a few easy steps. Here’s what to do:
1. Sort and Rinse Beans
Pick through dry beans to remove any debris like pebbles. Give them a good rinse to clean.
2. Soak Beans (Optional)
Soaking beans before cooking reduces the gas-causing oligosaccharides and shortens cook time. Cover with water and soak 8 hours or overnight.
3. Cook the Beans
Cook beans until very tender all the way through, either on the stovetop or in a pressure cooker. Season with salt, bouillon, herbs or other flavors.
4. Drain and Spread on Trays
Drain off any cooking liquid. Distribute beans in a single layer on dehydrator trays. Use nonstick sheets for easy removal.
5. Dehydrate
Dehydrate beans at 125°F for 6-10 hours until completely dried out and brittle. Rearrange trays and rotate as needed.
6. Cool and Store
Allow beans to cool completely before transferring to airtight containers or bags. Store in a cool, dark place.
And that’s all it takes! Now let’s look at helpful tips for each step.
Helpful Tips for Great Results
Follow these tips as you make your homemade dehydrated beans:
-
Soak well – Soaking makes beans more digestible and reduces gas. Change the water once or twice while soaking.
-
Generously season – Flavor your cooking liquid well with 2 tsp salt per pound of beans and aromatics like garlic, onions, bouillon and spices.
-
Cook thoroughly – Beans should be fork tender all the way through with no crunchy centers before dehydrating. This allows faster rehydrating.
-
Work in batches – For even drying, only fill trays with a single layer of beans without crowding or overlap. Rotate trays as needed.
-
Dry completely – Beans are done when shrunken, dry and brittle. If still pliable, they need more time. Overdrying is hard to do.
-
Cool fully before storing – Let beans cool to room temperature before packing to avoid moisture condensation issues.
Rehydrating Your Dehydrated Beans
The magic of homemade dried beans comes when you go to cook them. Here’s how to rehydrate:
-
For soups or stews, simply add beans to the cooking liquid. Simmer until heated through, about 10-15 minutes.
-
To use in other recipes, cover beans with boiling water and let sit for 10 minutes to rehydrate. Drain off any excess water before using.
-
For quicker cooking, boil beans for 5 minutes until tender before adding to recipes.
-
To make refried beans, cover with hot water for 10 minutes then mash with melted lard or oil while heating.
-
Adjust water amounts as needed based on the recipe and your desired bean texture.
Homemade dehydrated beans make it so easy to incorporate more plant-based proteins into your diet. Keep a batch on hand to toss into soups, salads, tacos, rice bowls and more for added nutrition and fiber. Get creative with fun flavor profiles like chili lime or Cajun spiced beans.
Once you discover how convenient homemade dried beans can be, you’ll never go back to canned! Enjoy the time savings, money savings and flavor benefits.

Prepping beans for dehydrating
The beans should be fully cooked and thoroughly rinsed in order to remove any excess liquid. Most of the time, we put them in a mesh colander and run cold water over them until the water is clear.
If you’re in the market for a dehydrator, we recommend buying one with an adjustable temperature. That way, you can set the drying temperature so that each ingredient works best for you. The dehydrator we recommend (and use) most often is the COSORI Premium. Also, read our post on the best dehydrators to see a list of all the ones we’ve used and approved.

Why Dehydrate beans?
The most common reason to dehydrate beans is to add to backpacking meals. But drying your own beans is a good idea if you want beans that are easy to carry, cook quickly, and don’t need to be packed in a lot of bulk. For ideas on how to use dehydrated beans, scroll down to the end of this post.
Dehydrating My Refried Bean Mix
FAQ
Do you need to cook beans before dehydrating?
How long does it take to dehydrate beans in a dehydrator?
How long will dehydrated beans last?
How to make dried beans from scratch?