Learn How to Blanch Green Beans so they are deliciously tender-crisp every single time. You can then sauté them for dinner, put them in salads, or eat them as a snack all day.
Blanching is a cooking process that transforms fresh green beans into partially cooked, chilled green beans. This is a good way to cook the beans quickly in another dish or just serve them as they are.
To blanch, you first bring the food to a quick boil in salted water. Then, you quickly drop it into a bowl of ice water. Before the beans get too soft, they are boiled, and then they are put in ice water to stop the cooking.
Blanching green beans is a simple cooking technique that helps enhance their flavor, texture, and color. It involves briefly boiling the beans then immediately immersing them in ice water to stop the cooking process. Blanching green beans helps lock in nutrients, brighten their color, and gives them a perfect crisp-tender bite.
Why Blanch Green Beans?
There are several benefits to blanching green beans before eating them or preserving them
-
Brightens color: Blanching helps green beans retain their bright green color. The heat deactivates enzymes that can cause oxidation and fading of the vibrant green chlorophyll pigments.
-
Crisp texture A quick blanch maintains the beans’ crisp snappy texture. Overcooking makes them mushy and soft.
-
Nutrient retention Heat triggers chemical changes that help lock in nutrients like vitamins C and A Stopping the cooking quickly prevents excessive nutrient loss.
-
Shelf life: For frozen or canned beans, blanching destroys bacteria and enzymes that cause spoilage, extending shelf life.
-
Flavor: Blanching lightly cooks the beans and concentrates their fresh, “green” flavor before adding seasonings.
So in short, blanching maximizes the appearance, texture, nutrition, and taste of fresh green beans. The minimal cooking time preserves crunch while making them more visually appealing and nutritious.
How to Blanch Green Beans
Blanching green beans involves two very simple steps:
Step 1: Boil Briefly
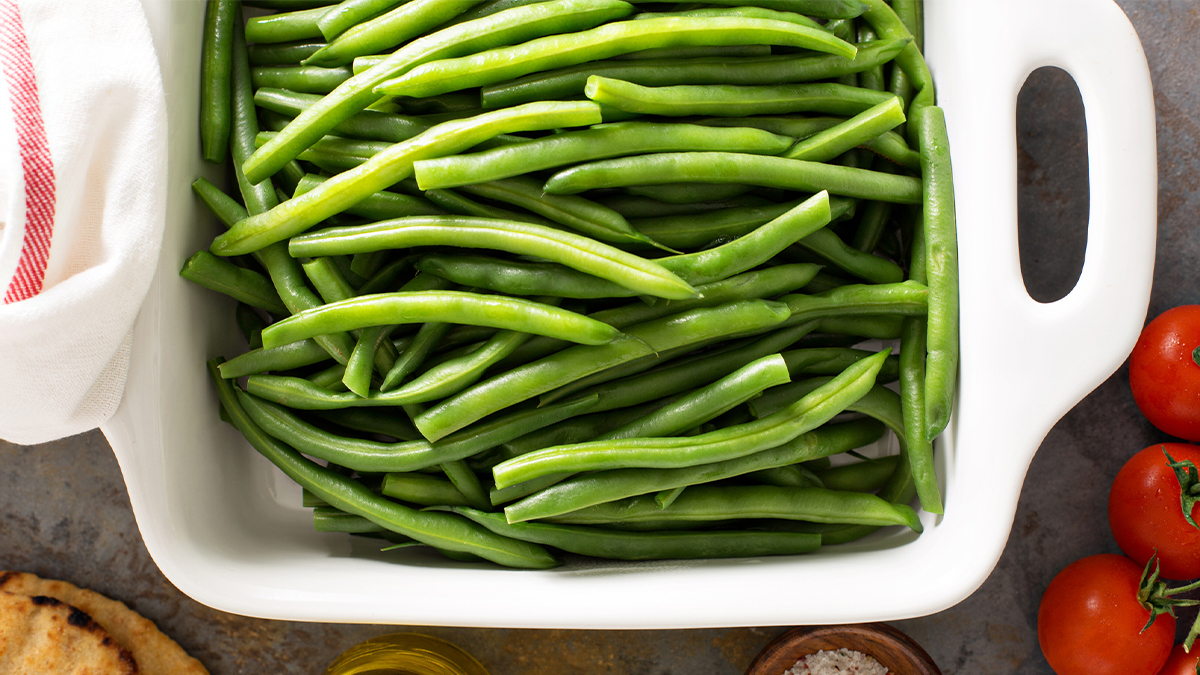
- Start with fresh, crisp green beans. Rinse and trim the ends.
- Bring a large pot of salted water to a rapid boil.
- Add beans and boil for 1-3 minutes, just until bright green and partially cooked.
- Use a slotted spoon to transfer beans to ice water.
Step 2: Shock in Ice Water
- Prepare bowl of ice water while beans boil.
- As soon as beans are partially cooked, plunge into ice bath.
- Let sit 1-2 minutes until completely cooled.
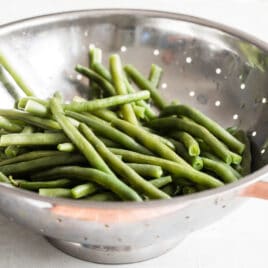
- Drain beans and pat dry with paper towels.
The immediate ice water bath stops the cooking process quickly so they don’t overcook. This shocks them into retaining their crunch.
Tips for Perfect Blanching
Follow these tips for expertly blanched green beans:
- Use a large pot and plenty of water – At least 4 quarts of water per 1 lb of beans.
- Salt the boiling water generously – 1-2 Tbsp salt per quart of water.
- Cook beans in batches – Blanch only 1-2 lbs at a time for even cooking.
- Time it right – Most green beans take 1-3 minutes to blanch properly.
- Shock immediately – Have ice bath ready and transfer beans promptly.
- Chill sufficiently – Leave in ice bath 1-2 minutes until fully cooled.
- Drain and dry – Remove surface moisture before sauteing or freezing.
Getting the timing right is key. Underblanching fails to inactivate enzymes; overblanching leads to mushy beans. Taste test a bean after 1 minute to check doneness.
Blanching Methods
While boiling and ice bath shocking is the standard technique, there are a couple variations:
-
Steam blanching – Use a steamer instead of boiling water. Takes a bit longer but can help retain more nutrients.
-
Microwave blanching – Works for small batches. Use microwave-safe dish, 2 cups water per 2 lbs beans and cook 5-6 minutes. Shock as usual.
The quick boil method is typically easiest and most effective. But steam and microwave can work in a pinch.
What to Do After Blanching Green Beans
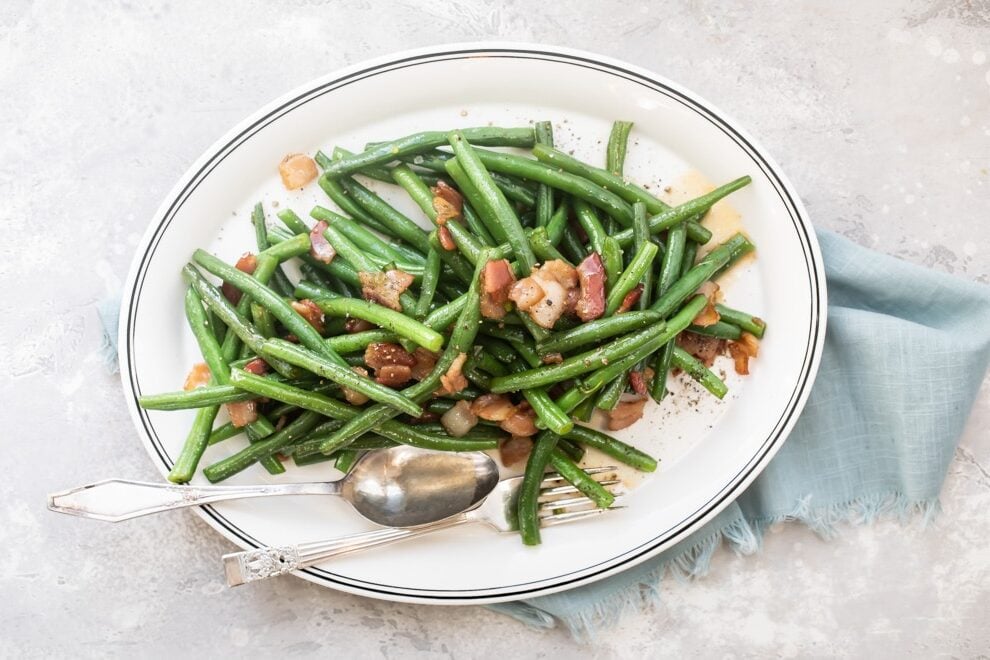
Blanched green beans are ready to eat! You can also freeze or can them for long-term storage. Here are some ideas:
-
Saute with olive oil, garlic, salt and pepper.
-
Toss with lemon juice and Parmesan cheese.
-
Mix into salads, pasta, frittatas, etc.
-
Freeze in airtight containers or freezer bags.
-
Can in sterilized jars processed in a water bath canner.
-
Pickle with vinegar, garlic and dill.
Blanching green beans takes just a few minutes but makes a big difference in optimizing their flavor, texture and nutrition. Follow the simple steps of boiling then ice bath shocking for the best fresh or preserved green beans. Proper blanching unlocks their full potential!
Best green bean recipes
Recipe tips and variations
- About 4 people can eat 1 pound of blanched green beans.
- Storage: Cover leftovers and put them in the fridge for up to four days.
- You can wash and trim the beans up to three days ahead of time.
- To freeze green beans, put them in a single layer on a baking sheet lined with parchment or waxed paper after they have been blanched and drained. Then, put the sheet in the freezer. Once each bean is frozen, take it off the sheet pan and put it in a container that can go in the freezer. You can store it there for up to 9 months. Take out the frozen green beans and heat them up, or let the whole bag thaw in the fridge overnight before heating them up.
- Some of my favorite ways to use green beans are in Veggie Fried Rice, an Easy Cold Pasta Salad, a Niçoise Salad, or a green Bean Salad. Or, just cook your string beans that have been blanched in a pan with salt, black pepper, olive oil, garlic, and lemon. What an amazing flavor combination!.
- Another vegetable you can blanch is cauliflower. It’s also easy to blanch broccoli and asparagus.
- Green beans that are left over can be used in an omelet, a pasta salad, or a green salad. You can also dip cold beans in Dill Dip, Ranch Dressing, or Hummus.
Blanch green beans until they are tender-crisp and the bright green color is set. If your pot of water is already very hot when they go in, this should only take three to five minutes.
Not all recipes require blanching. This is just an extra step that can help you make sure all of your vegetables are cooked at the same time or get rid of the harsh raw taste when serving them cold, like with veggie dip.
Cooking Tips : How to Blanch Green Beans
FAQ
How do you blanch green beans?
Why is it important to blanch green beans?
What happens if you don’t blanch green beans?
What effect does blanching have on green beans?
What is the best way to blanch green beans?
Blanch your green beans in the microwave. Substitute a casserole dish and microwave for a pot and stove. The steps are generally the same as blanching on the stove with a few minor tweaks. Instead of keeping your green beans whole, chop them into small pieces. Put salt on them directly instead of in the water.
What is the purpose of blanching green beans?
There a several reasons for blanching. When you blanch a vegetable if brightens the color. This is especially good for green vegetables like broccoli or green beans. Blanching removes any bitter taste from vegetables. Blanching also affects the texture. When you blanch green beans you end up with a very crisp and tender bean.
What is the best way to store green beans?
Storing: Green beans should be stored in an open bag in the refrigerator. Unwashed, untrimmed green beans will last about 1 week. Snap off the stem ends by hand, or use kitchen scissors to snip off the stem ends. Grab a pot large enough to hold the green beans you plan to cook, and fill it with water. Salt the water and bring it to a rapid boil.
How do you freeze green beans?
Pat the green beans dry with a towel. Place the blanched green beans on a baking sheet in a single layer. Freeze for 1 hour until solid. Then place the beans in a freezer safe container or storage bag. For more, go to How to Freeze Green Beans.