Do you like sprouts in soups, sandwiches, and salads? This simple guide will show you how to grow mung bean sprouts in a jar.
Sprouts are formed when seeds start to sprout into a full vegetable. Mung bean sprouts are (wait for this) — sprouts from mung beans!.
Those who have had Pad Thai or the Vietnamese soup Pho have probably had them or seen them.
If you see a recipe for bean sprouts in an Asian or Asian-inspired food, it most likely means mung bean sprouts.
When I was growing up, I loved adding bean sprouts to my sandwiches. Id pile them high, and dig in. I loved the crunchy texture and the delicate flavors.
In the late 90s, however, bean sprouts began vanishing from grocery stores. Lets call this “The Case of the Disappearing Sprouts. “.
Bean sprouts aren’t always safe to eat, so big grocery stores took them off the shelves. You can still find them in some health food stores and international markets, though. Whats the problem?.
You could get sick and feel bad about the food you ate if the seeds aren’t treated right or the sprouts are grown wrong. But I wasn’t ready to give up bean sprouts because I love the taste and many meals don’t taste right without them.
If you grow your own bean sprouts at home, will that make them healthier? No, because the problem could start with how the seed was handled.
Thats why its extra important to buy mung beans that are SPECIFICALLY meant for sprouting or eating raw. These seeds will be inspected more carefully with FDA regulations than seeds meant for planting.
Some sources recommend adding citric acid to your sprouting water to keep the sprouts even safer. I havent tried this, but it is an option.
Still, I’m not a doctor, and if a doctor tells you to stay away from bean sprouts, please do what they say and not what I say.
Bean sprouts are a super healthy and delicious addition to salads, sandwiches, stir-fries and more Their crisp texture and fresh flavor can’t be beat. But did you know how easy it is to grow your own sprouts right at home using just a mason jar?
In this simple guide, I’ll walk through the entire process of sprouting beans in a jar, from start to finish. Let’s dive in!
Why Grow Your Own Sprouts?
There are so many great reasons to try sprouting at home
-
Maximum freshness – Homegrown sprouts are the freshest you can get. Grocery store sprouts are often days or even weeks old.
-
Better taste – Freshly sprouted beans have a crisp, sweet flavor you just can’t find in store-bought sprouts
-
More affordable – All you need is a packet of seeds, which costs just a few dollars. Much cheaper than buying sprouts!
-
Fun to watch grow – It’s mesmerizing to see little sprouts emerge each day. Great project for kids.
-
More variety – You can sprout any bean or seed you want – try alfalfa, mung bean, lentil, radish, broccoli, sunflower and more!
-
Nutritious – Sprouts are packed with vitamins and minerals.
So why wouldn’t you want to grow your own? It takes just 5 minutes a day and the payoff of fresh sprouts is huge.
Step 1: Pick Your Sprouting Seeds
You can sprout any edible seed, bean or grain. Some top choices are:
- Mung beans – popular, fast growing, versatile
- Alfalfa – mild flavor, very nutritious
- Lentils – packed with protein
- Radish – spicy and adds crunch
- Broccoli – for a nutrient boost
- Wheat berries – for wheatgrass
Buy seeds specifically labeled for sprouting. You want seeds guaranteed to germinate. Get them from a trusted source and store them in a cool, dry place.
Step 2: Gather Your Supplies
Sprouting beans is super simple – you likely have everything you need already!
- Wide-mouth glass jar (1 quart)
- Cheesecloth or sprouting lid
- Rubber band or mason jar ring
- Seeds for sprouting
- Water
Make sure to clean and sanitize all equipment before getting started.
Step 3: Soak Your Seeds
- Add 1-2 tablespoons of seeds to your sprouting jar. How much you use depends on the seed size.
- Fill the jar with cool, clean water. Leave a couple inches at the top.
- Secure the cheesecloth or lid on top with the rubber band or mason jar ring.
- Let the seeds soak for the recommended time, usually 8-12 hours.
Step 4: Drain and Rinse
- Drain off the soak water thoroughly by tipping the jar over the sink.
- Run cool water into the jar to rinse the seeds. Drain again.
- Repeat the rinsing and draining 2-3 times per day. This removes any enzyme inhibitors and prevents mold growth.
Step 5: Watch Them Sprout!
- Keep the jar out of direct sunlight and maintain a consistent temperature around 70°F.
- Most seeds will sprout visibly in just a day or two.
- Once sprouts are 1-2 inches long (3-7 days), they are ready to harvest!
Step 6: Harvest Your Sprouts
- Give the sprouts a final good rinse and drain very well.
- Spread them on a towel to dry completely. This prevents molding.
- Store sprouts in an airtight container in the fridge for up to one week.
And that’s it! Now you can enjoy your fresh, homegrown sprouts in salads, sandwiches, smoothies and more. It’s amazing how quickly they grow, and how much better they taste than store-bought.
Once you get the basics down, you can experiment with sprouting different seeds and beans to find your favorites. Kids love watching the sprouting process unfold each day. It’s an easy, fun kitchen project the whole family will enjoy.
The possibilities are endless when you make sprouting part of your regular routine. You’ll have a constant supply of nutritious, delicious sprouts on hand to boost your meals and snacks. No more worrying about the freshness of grocery store sprouts!
Troubleshooting Common Sprouting Problems
Of course, things don’t always go perfectly when growing sprouts. Here are some common issues and how to deal with them:
Moldy sprouts – Make sure to rinse and drain thoroughly each day. Discard any sprouts with visible mold.
Smelly sprouts – A sour or rotten smell means they’ve gone bad. Toss them out and sterilize your jar.
Slimy texture – This is a sign of bacterial growth. When in doubt, throw them out.
Seeds not sprouting – Older seeds may not germinate well. Try soaking for a full 24 hours before rinsing.
Leggy or lanky sprouts – They need more light. Put jar near a sunny window after they’ve started growing.
Don’t get discouraged if you run into problems! It takes some trial and error to get the process down. The more you sprout, the better you’ll get at growing healthy sprouts.
Creative Ways to Use Your Homegrown Sprouts
Now comes the fun part – eating your sprouts! Here are some yummy ways to enjoy them:
-
Toss them into salads for crunch and color.
-
Add to wraps, sandwiches and burgers for texture.
-
Mix into rice, quinoa or noodle dishes.
-
Blend them into smoothies and juices.
-
Garnish soups and chilis before serving.
-
Pile them on top of pizza, nachos and tacos.
-
Stir into omelets, frittatas or scrambles.
-
Top pancakes, waffles and oatmeal.
-
Fold into muffin, quick bread and pancake batters.
With so many options, you’ll never get bored finding new ways to eat your sprouts! They make an easy upgrade to most savory dishes.
Let your imagination run wild with creative recipes using your freshly sprouted beans, seeds, grains and more. Homegrown sprouts are delicious and good for you – start sprouting today!
:strip_icc()/bhg-bean-sprout-jars-GettyImages-909258304-2be24caba0744607b432ef8d7db7898d.jpg)
k
What Equipment Do I Need?
To grow mung bean sprouts, you need food-grade mung beans.
You also need a clean glass jar thats at least 16 ounces in size. A standard Mason jar works just fine.
Youll also need something to cover the jar. A piece of cheesecloth with a rubber band works well, or you could pick up a sprouting jar lid. The sprouts need airflow, so do not use a mason jar lid.
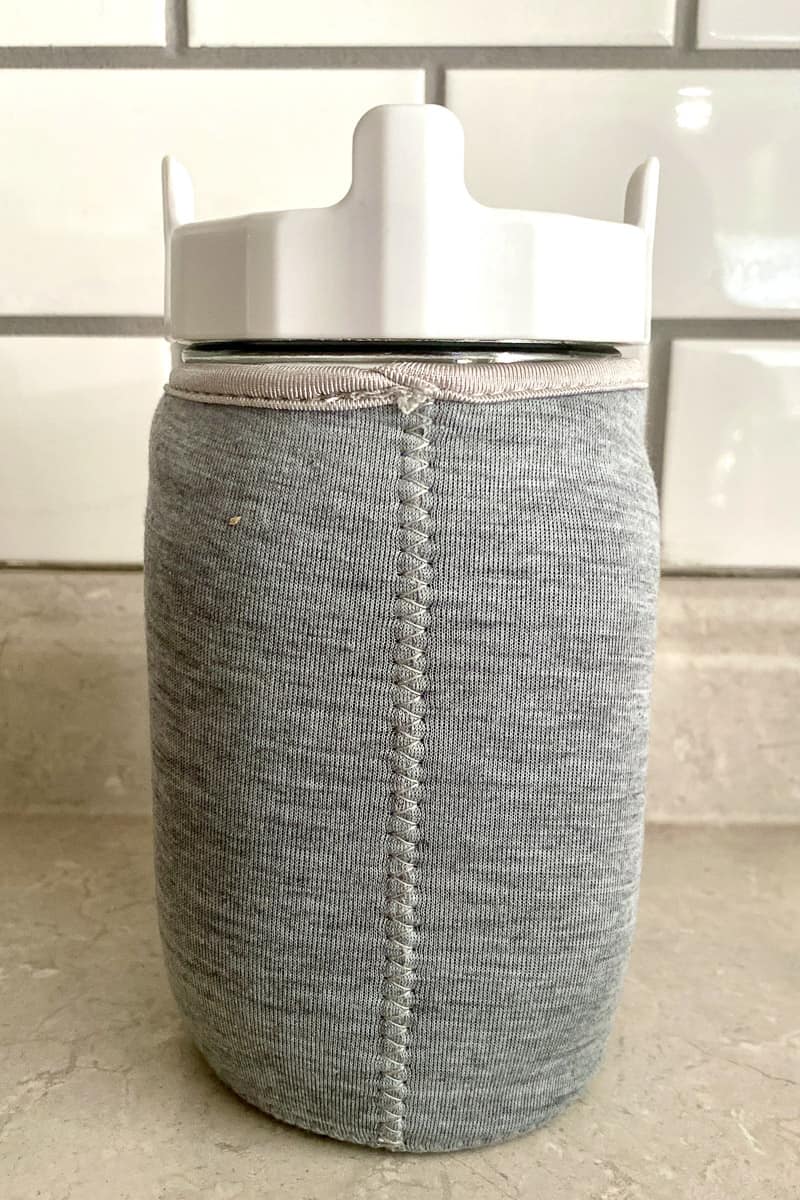
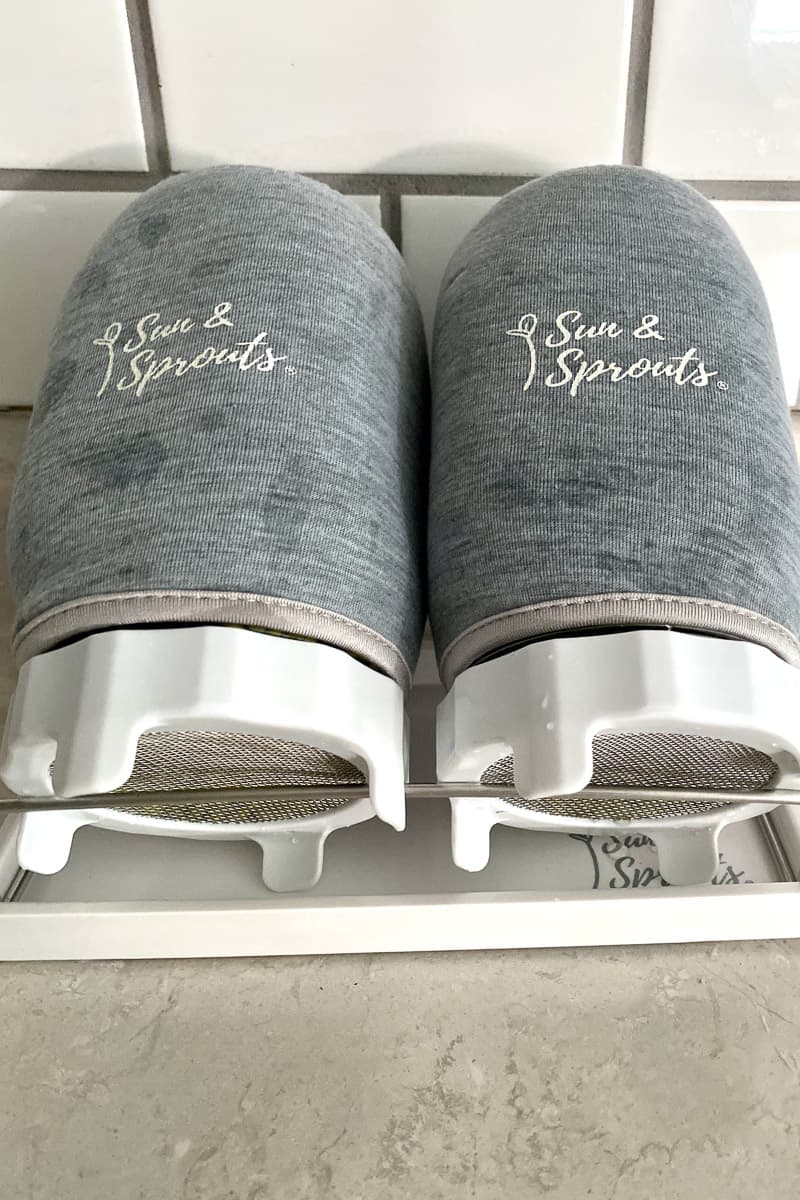
Another option (which I love, but isnt totally necessary), is to use a sprouting jar kit. These kits typically include the jars, airflow lids, blackout sleeves and and airflow stand.
If you don’t have climate control in your home and live in a very hot or cold area, your sprouts will not grow as quickly. It may be impossible to grow sprouts in very cold rooms.
How to Grow Mung Bean Sprouts
Start by sanitizing your glass jar. I do this by putting it in the oven at 225-degrees for at least 20 minutes. Leave the jar in the oven until youre ready to start.
Next, rinse your mung beans. Add the beans in to the clean jar, and add 2-3 times more water than beans.
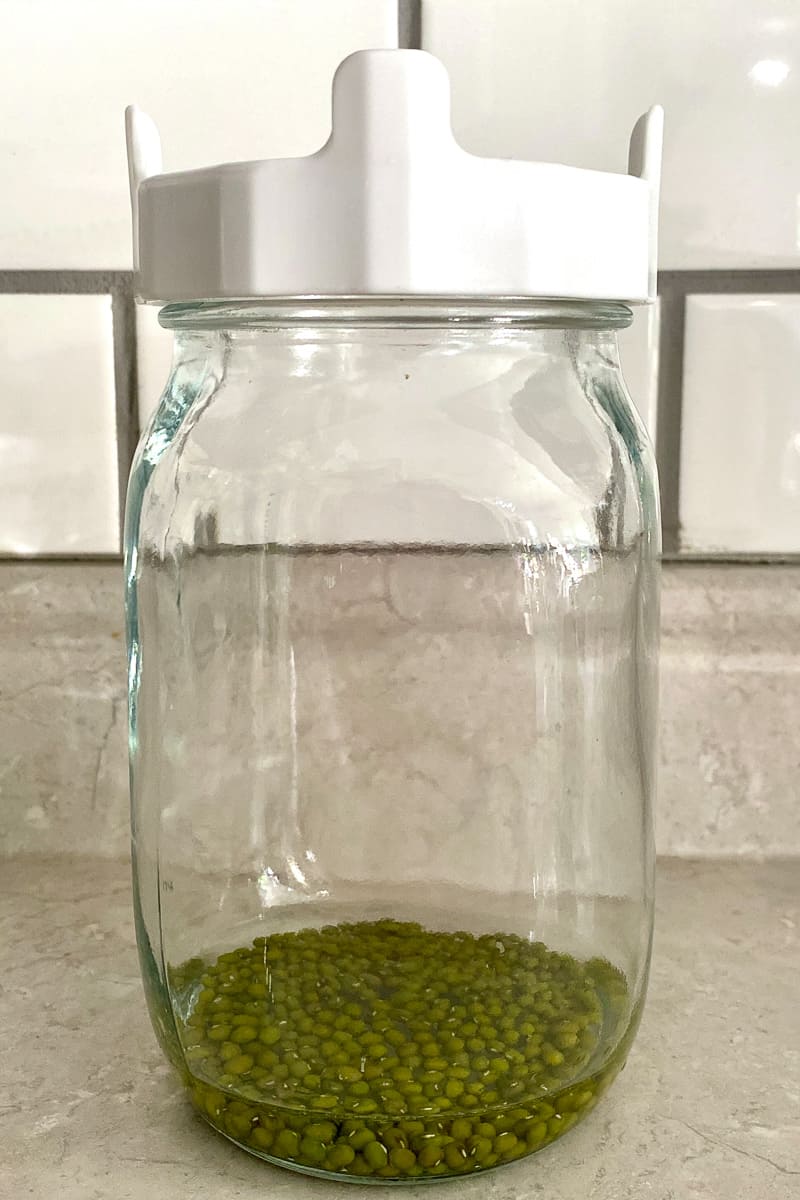
Secure the cheesecloth over the top of your jar with a rubber band (or attach the sprouting jar lid), and set your jar in a dark space at room temperature (like in a cabinet).
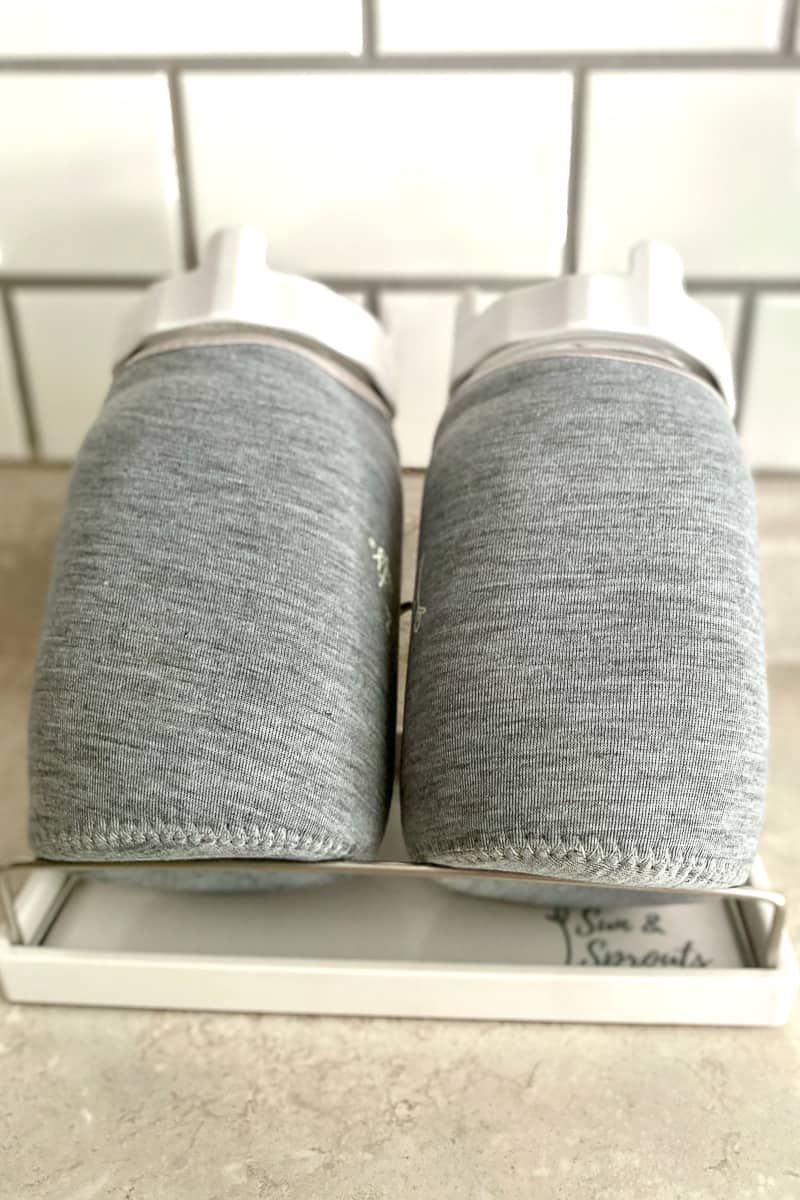
If youre using a sprouting jar kit, you can use the blackout sleeves and airflow stand, and leave the jars on the counter where youre less likely to forget about them.
Soak the seeds overnight (or for about 8-12 hours), and then drain the water.
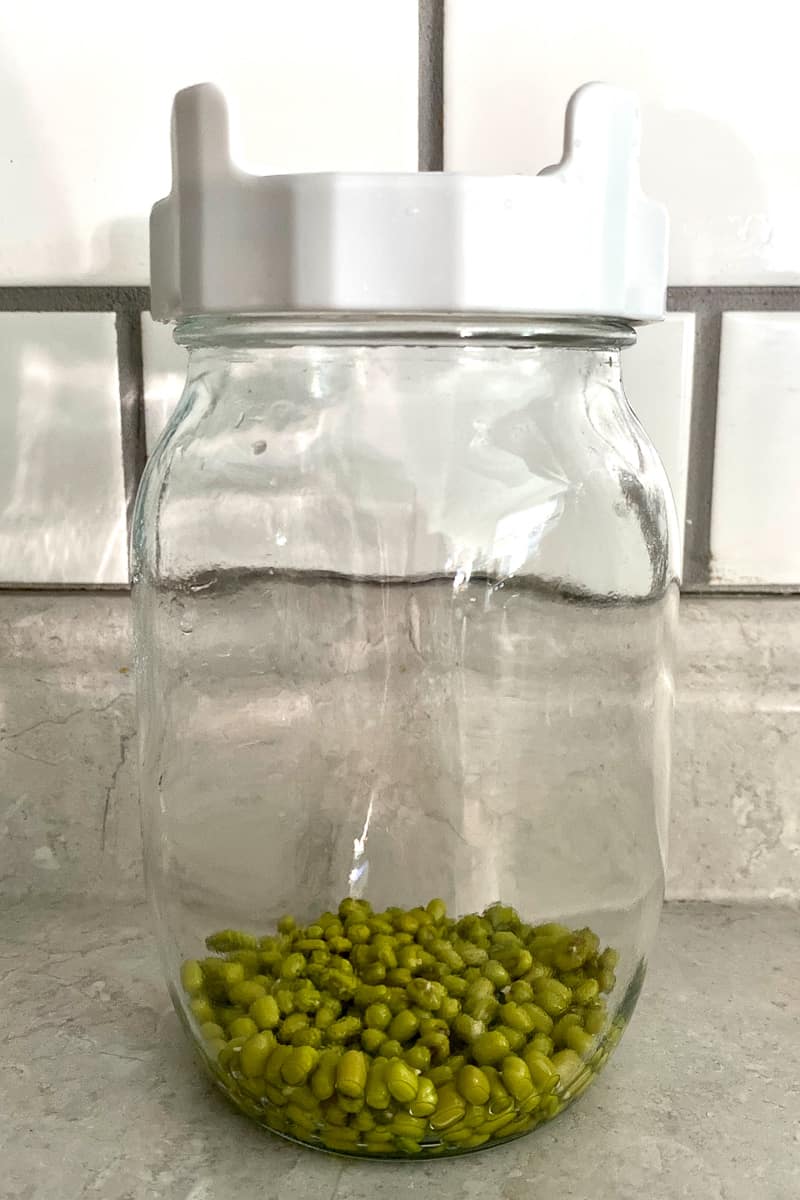
Rinse the beans, drain all the water out, and store the jar on its side.
If youre using a sprouting jar kit, place the jars back inside the blackout sleeves and store them lid-side down on the airflow stand.
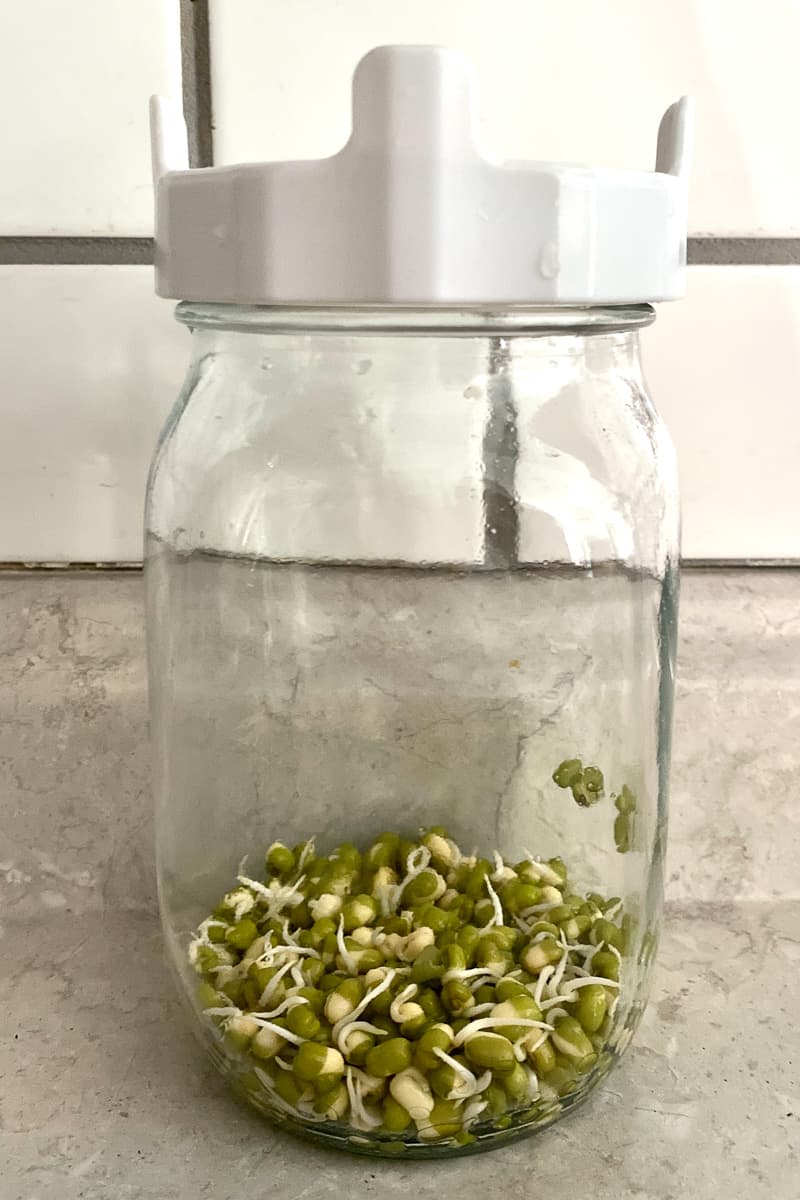
Rinse the beans twice a day for three days. After that, put the sprouted beans outside in the sun while they are still in the jar.
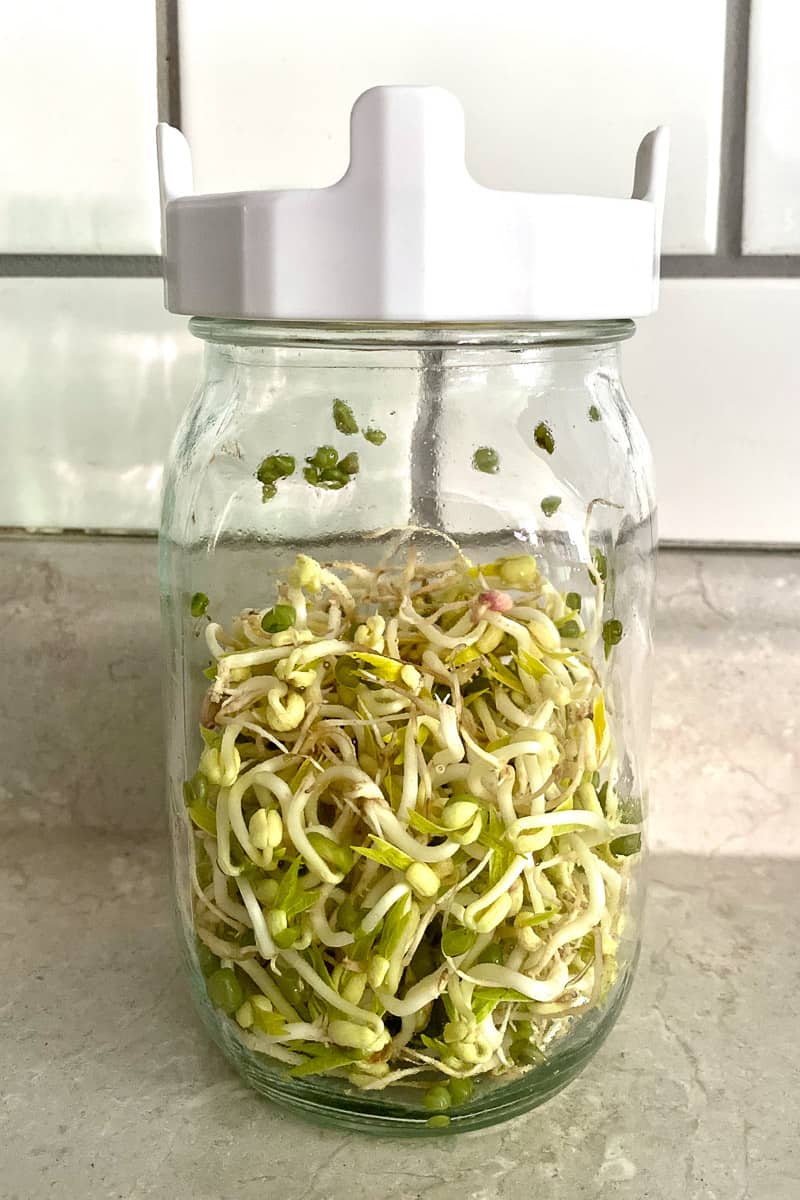
Sow the sprouts in the sun for about a day. Then put them in the fridge and eat them within three to five days.
How To Grow Bean Sprouts in Mason Jars with Bean Screens by Masontops
FAQ
How long does it take to grow sprouts in a Mason jar?
Is it better to grow sprouts in a tray or jar?
How do you grow bean sprouts in a jar?
Add about 1-2 tablespoons of bean sprouts seeds into the jar. You can adjust the quantity based on how many sprouts you want to grow. Fill the jar with water, making sure the seeds are fully submerged. Let them soak for about 8-12 hours.
Can you grow bean sprouts in a mason jar?
Mason jars are great containers for growing bean sprouts. They are inexpensive, reusable, and come in different sizes. Furthermore, mason jars also provide a humid environment that helps seeds germinate fast. If you want to try this at home, you’re gonna need some basic supplies.
How to grow sprouts in a jar?
Growing sprouts in a jar is an easy and rewarding experience with many nutritional benefits. So, gather your mason jars, pick your favorite sprouting seeds using this guide, and start sprouting seeds at home. Seed Selection: Begin by choosing your sprouting seeds. Rinse them thoroughly in a fine-mesh strainer under running water.
How do you grow mung beans in a jar?
Bean sprouts seeds (such as mung beans, lentils, or chickpeas) Start by thoroughly rinsing the glass jar with warm water to ensure it is clean and free from any dirt or residue. Add about 1-2 tablespoons of bean sprouts seeds into the jar. You can adjust the quantity based on how many sprouts you want to grow.
