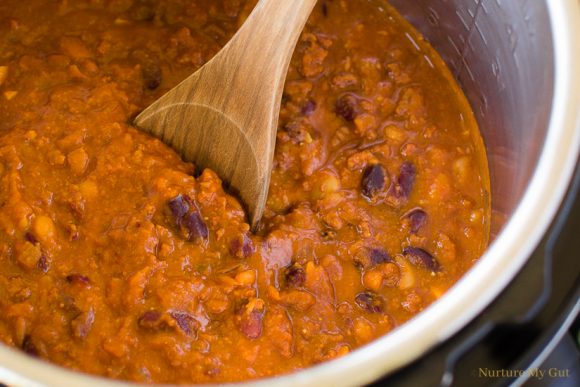
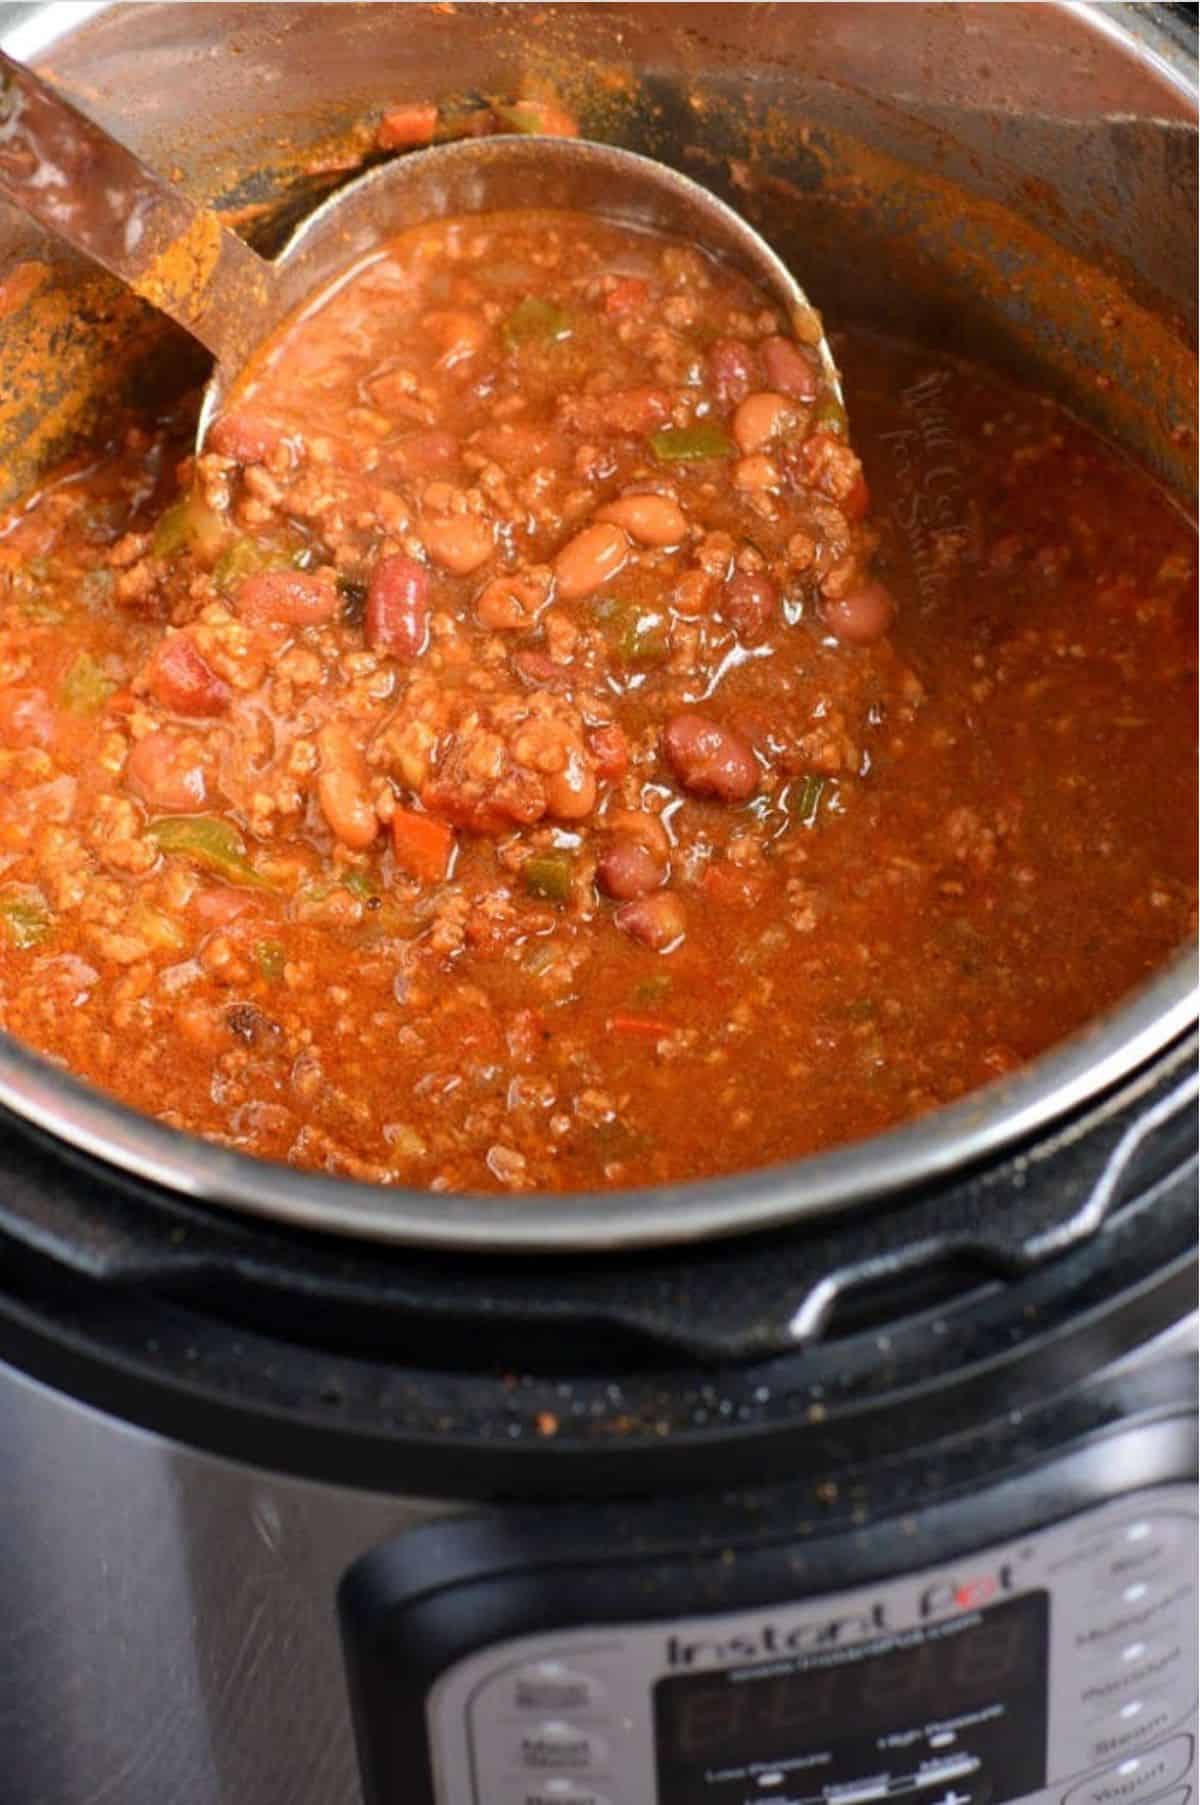
You can make Instant Pot Chili in less than an hour, and even though it’s quick, it doesn’t skimp on taste or heartiness. This chili is loaded with ground beef, veggies, beans, and lots of spices that really hit the spot!.
When the weather drops outside, stay warm with more chili recipes like Turkey Chili and Vegetarian Chili.
Every time the temperatures outside gets a little low, it’s chili time at our house. The temperature drop doesn’t even have to be very big; a few degrees is enough for us.
Since my whole family loves chili, I make it pretty often. It takes me about two hours to make chili on the stove because I like to give the meat a lot of time to stew and get soft. Cooking chili in a Crockpot it takes several hours, of course. That’s why I’ve adjusted my recipe to cook it in an Instant Pot.
In less than an hour, we have flavorful, tender chili to enjoy. The main difference I found between cooking chili on the stove and in an Instant Pot is that the Instant Pot chili has a little more liquid.
More liquid stays in the chili because it doesn’t cook out and evaporate in a pressure cooker like it does on the stove. Our chili doesn’t need to be too soupy, but when I make it in a pressure cooker, I add less liquid.
Do not try to get rid of all liquids though. A pressure cooker has to have at least 1 cup of thin liquid to cook the food. So I’ve cut down beef stock to 1/2 cup. You only need 1/2 cup of beef stock to cook the chili in the Instant Pot. The juices from sautéing the meat and vegetables and the juice in the canned tomatoes will do the rest.
Onion – A yellow onion is preferred for the natural touch of sweetness it has. However, a white onion also works in a pinch.
Jalapeños – If you want chili to be spicier, leave jalapeño seeds in. In order to make it less spicy, pick young jalapeño peppers with smooth green skin and remove all of the seeds and membrane.
Ground Beef: I’ve had the best results when I use 85/15 ground beef (meat to fat).
Tomatoes: You will need tomato sauce, fire-roasted diced tomatoes, and fresh tomatoes right off the vine. All of these contribute to both the flavor and consistency of the chili.
Beef Stock—When I can, I like to make my own beef stock. You can also use store-bought stock; just make sure it says “no salt added” or “low sodium.”
Beans – You can always choose your own beans line navy, cannellini, pinto, kidney, black beans, and others. We prefer to use a combination of pinto beans and red kidney beans. Just remember to drain the beans before adding them.
The Instant Pot is an incredibly versatile electric pressure cooker that can be used for everything from cooking rice to making cheesecake One of the handy preset buttons on many Instant Pot models is the Bean/Chili setting This program is designed to cook beans and chili to the perfect texture without you having to calculate timing,
If your Instant Pot has this convenient setting you may be wondering exactly how to use it to make delicious beans and chili. Here is a comprehensive guide to using the Bean/Chili function on an Instant Pot.
What Models Have the Bean/Chili Setting?
Not all Instant Pot models come with a button specifically for beans and chili. This program is generally found on the following models in the 3-quart, 6-quart, and 8-quart sizes:
- Duo
- Duo Plus
- Duo Nova
- Ultra
- Viva
- Smart
- Duo SV
Some older models like the Lux do not have this setting Always check the control panel of your specific Instant Pot to see if the Bean/Chili button is present before purchasing
What Does the Bean/Chili Setting Do?
The Bean/Chili program is designed to cook beans and chili to the perfect level of doneness. Beans can be tricky to get just right in a pressure cooker. If undercooked, they will still be hard and unappetizing. But allowing them to overcook can cause them to break down too much into an unappealing mush.
The Instant Pot’s preset solves this problem by automatically setting the cooking time, temperature, and pressure level in order to achieve tender beans with the right amount of bite. The default setting is 30 minutes, which yields a standard soft bean texture. However, the time is adjustable from a very soft 45 minutes to a firmer 25 minutes.
For chili, the Bean/Chili program again takes the guesswork out of getting the textures just right. It automatically sets an optimal cooking time and pressure level to allow the beans and vegetables to reach doneness without overcooking.
Tips for Using the Setting
Here are some useful tips to get the most out of the Bean/Chili function when cooking beans, chili, or other bean-based dishes:
-
Make sure beans are soaked or quickly brought up to pressure using another setting before using the Bean/Chili program. Unsoaked beans take longer to cook through.
-
Add plenty of liquid to the pot when cooking beans to allow for evaporation and prevent scorching. A minimum of 3 cups of water per 1 cup of dried beans is recommended.
-
For very soft, creamy beans, use the “More” 45 minute setting. For firmer beans with more bite, choose the 25 minute “Less” option.
-
Avoid stirring chili or adding acidic ingredients like tomatoes until after cooking if possible. This prevents scorching and the “BURN” error message.
-
For thicker chili, try using the Sauté function after cooking to simmer and reduce the liquid to the desired consistency.
-
Adjust cooking time up or down as needed if following a recipe and beans are not as tender as you like after a first attempt.
-
Natural pressure release is recommended after cooking to prevent blowing bean skins out of shape as the pressure releases.
-
Sauteing aromatics like onion and garlic at the start can add flavor. Browning meat before adding it also enhances chili.
-
Check beans after cooking to see if additional seasoning or salt is needed once they fully absorb the liquid.
Step-by-Step Guide
Follow these simple steps for foolproof beans and chili using the Instant Pot Bean/Chili function:
-
Add soaked beans and cooking liquid to Instant Pot inner pot. A ratio of 1 cup beans to 3 cups water is a safe starting point.
-
For chili, brown ground meat and sauté aromatics if desired before adding remaining ingredients. Deglaze the bottom of the pot with a bit of liquid.
-
Secure the lid, ensuring the pressure release valve is in the “Sealing” position.
-
Select the “Bean/Chili” program. Choose “Less,” “Normal,” or “More” based on desired texture.
-
Allow pressure to build until the float valve pops up. Bean/Chili cooking time will begin counting down.
-
When cooking completes, allow pressure to release naturally, about 15 minutes.
-
Carefully open the lid, tilting it away from you to avoid steam. Check beans or chili for doneness and season to taste.
-
For chili, use Sauté to simmer and reduce to desired thickness if needed.
-
Serve beans as a side dish or enjoy chili topped with favorite garnishes like cheese, sour cream, or chives.
Tips for Adapting Recipes
Many Instant Pot recipes may instruct you to use the Manual/Pressure Cook setting and provide suggested cooking times. But for bean and chili recipes, you can easily substitute the preset Bean/Chili program instead:
-
If a recipe calls for a bean cooking time of 20-30 minutes, use the “Less” Bean/Chili option.
-
For beans cooked 30-45 minutes in a recipe, choose “Normal” on the Bean/Chili setting.
-
A recipe time of 45 minutes or more is best matched with “More” on the Bean/Chili program.
-
For chili recipes, start with the “Normal” 30 minute Bean/Chili time and adjust up or down to your desired texture.
-
Make sure to account for any browning, sautéing, or simmering steps in the total time of the recipe rather than just substituting only the listed pressure cooking time.
The Bean/Chili function can take a recipe from good to great by ensuring perfect bean doneness. With the simple guidance above, you can easily master this setting for sensational beans and chili every time. Let the Instant Pot do the work so you can enjoy tasty meals with no fuss!
k
What Is Burn Notice on the Instant Pot
The Instant Pot may show a “burn notice” message before starting to cook, usually after it has already begun to build up pressure. This message means that the pot inside has gotten too hot or that it senses food that is stuck on or slightly burned. Most of the time, this happens after searing something in the Instant Pot. It also happens sometimes when there’s something on the outside of the inner pot. There’s no way to clear the message and go on without checking the inner pot, unfortunately. It’s best to try and prevent the message rather than clear it.
To try to avoid the message, always start cooking with a clean inner pot and make sure it’s clean on the inside and outside. Make sure there is no burnt-on food. When searing something first, make sure that you use a wooden spatula to completely scrape the bottom. Following searing, deglazing the pot’s bottom will help you remove all the food bits that are stuck there.
First, make sure that the pot can build up pressure and that nothing is stuck around the lid, the silicone ring, the seal valve, or the floating valve if you do get the “burned” message. The Instant Pot will keep heating and show the burn notice if something stops it from building pressure and closing the seal all the way. If everything looks good with the pot, you’ll need to check the inner pot and food.
You’ll need to release the pressure from the pot and carefully open the pot. Scrub the pot’s bottom all around with a wooden spoon to make sure there are no burned bits stuck there. Also, always remember that there should be enough liquid when cooking in the Instant Pot.
PRO TIP: At least a cup of liquid is usually suggested, but check your machine’s manual to be sure!
How to Store and Freeze Chili
To store: Make sure to cool the cooked chili completely to room temperature before storing. Store in an airtight food storage container in the refrigerator. Properly stored, it will last up to 4-5 days.
To freeze: If you want to freeze chili after it’s cooked, let it cool down as quickly as possible. This will give bacteria less chance to build and extend the shelf life of food. Putting the pot of chili into a larger container full of ice is the fastest way to cool it down. Be sure to stir the chili every so often as it cools. Once it cools, portion it into smaller freezer bags, let all the air out, and close it well. Remember to label and date.
Step 1: Take the frozen chili bag out of the freezer and put it in the fridge overnight to thaw. Reheat it in the microwave or on stove-top over medium heat.

Instant Pot Umami Chili [Tested by Amy + Jacky]
FAQ
What does the bean chili setting do on an Instant Pot?
What is the bean program on Instant Pot?
How long is the Instant Pot bean setting?
How to use the steam function on Instant Pot?