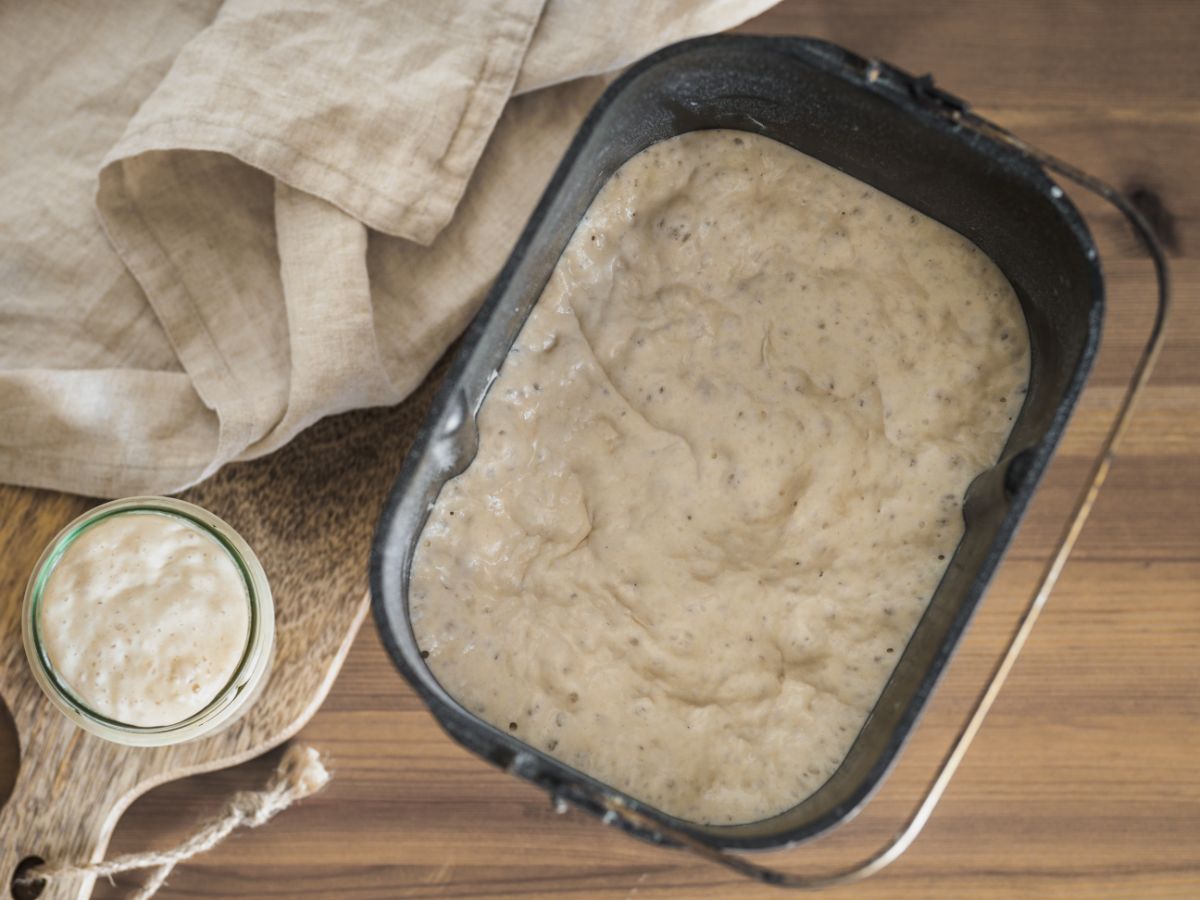
I have no idea what it must be like to prepare the raw ingredients all day, then bake them for a long time to the ideal temperature.
Fortunately, modern bread makers have a variety of settings and features that make baking simple.
With a top rated bread maker, you simply gather and add the required ingredients before turning it on. Your bread machine will let you know when it’s ready. That’s it!.
Because a bread maker’s settings and features are its strongest points, you should become familiar with them.
Knowing how to use the features and settings on your bread maker will enable you to consistently produce delicious bread.
These bread machine cycles are largely the same for bread makers all over the market.
When making bread with yeast, the kneading cycle is the first and most crucial step.
The bread machine cycle known as “kneading” is arguably the noisiest and completely mixes all the ingredients.
This cycle can often take anywhere from 15-45 minutes. The timing is determined by both the type of bread you’re baking and your bread machine.
Frequently, the bottom of the baking pan has kneading paddles that thoroughly combine everything.
In essence, it enables the starch and gluten in your dough to completely absorb the moisture around it.
If your bread contains gluten, it will require this cycle in order to rise, or lift up, properly.
Depending on your bread machine, this cycle will typically last 40 to 50 minutes. Sometimes, especially if you’re baking French bread, it can take a lot longer.
The punch cycle gets its name from the fact that during this cycle, your bread maker starts the dough-kneading process all over again.
This stage is different because it is carried out much more lightly, with the intention of releasing the tiny gas bubbles created by the fermentation of the yeast in the rise cycle.
Punch, also known as the shape cycle, is frequently a quick cycle that only takes a few seconds to finish, but it’s still crucial!
Depending on your bread machine and the type of bread you’re baking, this cycle could take anywhere from 30 minutes to over 90 minutes.
Why the dough cycle on your bread machine takes too long

Sometimes, the dough cycle can take more than an hour. If you’ve read the directions, you’ll see that the manufacturer suggests letting the dough rise after removing it from the appliance.
The ideal dough mixer is one that mixes the dough and lets it rise. You can transfer the dough to a standard bread pan if you don’t like the shape of the pan. Make sure to give the dough a second rise before baking.
Depending on your bread machine, the time it takes to complete the dough cycle will vary. Additionally, if there is more rising and kneading, the cycle will take longer.
Another contributing factor is temperature. Making dough when it’s too cold will cause it to constrict and become smaller. This will affect the dough cycle.
You should open the bread machine’s lid when the dough is kneading too slowly. The truth is that when you poke the dough, nothing bad will happen.
Before the final rise, you should reshape the bread. This will prevent ski-slope loaves. Take it out of the bucket and reshape it into a nice symmetrical log if you don’t like the shape.
You should not limit yourself to the traditional loaf shape. In most cases, the machine can delay the cycle when you add ingredients like eggs, milk, and cheese.
Furthermore, too little yeast will compromise the dough cycle. You can double the yeast, reduce the salt, and use the machine’s longest cycle to improve your chances of creating the perfect dough.
Note: You can optimize dough characteristics using the cycle. When using a particular recipe, the dough cycle can be confusing at times.
Everything You Need to Know About Bread Machine Cycles and Cycle Times
When making bread the old-fashioned way, it can be a time-consuming and exhausting process. Thankfully, we have bread makers. You can make delicious breads using these appliances without having to put in the tedious work.
All the ingredients are simply dropped in, and the machine is turned on. The machine does everything from kneading to baking. Simply wait for the finish bell to sound to complete the task!
Bread makers have different settings for different types of bread. One setting will work well for basic white bread loaves but may not yield the best whole wheat or French bread.
This is why it’s crucial to become accustomed to the bread machine cycles. We’ll go over everything you need to know about that in this article.
We’ll also give you some advice on how to use your breadmaker to make excellent bread, as well as a list of some of our favorite models that you can buy.
Proofing the dough after it’s shaped
Please don’t leave it out. It determines the final size and texture and helps the yeast produce its best flavor.
To be clear: After the kneading process, the first rise took place inside the bread machine during the DOUGH cycle. (Your device might indicate that there are two rises during the DOUGH cycle.) When making the bread by hand, you would allow those two to equal one rise. ).
You take charge of the remaining steps when you remove the dough from the machine after the DOUGH cycle is complete. That implies that before baking, you will shape the loaf and allow it to rise again.
