
Your turkey tag is punched. You’ve got the fan cleaned up and drying out. You toss the beard in the cigar box with all the other beards from over the years. Regarding the spurs, do you really need another pair of turkey legs that will either get chewed up by the dog or dry out on a shelf in the garage? Probably not.
If you find yourself looking for a better way to save the spurs, we’ve got you covered. Paul Morrison gives an overview of how he keeps the spurs so that future generations will be able to look back on the experience with purpose and meaning. Check it out in the video below.
So, you’ve bagged a magnificent turkey and are eager to show off those impressive spurs? But hold your horses, partner, because those spurs need a good cleaning before they become a prized possession Don’t worry, amigo, I’ve got your back This guide will walk you through the process of cleaning turkey spurs like a seasoned pro, leaving them gleaming and ready to display.
Gather Your Supplies:
- Turkey spurs: The stars of the show, obviously.
- Pot or saucepan: Big enough to comfortably hold your spurs.
- Water: The universal cleaning agent.
- Dish soap: For that extra cleaning oomph.
- Sponge or brush: To scrub away any stubborn grime.
- Towel: To dry your spurs like a champ.
The Cleaning Process:
-
Boil ’em up: Fill your pot with water and bring it to a rolling boil. Carefully drop your spurs into the boiling water and let them simmer for 10-15 minutes. This will loosen up any dirt, blood, or other gunk clinging to your spurs.
-
Cool down: After their hot bath, remove the spurs from the pot and let them cool down to a manageable temperature You don’t want to burn your fingers, now do you?
-
Scrub-a-dub-dub: Once the spurs are cool enough to handle, grab your sponge or brush and some dish soap. Get to work scrubbing those spurs, paying special attention to any crevices or nooks where dirt might be hiding.
-
Rinse and repeat: Rinse the spurs thoroughly with clean water to remove any soap residue. If they’re still looking a bit grimy, repeat steps 3 and 4 until they’re sparkling clean.
-
Dry them off: Pat the spurs dry with a clean towel. Now, admire your handiwork – those spurs are looking mighty fine!
Pro Tips for Spur-Cleaning Prowess:
- Don’t overcook: Boiling your spurs for too long can make them brittle and prone to breaking. Stick to the 10-15 minute timeframe for optimal results.
- Get creative with tools: If you’re having trouble reaching into nooks and crannies, use a toothpick or other small tool to dislodge stubborn dirt.
- Show off your spurs: Once they’re clean, display your spurs with pride! Hang them on a wall, use them as a unique keychain, or even incorporate them into a piece of jewelry.
There you have it, folks! Now you know how to clean turkey spurs like a pro. Go forth and impress your friends with your sparkling clean trophies! And remember, if you ever have any questions or need further guidance, don’t hesitate to ask. I’m always happy to help a fellow turkey spur enthusiast.
What You Need to Clean Your Turkey Spurs
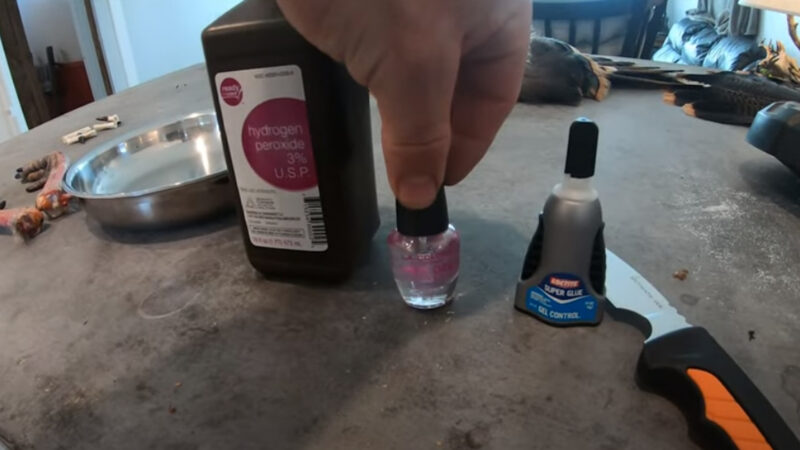
The supplies you’ll need to clean your turkey spurs are fairly basic and probably laying around your house. Here’s a quick list of the items you’ll need to get started:
- Knife
- Saw
- Super Glue
- Clear Nail Polish
- Peroxide
How To Clean Turkey Spurs
FAQ
Do you boil turkey spurs?
How do you get spurs off a turkey?
How do you collect turkey spurs?