How do you make Shrinky Dinks?
You can purchase the special plastic sheets (affiliate link) and follow manufacturer instructions. Typically, shrinky dink plastic if first colored on with permanent markers or colored pencils. Next cut out the shapes and bake at 325 degrees Fahrenheit for about 1-3 minutes. At first, the Shrinky Dinks will curl up, but then they will flatten back out. Once they flatten back out, bake for 30 more seconds.
It is really an easy activity. All you need is:
To make a shrinky dink, cut a shape out of the plastic (plastic shrinks to about a third of its original size). Our 2″ circle became about 3/4″ when shrunk.
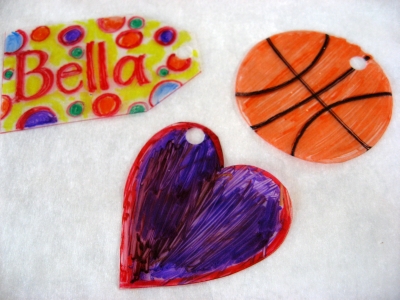
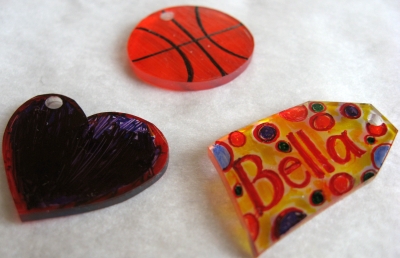
Color one side of the shape with a permanent marker. The color becomes more intense once it shrinks. Before putting your shape in the oven, remember to punch a hole if you want to attach it to something.
Place the plastic on a thin cookie sheet (not one with insulation) that is lined with aluminum foil or parchment paper. Bake plastic at 350 degrees for 2- 3 minutes. Each oven is different so watch closely. The plastic will curl up before flattening out again. As a result of the fumes it does emit, we left a window open for ventilation.
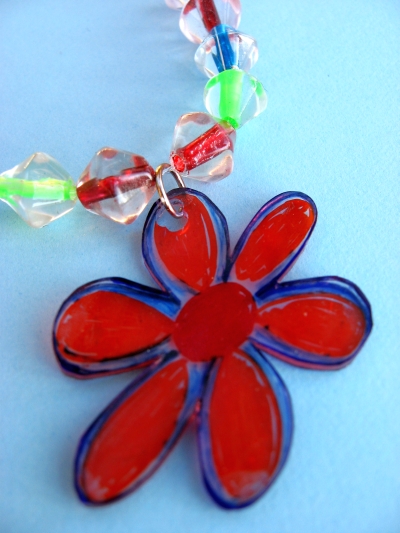
Some of our shapes were given jump rings, which we attached to cording and strung with beads to create necklaces.
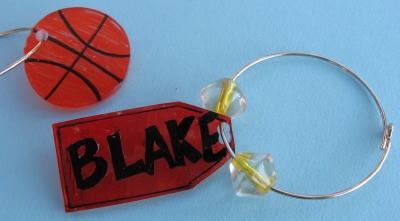
To create beverage markers, we attached some of the tiny shapes to id wire rings and added some beads.
Ball began as a 2″ circle and ended up being about 3/4″; tag began as a 3″ long by 1 3/4″ wide and ended up being about 1 1/4″ long by just under 3/4″ wide.
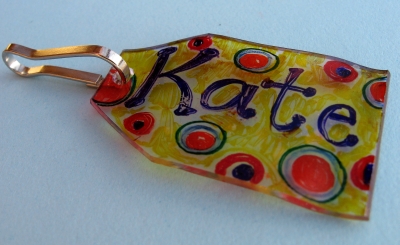
We attached a clip to a larger-shaped tag (starting size 4′′ long by 2 3/4′′ wide) so that it could serve as a zipper pull. To create a hole large enough for the clip, make two parallel holes. These zipper pulls, along with a note that reads, “You pull at my heart,” would make the cutest Valentines.
How do you make a shrinky dink ring?
Then we really got rolling and made rings. Our shrinky dink rings are a bit sloppy but we are still wearing them. It took some trial and error to find the right size. For my size, I started with a strip 5″ long by about 1″ to 1 1/2″ wide. Pull it immediately from the oven and quickly while it is still very hot wrap it around a Chap-stick tube. My son needed to make his 5 1/2 inches long and I (an adult must do this part–it is hot and you must work fast!) wrapped it around a child’s chunky marker. If you make a mistake and get a miss-shaped ring or it is too long just send it back into the oven. Once it is warm it can be trimmed with scissors, it will also flatten back out and you can give it another go. For more information on making shrinky dink rings you will want to visit Planet June. Here rings are lovely!
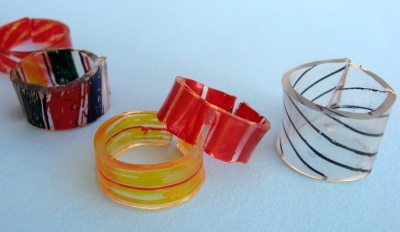
After we had used every plastic piece, my son exclaimed, “We can make bracelets!” So we are now saving more plastic!.
What is the best size for shrinky dinks?
The size of your shrink plastic sheet limits the largest size of your shrinky dink. Beyond this, though, smaller designs frequently work better because they maximize the cute factor and are the most straightforward to maintain flat. Be careful when heating up particularly large shrinky dinks because they might fold in on themselves too much and stick together.
