What’s the point of fermenting cocoa beans? When you’re getting ready to bake, do you ever think about how the cocoa you’re using got into your pantry? Cocoa is made by carefully harvesting, fermenting, drying, and roasting beans. The higher the quality of cocoa, the purer it is for cooking, baking and making chocolate.
We ferment our own cocoa beans at Anarchy Farm, so we can be sure of the quality of our goods from beginning to end.
Cocoa is heated cacao beans that experience higher heat during the processing portion of their extraction. Many of the antioxidants in cocoa are still there after being heated, making it a great source of healthy nutrients for your body. Alkaline solutions are used to process the cocoa, which gets rid of a lot of the bitter taste in very dark chocolate.
Fermenting cacao beans is an essential step in crafting chocolate from scratch. Proper fermentation transforms the raw cacao beans into the chocolatey flavor we all love. While fermentation is typically done by professional chocolate makers, it is possible to ferment small batches of cacao beans at home with the right techniques.
In this comprehensive guide, we will walk you through the entire process of fermenting cacao beans at home, from harvesting the pods to ending up with fully fermented beans ready for drying, roasting, and making into chocolate.
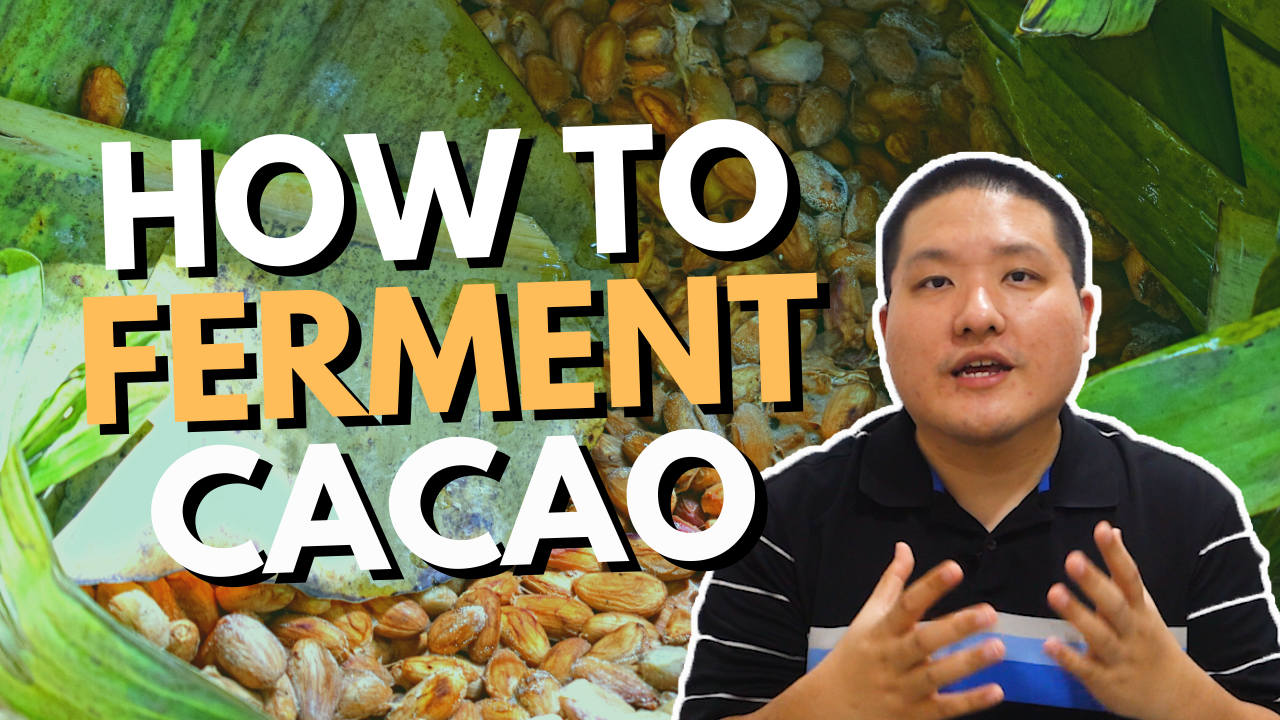
Overview of the Fermentation Process
Fermentation is a multi-day process that allows yeasts and bacteria to grow on the sugary pulp surrounding the cacao beans inside the pods. This metabolizes the sugars into alcohol and lactic acid. The increase in temperature and acids cause changes within the beans, developing chocolate flavors and darkening the color.
Proper fermentation requires carefully controlling temperature, humidity, airflow, and regular mixing. The basic stages are:
- Harvesting, splitting, and removing the beans from the pods
- Daily mixing and monitoring as fermentation progresses
- Ending fermentation when the beans reach the desired flavor profile
- Drying the fermented beans
When done right, fermentation produces chocolatey, fruity flavors and reduces bitterness and astringency. Read on for step-by-step instructions on fermenting small batches of cacao beans at home.
Equipment Needed
Fermenting cacao beans does not require much specialized equipment. Here is what you need:
- Cacao pods – Freshly harvested, ripe pods work best
- Knife – For splitting pods
- Container – Plastic or wooden box for fermenting, 5-10 gallon capacity
- Lid – Plastic sheet or banana leaves to cover container
- Thermometer
- Wooden spoon or paddle – For mixing the beans
- Drying surface – Trays or mesh sheets
Make sure to gather all equipment before harvesting pods, as you need to start fermentation as soon as possible after splitting.
Step 1: Harvesting and Splitting the Pods
Harvest ripe cacao pods selecting those that are fully colored. Use a knife to split the pods lengthwise and expose the beans surrounded by the sweet white pulp. Scoop the beans and pulp out of the pods, placing them directly into the fermentation container.
Break apart any large clumps of beans and discard any beans that are moldy or rotten. Remove any stray pod pieces or debris.
Ideally, start with at least 4-5 lbs of wet beans in the pulp to have enough for a small batch. More is even better for heat retention.
Step 2: Daily Mixing and Monitoring
Mix the beans and pulp thoroughly to ensure even fermentation. Cover the container loosely with a lid This retains heat and humidity while still allowing air circulation.
Check the beans daily, and mix thoroughly again with a wooden spoon or paddle. Scoop some beans out to check the fermentation progress – they should smell fruity and alcoholic. The beans will start to turn purple or brown.
Measure the temperature of the beans. Ideal range is 43-49°C (110-120°F). Lower than 43°C fermentation may not start, higher than 50°C could damage flavor.
Step 3: Manage the Fermentation Conditions
As fermentation progresses, monitor conditions and make adjustments as needed:
Temperature
- If too low, stir more frequently to increase aeration and heat
- If too high, remove lid for more airflow and mix in a few dry beans
Aeration
- Ensure daily mixing for sufficient aeration
- Adjust lid ventilation as needed
Moisture
- Add a splash of water if beans start to dry out
- Drain excess liquid if accumulating in container
Acidity
- Taste beans after 2-3 days – should taste tart but not overly acidic
- If too acidic, mix in some baking soda to neutralize
Duration
- Taste beans daily after 3 days
- End fermentation when fruity, chocolatey flavors develop, before over-fermenting
- Total time is typically 4-7 days
Adjusting fermentation conditions allows you to achieve ideal flavors. Fermenting cacao is both art and science!
Step 4: End Fermentation
By days 4-7, the beans should be browning, have a strong fruity and alcoholic aroma, and taste chocolatey with some acidity and astringency.
Once the ideal flavor profile develops, end the fermentation by draining excess liquid and spreading the beans out on drying trays in a single layer. Avoid letting beans sit in accumulated juice, as this can over-ferment them.
The beans are now ready for the final drying stage.
Step 5: Drying and Storing Fermented Beans
With fermentation complete, dry the beans either in the sun or using a low-heat dehydrator. Stir the beans frequently to ensure even drying.
When the beans are fully dried, they will snap when broken. Place the dried beans in an airtight container in a cool, dry place for storage.
They are now ready to be roasted, winnowed, and ground into chocolate!
Troubleshooting Home Fermentation
Fermenting cacao beans correctly takes some practice. Here are some common issues and how to troubleshoot:
- Mold growth – Increase aeration and drainage
- Overly acidic – Mix in baking soda to neutralize
- Under-fermented – Allow more time, increase temperature
- Over-fermented – End fermentation sooner next batch
- Inconsistent coloring – Mix more frequently
- Slow start – Raise temperature, mix in some pulp
Don’t get discouraged with some trial and error. Taking detailed notes each batch will help improve the process over time.
Tips for Success
Follow these tips to help ensure successful small-batch cacao fermentation at home:
- Start with prime, ripe pods for highest quality beans
- Keep detailed records of each batch
- Monitor temperature and conditions twice daily
- Mix thoroughly each day
- Taste test beans to target ideal flavors
- End fermentation at just the right time
- Handle beans gently to avoid physical damage
- Allow proper drying to preserve flavors
The Rewards of Home Fermentation
While fermenting cacao beans takes diligence and care, the rewards are well worth it. You’ll gain a deep hands-on understanding of the chocolate-making process. Plus, nothing beats tasting chocolate made from beans you fermented yourself!
With some practice at fermenting small batches, you can craft truly artisanal chocolate from scratch. Your homemade creations will surpass anything commercially available.
So don’t be intimidated to try fermenting your own cacao at home. Follow this guide and with some experimentation, you’ll be churning out chocolatey, fruity beans in no time. Let us know how your home fermentation adventures go!
Why are Cocoa Beans Fermented?
There are different ways to ferment cocoa beans based on the type and where they come from. The process of fermentation helps to produce a deeper, richer chocolate flavour. “What does fermenting cocoa beans mean?” is a common question to ask. It means that the cacao beans have been taken out of their pods and put in wooden boxes with banana leaves on top. The boxes are turned over every two days. It is the process of converting organic acids using microorganisms, yeasts or bacteria under anaerobic conditions.
Cocoa bean extraction occurs up to four days after the cacao pod harvest. They can spoil if you wait too long. Before the cocoa pulp is taken out of the pods, the pods are broken open with a wooden mallet. Once they’re open, the beans and pulp can be taken out by hand so that the fermentation process can begin.
Sun Dried Cocoa Beans
It can be anywhere from four to ten days, but the beans have to dry in the sun after that time. The beans can dry on a board that is at least two inches off the ground and has air flow under it. Thin boards work best to allow airflow and drying on all sides of the beans.
It can take anywhere from five to ten days for the beans to dry, and if they are rotated properly, they will make cocoa of different quality levels. The cocoa beans don’t dry well in places with a lot of water, so the cocoa that is made isn’t very good. In these places, cocoa processors will put their beans on a cement slab that is raised off the ground and light a fire under the slab.
The fire helps to dry the beans more quickly in areas where there is more moisture. For several days, you have to carefully watch the fire to make sure the beans don’t get too hot or too smokey. The beans will also require frequent rotation to prevent them from burning.
In places where it rains a lot, people often build a shelter over the cement slab, buckets, or mats to keep the beans from getting wet. If the beans get rained on, they will start to mold. Covering the beans regardless of climate is a wise idea.
The dry beans do not all come out equal. Once they are completely dry, the beans require sorting by size. Any beans that are flat, mouldy, broken open, or germinated are not kept. The beans are kept in a safe place until they are sold in bags that will keep them dry and clean.
How to Ferment Cacao Beans
FAQ
How long does it take to ferment cacao beans?
Can I ferment cocoa beans in a jar?
How do you ferment cacao beans without mold?
How do you ferment cacao beans?
To ferment the cacao beans, place them in a clean, airtight container and cover them with a clean cloth. Let the beans ferment for 5 to 7 days, stirring them occasionally to ensure even fermentation. During this time, the beans will develop their characteristic flavor and aroma. Step 4: Dry the Fermented Cacao Beans
Can You ferment cocoa beans at home?
Fermenting cocoa beans is a crucial step in the chocolate-making process as it helps to develop the flavour of the beans. While this step is typically done by professional chocolate makers, you can also ferment cocoa beans at home with the right tools and knowledge.
How long do cocoa beans take to ferment?
Continue fermenting the cocoa beans for 5-7 days until they develop a strong, fermented aroma. During the fermentation process, it is crucial to follow specific steps to ensure the cocoa beans ferment properly. Placing the beans in a fermentation box or container creates the ideal environment for fermentation.
What temperature should cocoa beans be fermented?
The ideal temperature for fermenting cocoa beans is around 90°F, with a humidity level of about 60-70%. Be sure to monitor these conditions closely to prevent any spoilage. Can I ferment cocoa beans without cracking and roasting them first?