Summertime means fresh fruit and vegetables like green beans. There is a lot of the tastiest food right at your fingertips, whether it’s from your garden, a neighbor’s garden, or the Farmers Market. Today, we’re talking all about green beans. This coming week, I’ll show you how to can green beans so you can use them until the next harvest.
Green beans are special to me. I have fond memories of snapping green beans on the porch with my grandmother and Aunts. I look at fresh green beans and I think of my family with fondness. This is something I’m excited to do with my grandchildren because I want to make memories with them.
Whether you bought them at the Farmers Market or picked them from your own garden, let’s clean them up and get them ready to eat. Green beans are featured in my latest book, I Bought It, Now What? Summer Edition. You can grab a copy of it here.
To clean your green beans, wash them for one minute in approx. 10 cups of water and ¼ cup of vinegar. Set a timer. You can watch a quick tutorial video below. Lay them out in a single layer to air dry. Line a glass container with a paper towel. The green beans should be dry before being put in the glass container. Cover the container and put it in the fridge until you are ready to eat the beans.
I love my summer garden. Usually, I grow just enough fresh food for our family to eat, but not enough to store for the winter. I usually get my canning produce from the local Farmers Markets. I grabbed a bushel of green beans at a local market for canning. I plan the amount I want to can from one harvest season to the next.
When green bean season rolls around, most of us want to savor those tasty pods as long as possible. Canning green beans in mason jars allows you to enjoy fresh, crisp beans all year long. With the proper storage methods, canned green beans will retain their texture, color, nutrients and flavor for up to a year.
Read on for a complete guide to canning green beans step-by-step and storing them in mason jars.
Why Preserve Green Beans?
Green beans are one of the most beloved veggies for home gardens and farmers markets. Their versatility makes them an essential ingredient in many recipes. However, their prime season only lasts a few months.
Preserving green beans through canning allows you to:
-
Enjoy tasty green beans any time of year.
-
Gain control over ingredients by canning beans without added salt, sugars or preservatives.
-
Customize flavors with herbs, spices, onion, garlic, etc.
-
Save money by buying in bulk when prices are low
-
Reduce food waste by preserving excess garden beans.
Selecting Beans and Jars for Canning
Choosing fresh tender beans and proper mason jars are key first steps.
Beans Pick slender, firm green beans without bulges, bruises or rust spots Avoid old, limp or wilted beans
Jars: Use clean standard mason jars specifically designed for home canning. Match the jar size to your intended use. Pint jars are ideal for families while quart jars work for larger batches.
Inspect jars for chips, cracks or defects. always use new lids. Check the jar rims to ensure a smooth edge so the lids can properly seal.
Step-by-Step Guide to Canning Green Beans
Follow these simple steps for safely sealing canned green beans in mason jars.
1. Wash and Prep the Green Beans
Rinse fresh beans under running water to remove any dirt or debris. Remove both stem and tip ends with a paring knife or kitchen shears. Cut into 1-inch pieces.
2. Blanch the Beans
Place cut beans in boiling water for 3 minutes to blanch. This helps kill any bacteria and brings out their bright green color. For raw pack beans, skip this step.
3. Load Mason Jars
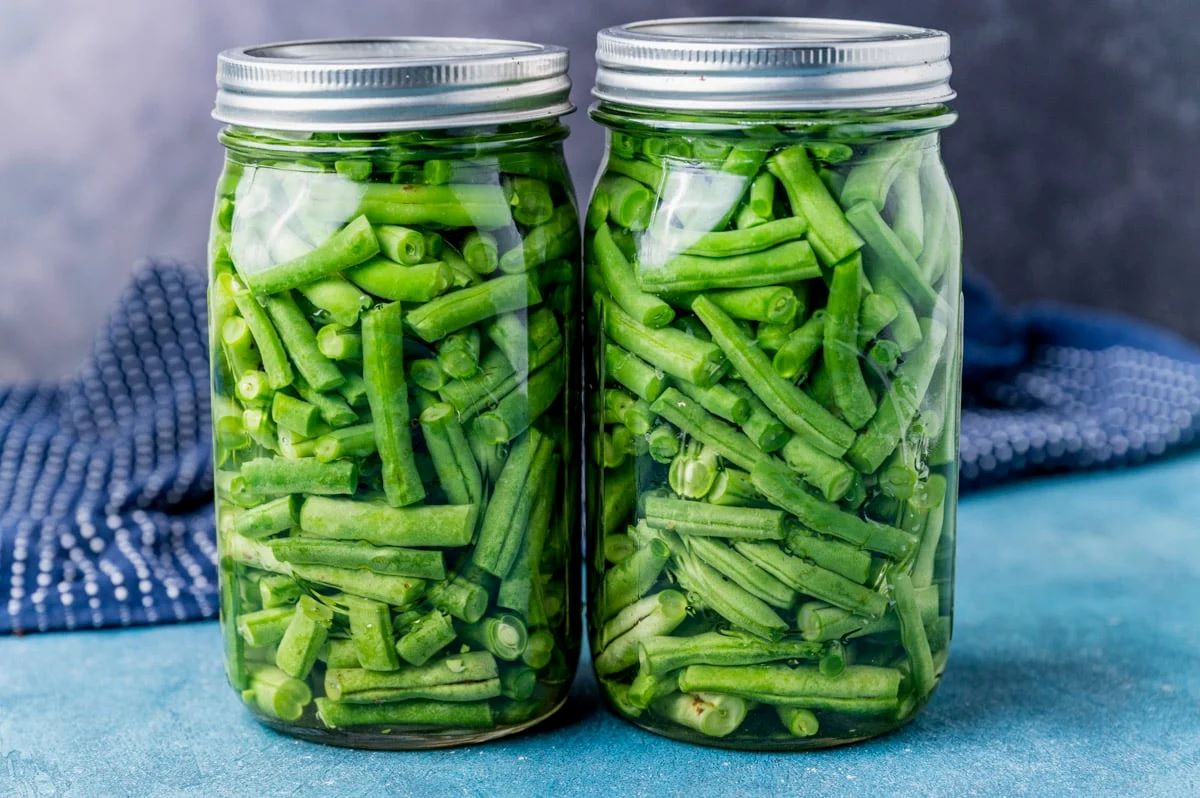
Pack blanched green beans tightly into clean pint or quart mason jars, leaving 1-inch headspace at the top. For raw beans, pack tightly without pre-cooking.
Optional: Add salt, seasonings, onion, garlic, etc.
4. Pour Hot Brine or Water Over Beans
Fill the jars with hot brine (1/2 tsp salt per pint) or boiling water, maintaining 1-inch headspace. Remove any air bubbles with a chopstick. Wipe the jar rims clean.
5. Apply Lids and Bands
Place new lids on jar tops and hand-tighten the metal bands until just finger-tip tight. Do not overtighten.
6. Process the Jars in a Water Bath
Submerge the filled jars in a canner or pot of simmering water. Ensure jars are covered by at least 1 inch of water. Bring to a full rolling boil and process pint jars for 5 minutes.
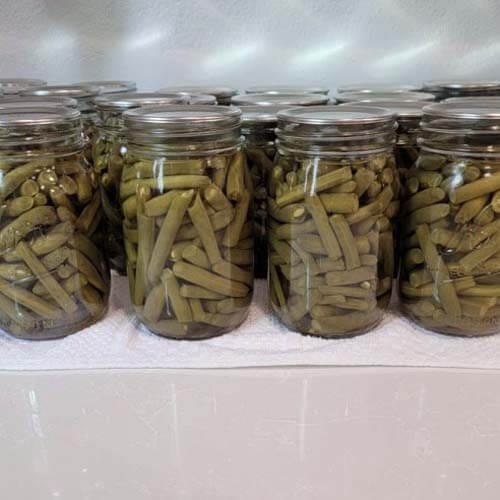
7. Cool and Store Jars
Carefully remove the jars from the canner. Allow them to cool undisturbed for 12-24 hours. Check the seals, then store in a cool, dry place.
Tips for Successful Canning
Follow these tips to safely seal and store your canned green beans:
-
Work in small batches to keep beans hot during filling.
-
Use a rack on the bottom of your canner to elevate jars off the direct heat.
-
Always use new lids and check for defects in jars.
-
Process times vary based on jar size, pack method and altitude.
-
Wait 12-24 hours after processing before handling jars to allow seals to fully set.
-
Remove screw bands prior to storage to detect failed seals.
-
Label and date jars before storing in a cool, dark place up to one year.
Checking Your Mason Jar Seals
After cooling for 12-24 hours, check that the lids have properly sealed by:
-
Pressing the center of the lid. It should not flex up and down at all.
-
Removing the bands and lifting the jar by the lid. The lid should hold firmly.
-
Visually inspecting the sealing compound on the lid for a uniform seal without gaps or bubbles.
If a seal fails, refrigerate the jar and consume within one week or reprocess with a new lid within 24 hours.
Troubleshooting Canning Issues
Having issues with your canned green bean jars? Here are some common problems and solutions:
Cloudy brine: This is generally harmless and caused by starch content. It does not affect safety.
Mold: Discard any jar with mold growth and thoroughly clean the canner. Mold indicates improper processing or sealing.
Loose lids after processing: Allow jars to fully cool undisturbed, then recheck seal. If still loose, refrigerate and eat beans within one week.
Beans floating: Use a bubble tool prior to processing to release trapped air pockets. Or simply shake and tap the jar before storage.
Discolored beans: Minimize exposure to air and process promptly after picking to maintain color. Acidic vinegar brine also prevents discoloration.
Soft beans: Avoid overcooking during processing. Use the recommended time for your jar size, bean pack style and altitude.
Storing Your Canned Green Beans
For best quality, store properly sealed green bean jars:
-
In a cool, dark place between 50°F to 70°F.
-
Away from direct sunlight which can cause fading.
-
With rings removed to detect seal failures.
-
With labels listing bean type and canning date.
-
For up to 1 year for best flavor and texture.
-
Near the back of the pantry so older canned beans get used first.
Enjoying Your Canned Green Beans
Now that you’ve mastered canning green beans, it’s time to enjoy them!
-
Heat and serve canned beans as a simple side dish.
-
Add them to soups, stews, pasta sauce, stir fries and more.
-
For extra flavor, sauté beans in olive oil with garlic, herbs and spices.
-
Puree them into dips, salads and spreads.
-
Chill pickled beans to use in martinis and Bloody Marys.
However you choose to savor your home-canned green beans, follow proper canning methods for safely stored beans all year long. The step-by-step process is easy, and the jars make great gifts too!
How to Can Green Beans

Green Beans Are a Great First Canning Project
Green beans are a great first item to learn to pressure can with. When you snap green beans and get them ready to can, you don’t have to worry about them turning brown between loads. There’s also no rush to get them into the jars. You can prepare the beans the night before and can them the next day.
When you can other items, like fruit, there are more steps involved. For instance, peaches need to be peeled and pitted. The fastest way to peel them is to drop them in boiling water to loosen the skin. Then they need to be pitted. They will brown quickly, which is why they need to be processed immediately. The process of canning green beans compared to peaches can be done at a slower, easier pace.
Here is a list of supplies you will for this project:
- Canner
- Canning Jars, Lids and Rings
- Jar lifter
- Pot Holders
- Canning Salt*
- Measuring Spoons
- Boiling Water
- Green Beans
Canning green beans/ Both methods
FAQ
How do you preserve green beans in jars?
What’s the best way to store fresh green beans?
Can you store beans in mason jars?
Can you safely can green beans without a pressure canner?
How do you pack green beans in a mason jar?
Set a large pot of water on the stove to boil over medium high heat. This will be to fill the mason jars so you can gauge how much you’ll need based on how many green beans you have. Raw pack the green beans, which means you simply pack the clean, warm mason jars with raw beans. Leave about 1-inch headspace at the top of the jar.
How do you store snapped beans in a jar?
Boil snapped beans 5 minutes before packing jars. Drain and pack into jars loosely and cover with clean, boiling water, leaving 1-inch headspace. Easy peasy! Fill jars tightly with clean, snapped, raw beans. No pre-cooking needed. Pack them down pretty tight to get as much as you can into the jar. Cover with boiling water, leaving 1-inch headspace.
How do you can green beans in a jar?
Leave about 1-inch headspace at the top of the jar. Fill all of the jars, whether pints or quarts, until the green beans are all in jars. Sprinkle 1 teaspoon of canning salt over the beans in the quart jars. Use ½ teaspoon canning salt over the pint jars.
How much canning salt do you put in a jar of green beans?
While lids are coming to a boil, place 1/2 teaspoon of CANNING SALT into each pint jar of green beans. Do not use table salt. Canning salt does not contain iodine which is why it is used for canning. If you are doing quart jars, use 1 teaspoon of canning salt. Liz always add this before the water. However I know other people add their water first.