One of the best ways to cook a turkey perfectly and evenly is to butterfly or spatchcock the bird. I’m here to tell you guys that when you spatchcock a turkey, you expose a more even portion of the meat and skin to the oven’s heat, and this makes a HUGE difference.
I’ve previously made both Spatchcocked Cornish Game Hens and Spatchcocked Chickens using this technique; in essence, the only thing that differs is the bird’s size.
However, if you’ve done any research on this, you’re probably aware of the potential benefits, so I won’t waste your time describing them. Let’s just dive into it.
Ever been intimidated by the thought of deboning a turkey breast? Well, fret no more! This comprehensive guide will equip you with all the knowledge and skills you need to tackle this culinary challenge with confidence. Get ready to impress your family and friends with perfectly deboned turkey breasts, perfect for any occasion.
Preparing for Deboning Success: Gathering Your Tools and Setting the Stage
Before embarking on this culinary adventure, let’s gather the essential tools and create a clean and organized workspace. Remember, a well-prepared kitchen is a happy kitchen!
Essential Tools:
- Sharp, thin boning knife: This will be your trusty companion throughout the deboning process. Choose a knife that feels comfortable in your hand and allows for precise cuts.
- Plastic cutting board: Opt for a plastic cutting board to prevent cross-contamination and ensure a hygienic workspace.
- Whole turkey breast: The star of the show! Choose a fresh, high-quality turkey breast for optimal results.
Setting the Stage:
- Wash your hands thoroughly: This is crucial to prevent the spread of bacteria and maintain food safety.
- Skip washing the turkey breast: While it may seem counterintuitive, washing poultry can actually increase the risk of food poisoning. Pat the turkey dry with paper towels instead.
- Maintain a clean workspace: Clean and disinfect your cutting board and surrounding area to minimize contamination risks.
Locating the Keel Bone: The Key to Successful Deboning
The keel bone, a dark triangular bone located in the center of the breast, is the first bone we’ll tackle. Here’s how to identify and remove it:
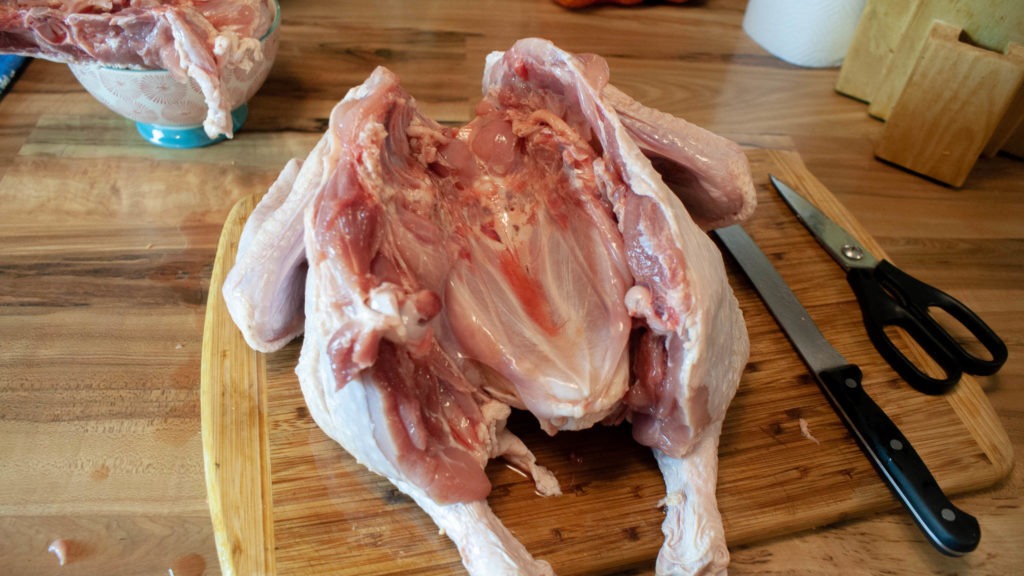
- Position the turkey breast: Place the turkey breast skin-side down on your cutting board, with the pointed end facing away from you.
- Make a center slice: Using your boning knife, make a cut down the center of the breast, all the way down to the bone. This may require several cuts, gradually deepening each one until you reach the bone.
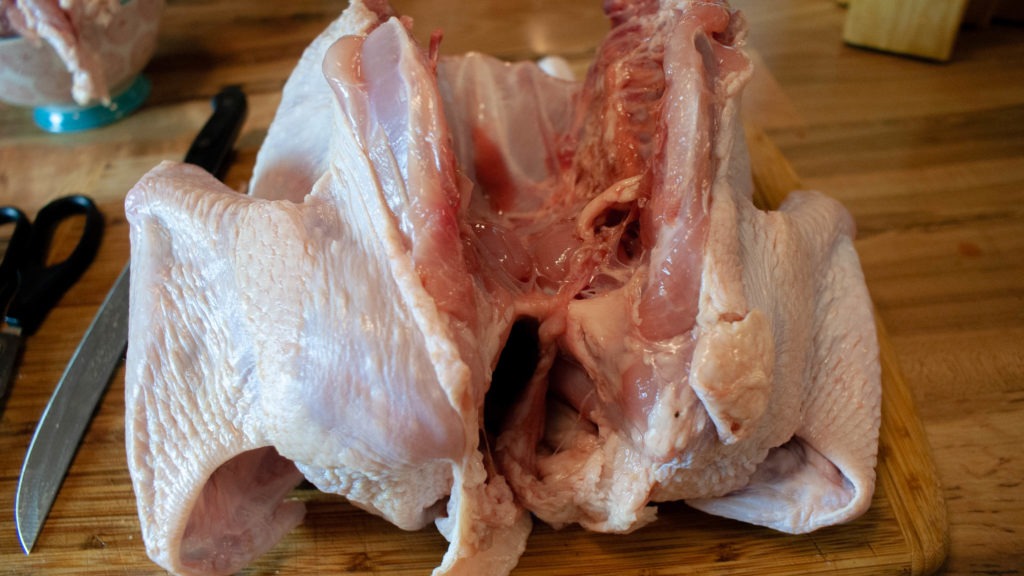
- Exposing the keel bone: Pick up the breast and bend it backward slightly to better expose the keel bone.
- Cutting the cartilage: Using your knife, carefully slice through the cartilage found just above the keel bone. This may require several passes with your knife, moving deeper each time.
- Removing the keel bone: Pick up the breast and bend it backwards further. Apply pressure with your fingers to “pop out” the keel bone slightly. Then, using your hands and knife, work to free the entire bone. Pull out the bone, along with the cartilage.
Pro Tip: If the keel bone doesn’t pop out easily, slide your fingers underneath it on one side, then the other, to break up any cartilage. Once the cartilage is disconnected, the bone should come out easily.
Removing Additional Bones: Completing the Deboning Process
With the keel bone out of the way, let’s move on to removing the remaining long bones and wishbone:
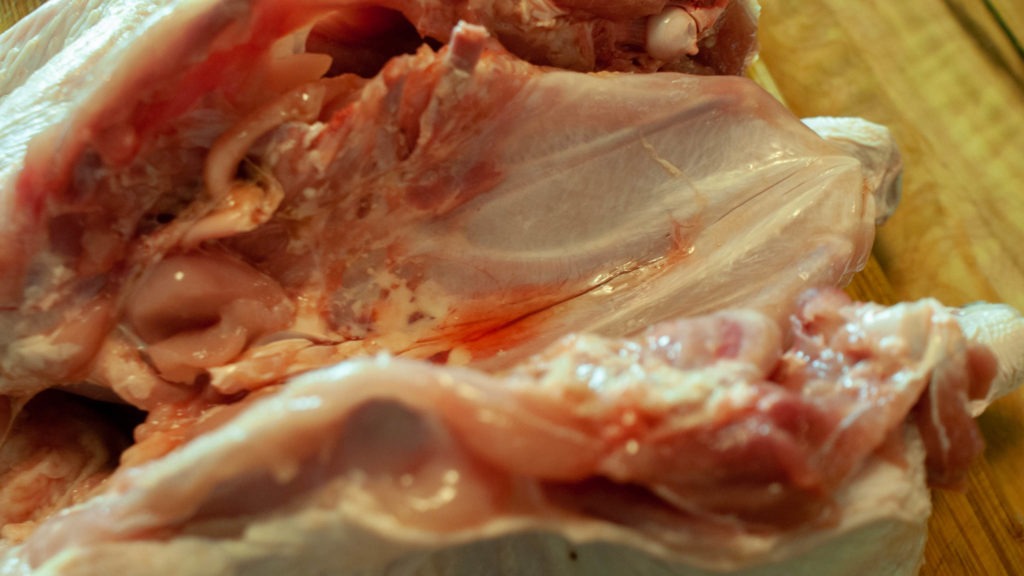
- Locating the long bones: There are two long bones, one on each side of the breast, running its length. Find these bones and use both hands to bend them backwards, loosening them.
- Removing the long bones: Use your knife to work your way around the bones and cartilage of the long bones. Carefully remove meat and cartilage until the bone is free. Repeat on the opposite side. Remember to save as much meat as possible.
- Locating and removing the wishbone: The wishbone is a thin, V-shaped bone found right between the neck and the breast. By now, your wishbone should be loose enough to simply wiggle out. If needed, use your knife to free up any meat holding the wishbone in place, and remove it.
Congratulations! You’ve successfully deboned a turkey breast.
Cleaning Up the Breasts: The Finishing Touches
Now that the bones are removed, let’s give our turkey breasts a final cleanup:
- Remove the white tendon: Using your knife, carefully remove the white tendon, as well as any loose connective tissue from the turkey breast.
- Cutting the turkey breasts (optional): If desired, cut the turkey breasts into two halves. Using a sharp knife, slice down the center of the turkey breast longways. This will give you smaller servings to store and prepare.
Storing Your Deboned Turkey Breast: Ensuring Freshness
To ensure your deboned turkey breast stays fresh and delicious, follow these storage guidelines:
- Cover the turkey: Wrap your raw turkey meat with plastic wrap, place it in a plastic bag, or seal it in another air-tight container.
- Refrigerate for short-term storage: Your uncooked turkey will be OK in your refrigerator for 2-3 days.
- Freeze for longer storage: If you don’t plan to use the turkey within 2-3 days, it’s best to place your air-tight container in the freezer, where it will last for several weeks.
- Thawing frozen turkey: When you’re ready to use your frozen turkey, thaw it in the fridge overnight.
Additional Tips and Tricks for Deboning Success:
- Practice makes perfect: Don’t be discouraged if your first attempt at deboning isn’t perfect. With practice, you’ll become more efficient and confident in your technique.
- Use a sharp knife: A sharp knife will make the deboning process much easier and more precise.
- Work slowly and carefully: Take your time and don’t rush the process. This will help you avoid making mistakes and ensure a clean result.
- Watch video tutorials: There are many helpful video tutorials available online that can visually demonstrate the deboning process.
- Ask for help: If you’re feeling unsure, ask a more experienced cook or butcher for help.
With these tips and a little practice, you’ll be a deboning pro in no time! Now go forth and conquer those turkey breasts with confidence!
Spatchcock that turkey! (Or butterfly your bird.)
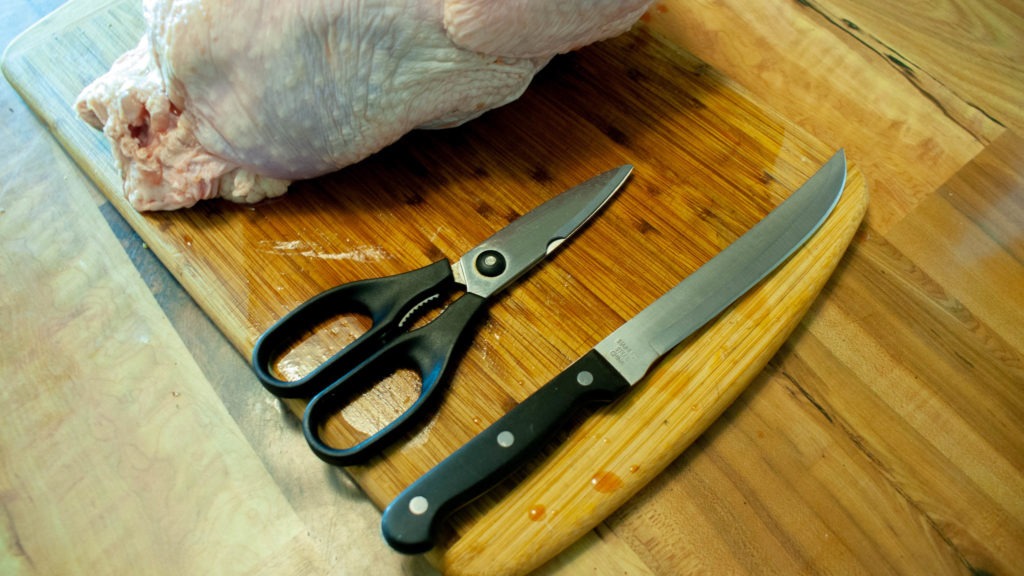
First of all, flip your turkey over onto the breast, then get your gear ready.
All you need for a perfect butterflied turkey are a set of good kitchen shears and a sharp butcher knife. (I prefer a thin-bladed slicing style knife for this, but feel free to use what you’ve got.)
Next, make a slit down both sides of the backbone that goes all the way through the meat.
Then separate the ribs from the backbone using your kitchen shears.
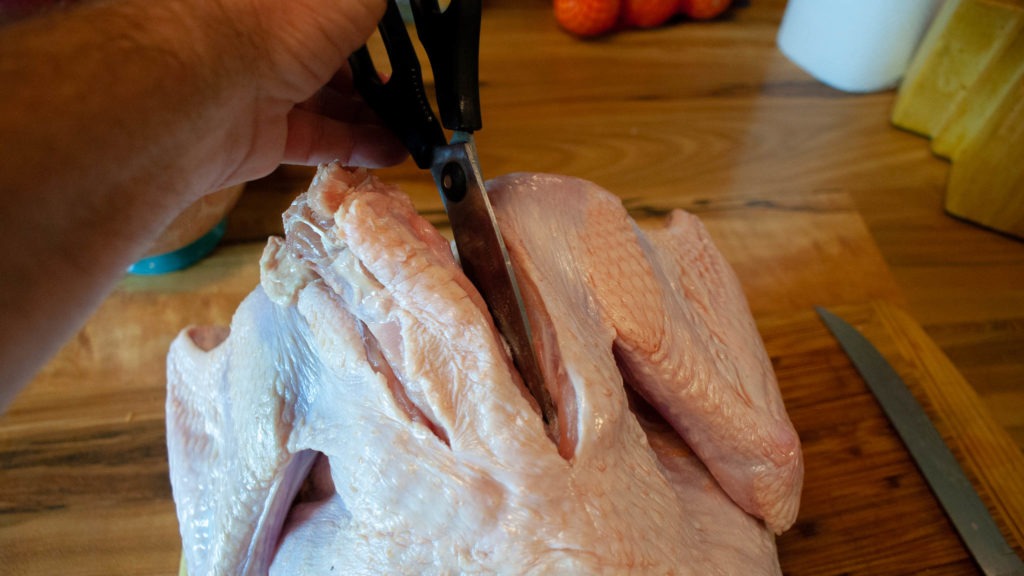
And just keep cutting until you’ve completely removed the backbone, including the pope’s nose. (The part of the turkey the tail feathers attach to. ).
Set those aside with the giblets and neck to use in your gravy.
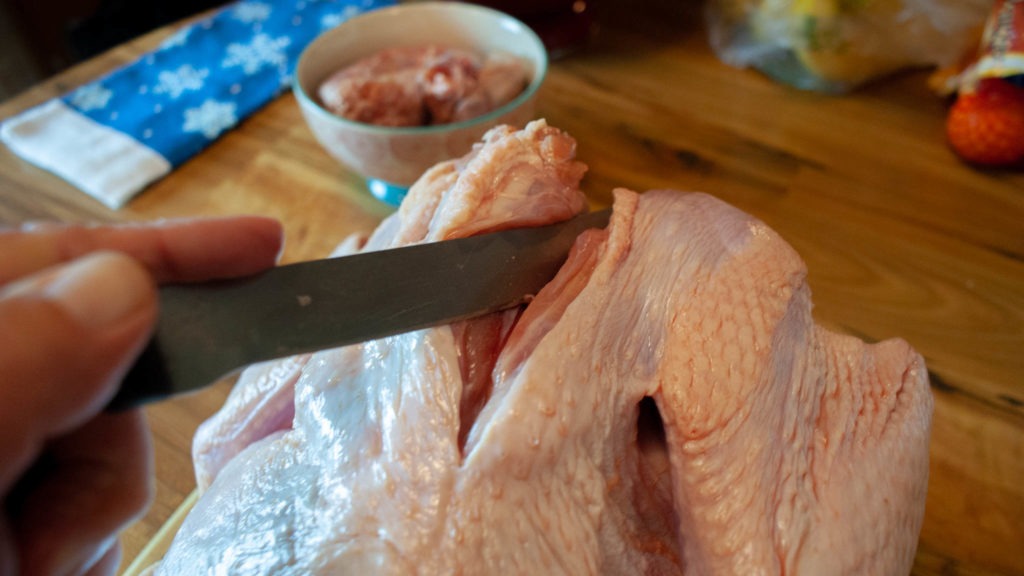
Now let’s turn that bird over because we need to score the keel bone (A) in order to spatchcock a turkey. K. A. the breastbone. ).
Thus, beginning between these two tiny meat bulges close to the wishbone, take that incredibly sharp knife of yours and cut a slice straight down the center of the keel bone.
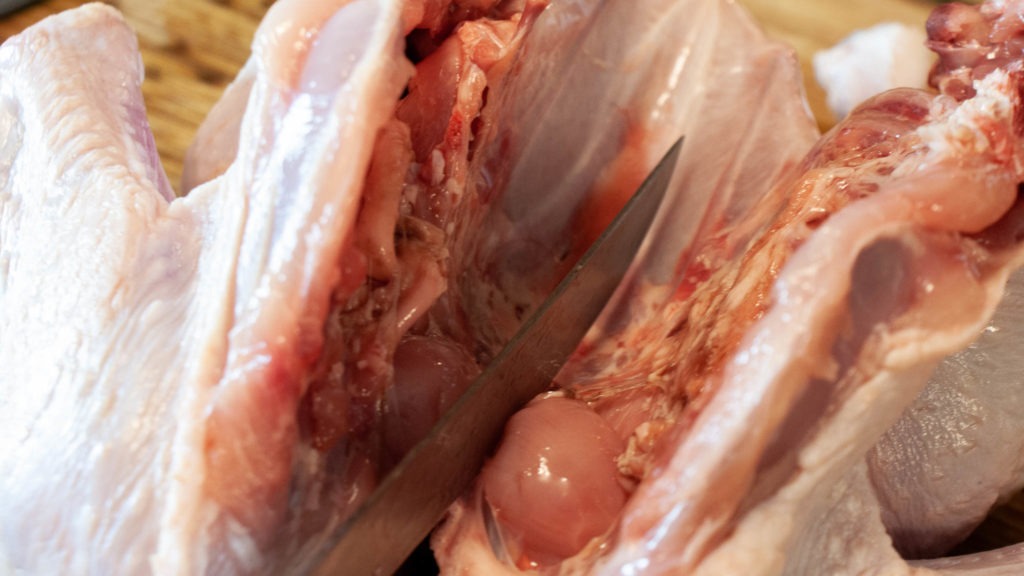
Here, we only need to make enough cuts to tell the object where to split, not to cut all the way through. I skip this on smaller birds, but find it invaluable for larger fowl like turkey or goose.
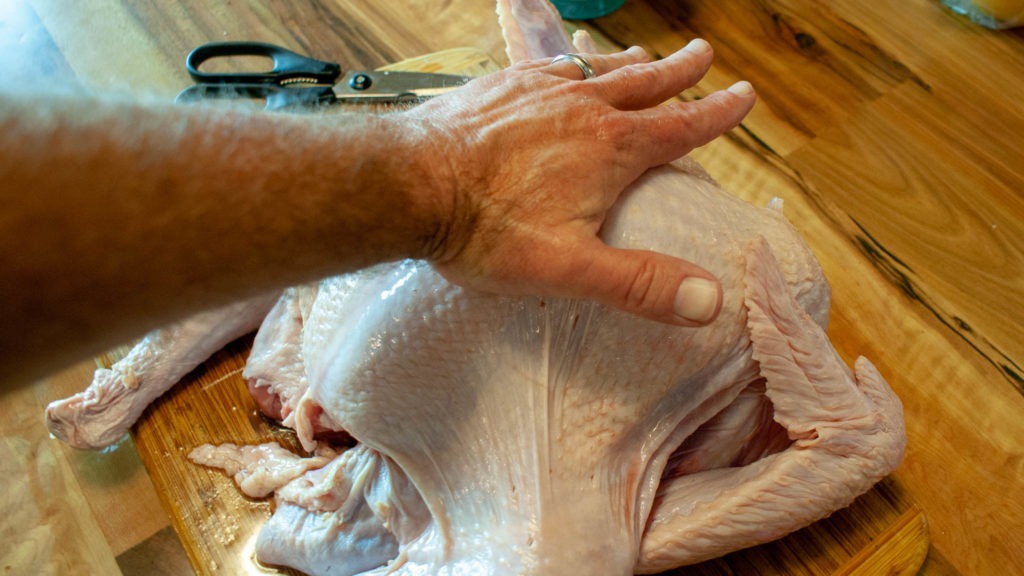
Now flip your turkey over and give a very firm push down in the center of the breast.
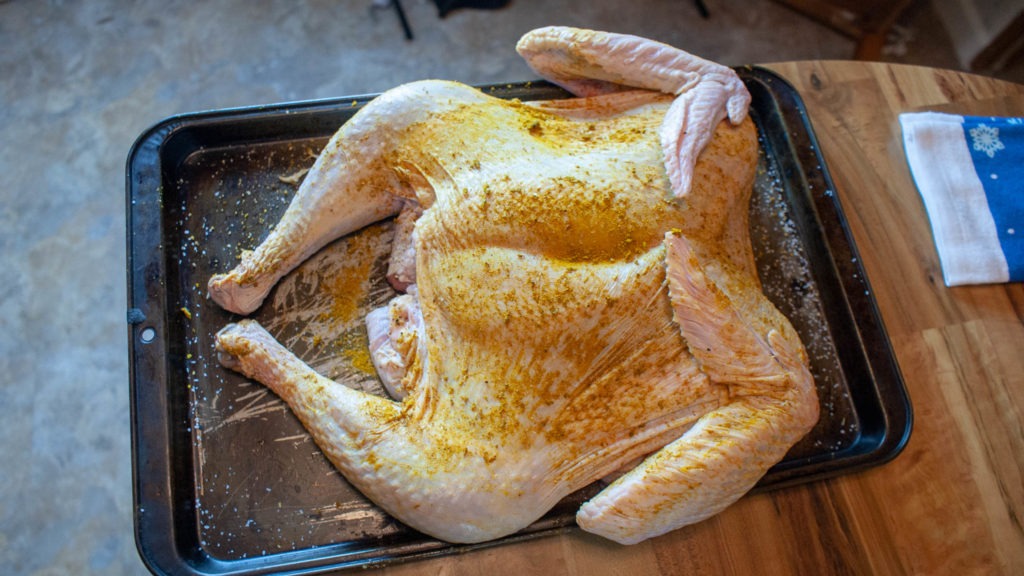
Now take your favorite turkey spice rub and coat your spatchcocked bird generously! (I used the same rub that I love for my holiday roast turkey, but this is your bird and your kitchen, so do what makes you happy! Don’t worry, I’ll include the rub recipe below.) ).
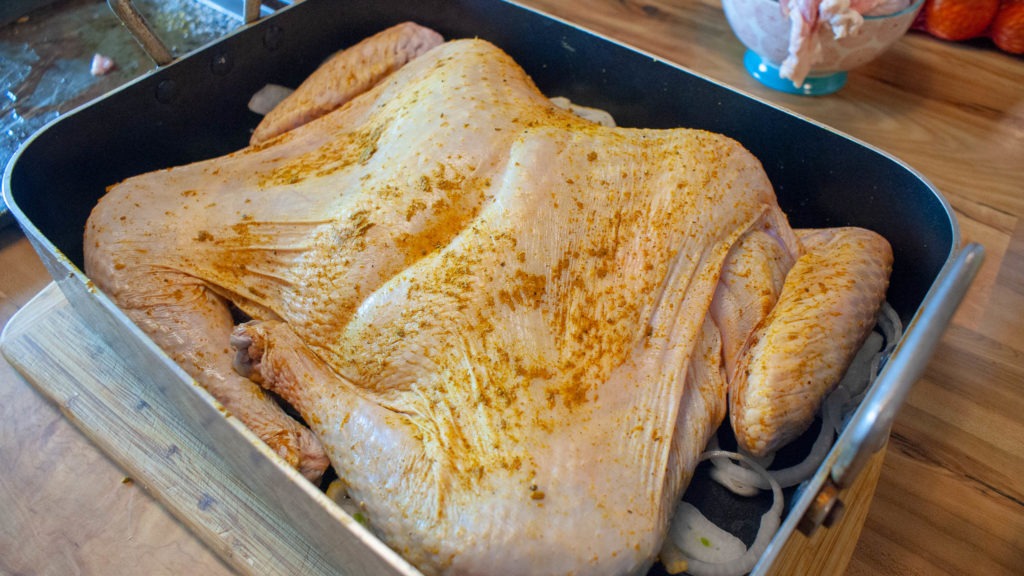
Now, just find a roasting pan large enough to hold your bird and arrange it. The legs and wings appear to be oriented in whatever direction makes you happy, and it fit my pan the best as it is depicted.
To keep air flowing around my bird and to season the drippings, I rested it over a bed of sliced onions, but you could also place it on a rack. This will help it cook more evenly.
Let’s spatchcock a turkey! (Or butterfly a turkey, if you prefer that term.)
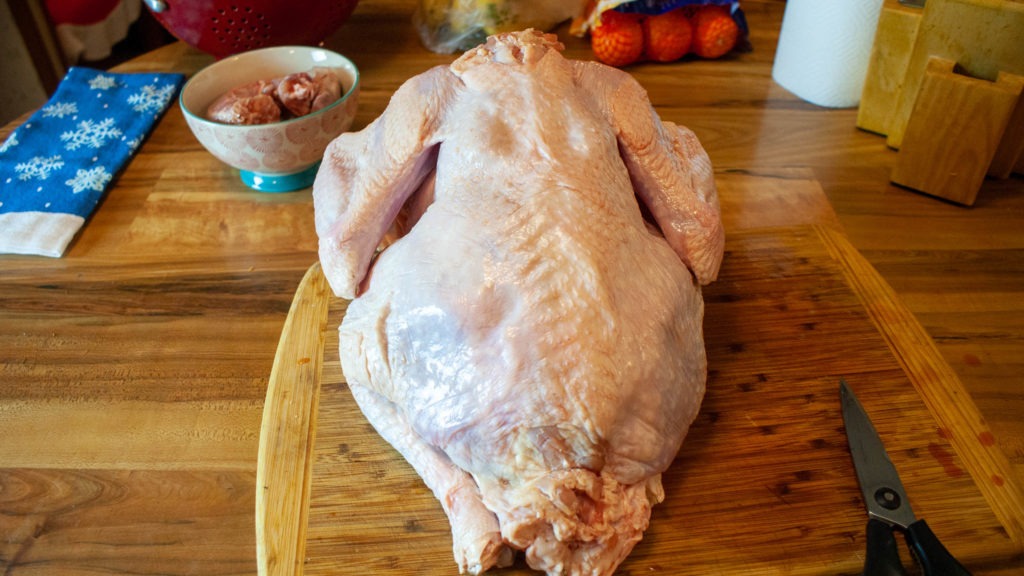
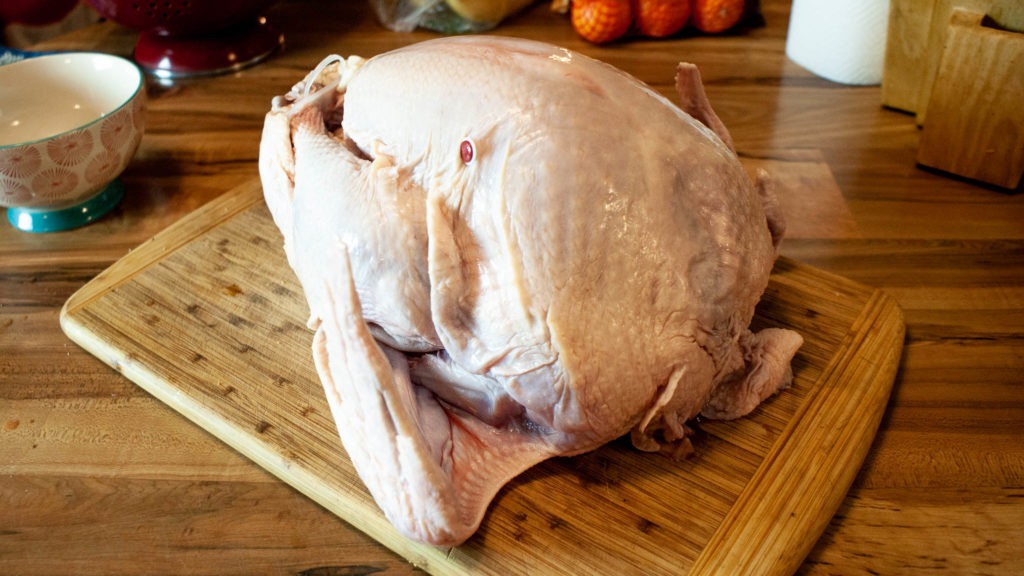
First things first, make sure you get a turkey and let it fully thaw in the refrigerator. This was about a 13-pound turkey, so it took 4 or 5 days to thaw.
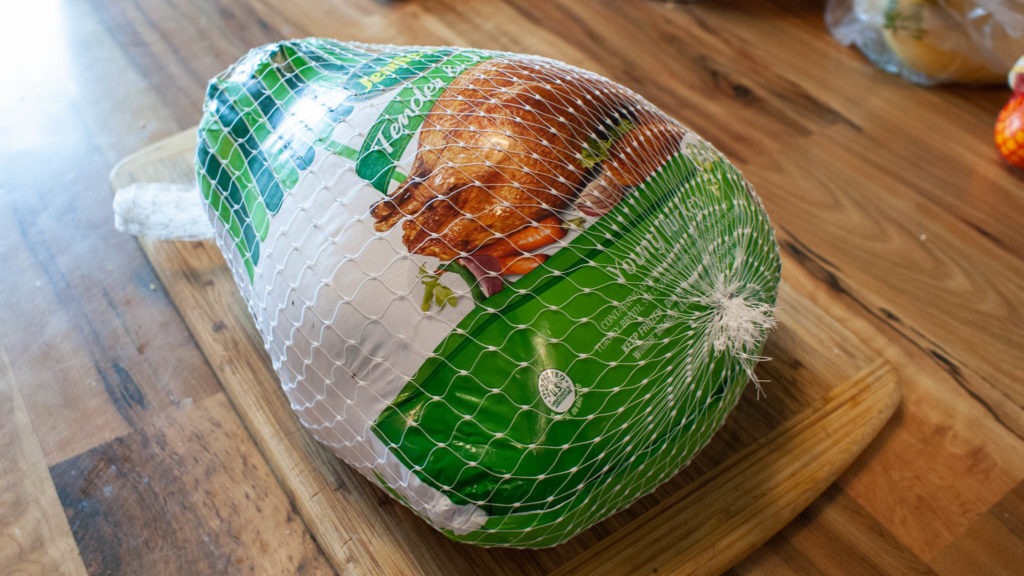
Once that’s done, get it out of the package and pat your bird dry with paper towels. (Since butterflying and spatchcocking can be a messy process, keeping the bird dry will help with cleanup afterwards.) ).
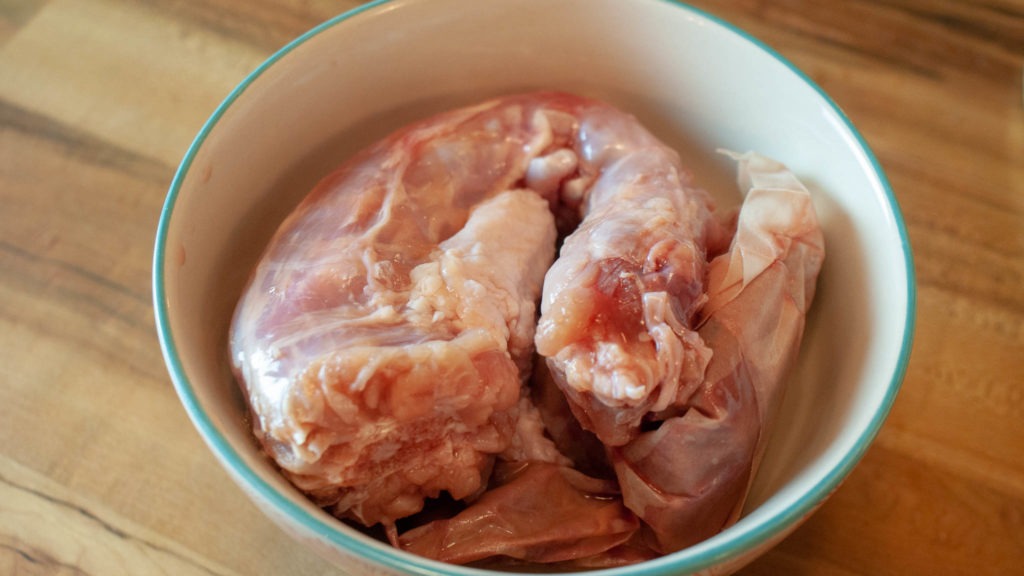
Find the giblets and the neck and get them out of the way. (Don’t toss them though, use them to make turkey gravy!).
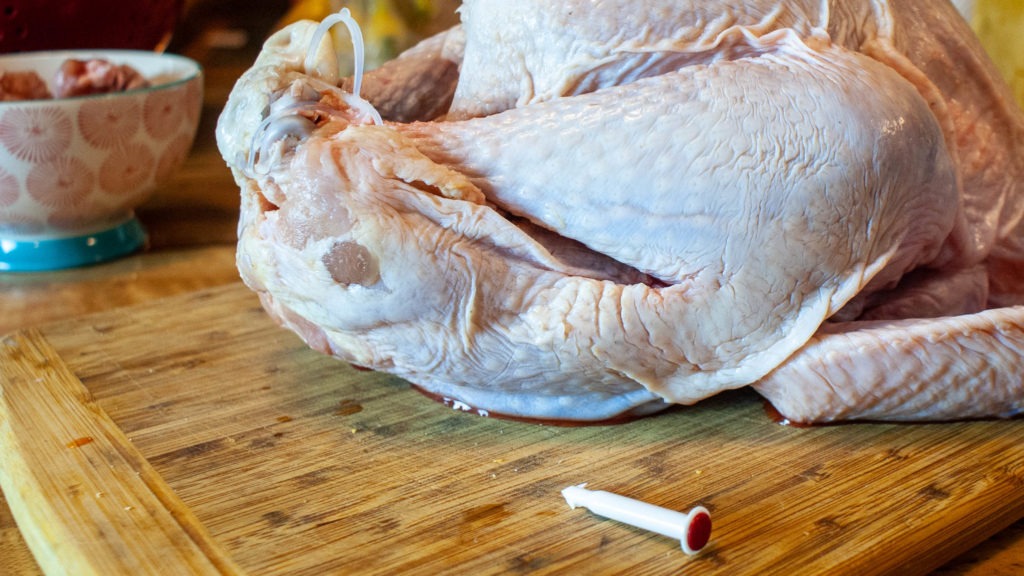
Now we have to deal with that horrible pop-up thermometer that these poor turkeys have inside of them and remove the device that was used to bind their legs together. These seem to be made of heat-resistant plastic lately, but I haven’t roasted one to check if it can be used in the oven. Additionally, it serves no purpose here, so please remove it and discard it.
Seriously, don’t trust that pop-up thing. It will only lead to grief and either the bone-dry desert of what used to be a turkey or worse, to an underdone bird, which can be dangerous. Invest in a good probe thermometer or instant-read thermometer. You’ll be happy you did!
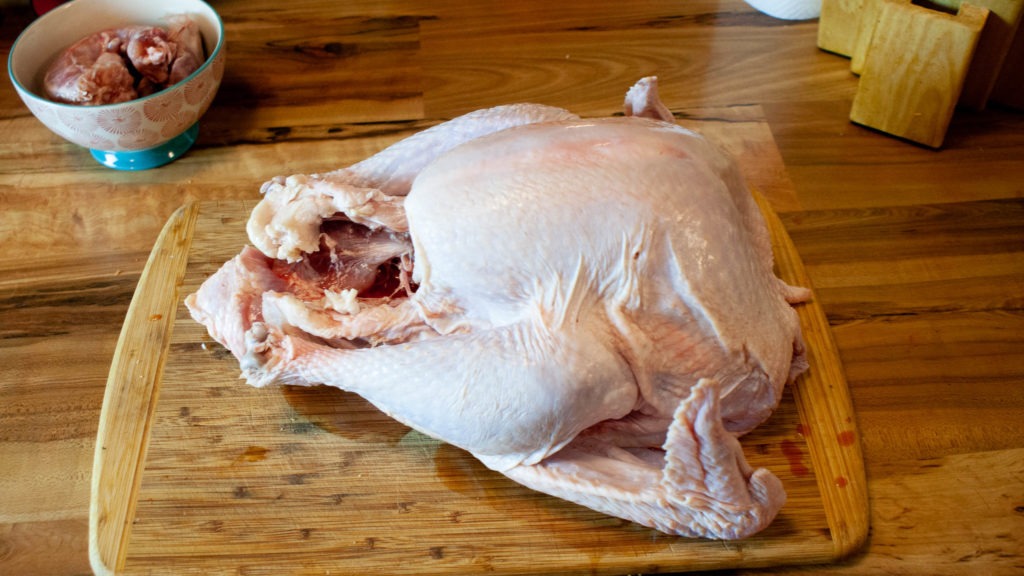
Now that your proud piece of chicken has been released from its confines, it’s time to start the process of spatchcocking our turkey.
How to Remove a Keel Bone & Spatchcock Poultry
FAQ
What is keel bone?
What is the difference between a breast and a keel?