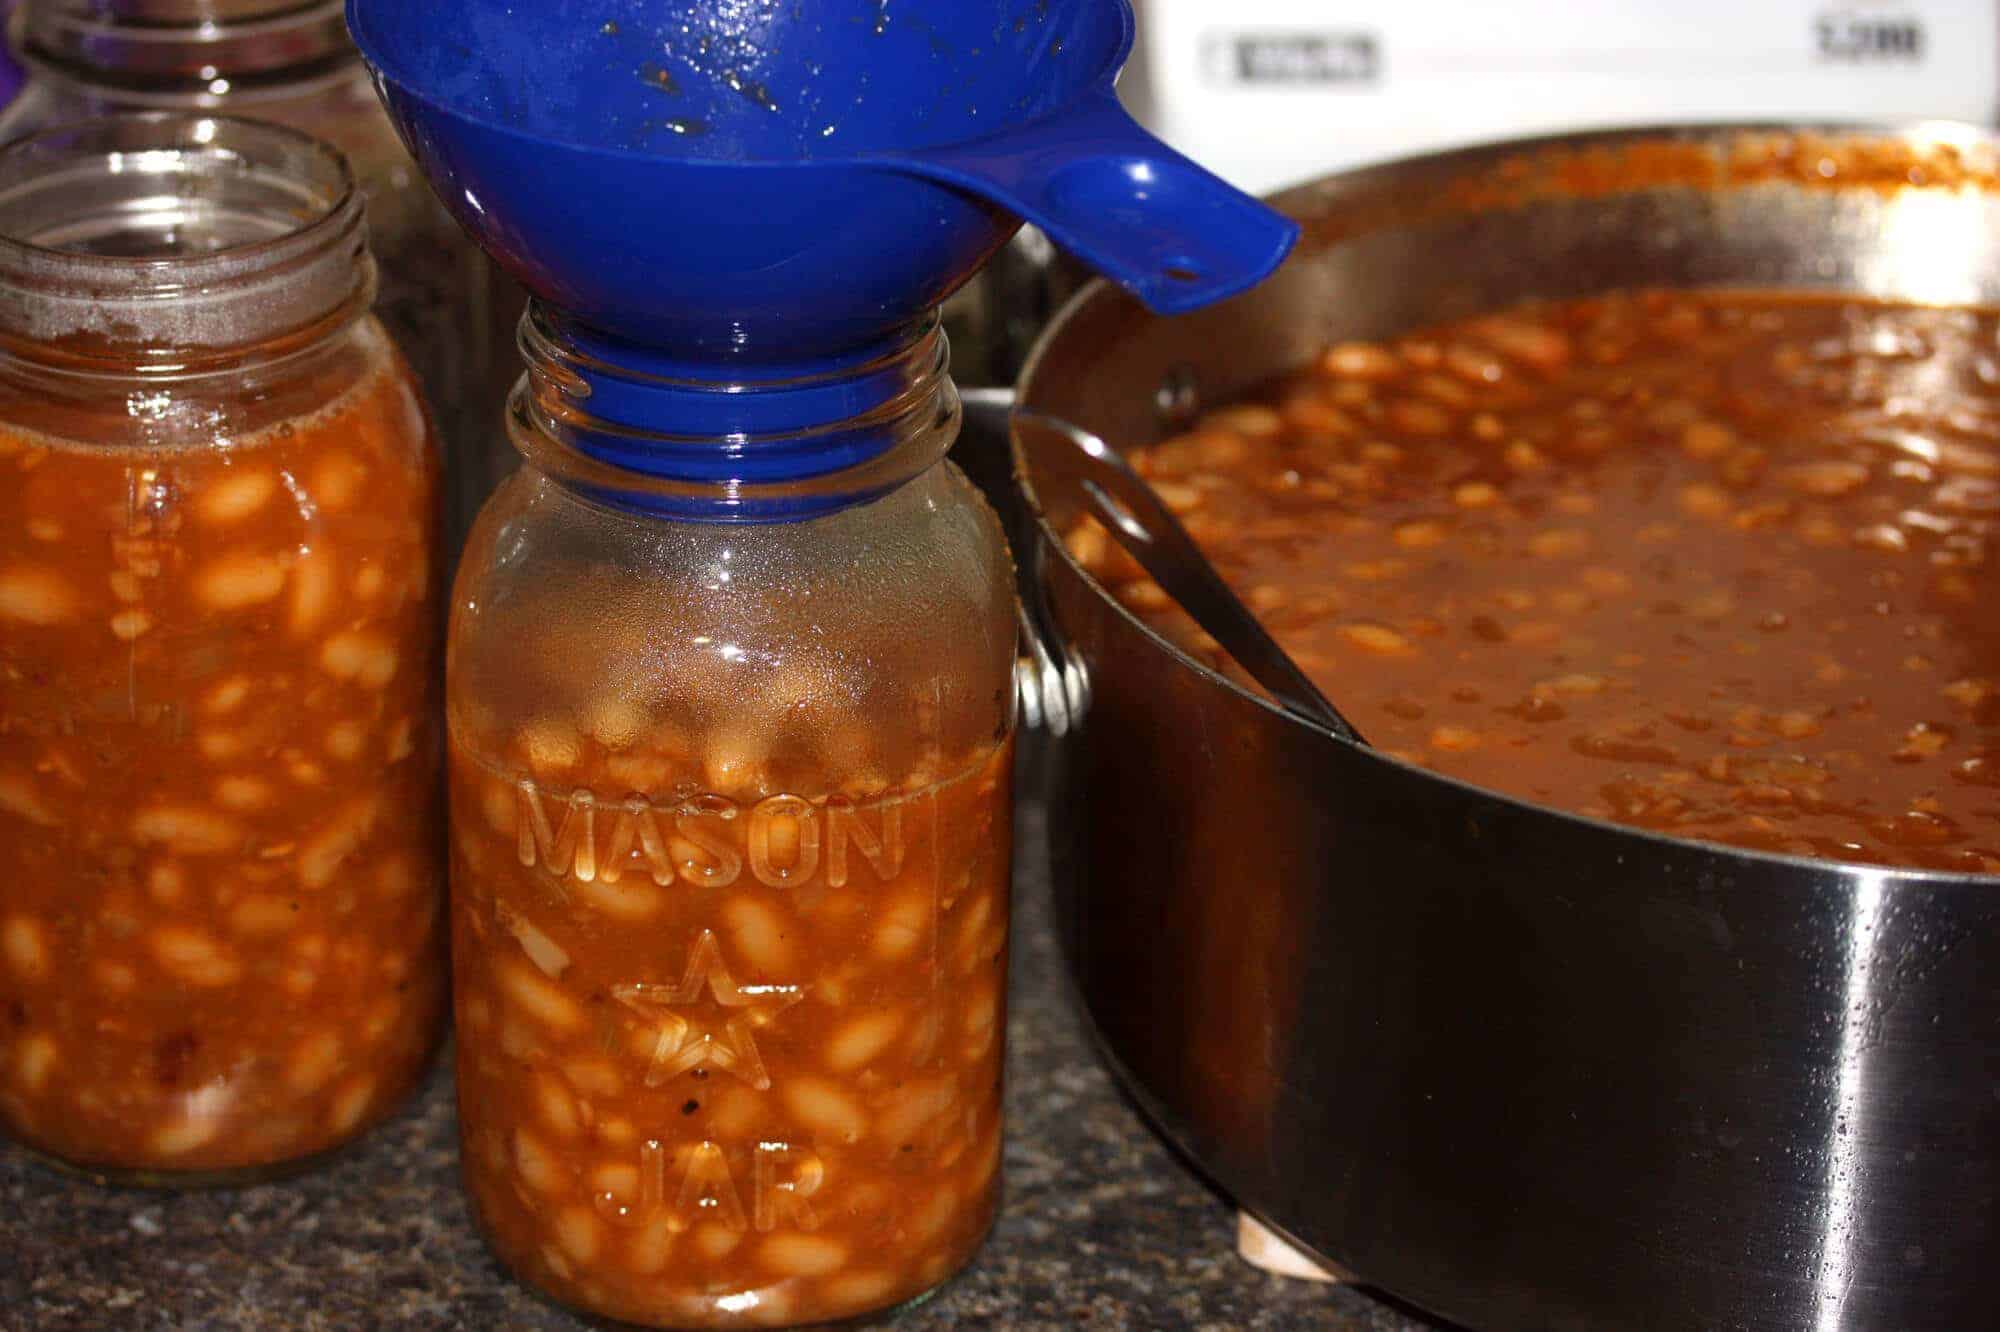
Canning baked beans at home is a great way to save money and control the ingredients. With a few simple steps, you can make delicious home-canned baked beans that taste better than store-bought. In this comprehensive guide, we’ll walk through everything you need to know to safely can baked beans at home.
Why Can Baked Beans?
Canning baked beans allows you to:
- Save money compared to store-bought canned beans
- Control the ingredients – leave out preservatives, salt, and sugar
- Make large batches for meals throughout the year
- Give as gifts or donate to food banks
- Be prepared with shelf-stable protein and fiber
- Get better texture and flavor than commercial canned beans
Canned baked beans also have a long shelf life of 1-2 years when properly processed. The canning process kills any bacteria, creating a sterile product that’s shelf-stable at room temperature.
Equipment Needed
To safely can baked beans, you’ll need the following equipment:
- Pressure canner – Baked beans must be pressure canned for food safety. Don’t use boiling water bath.
- Canning jars and lids – Use new lids each time. Can reuse jars.
- Jar lifter – To safely move hot jars. Kitchen tongs work too.
- Bubble remover or plastic knife – To release trapped air bubbles.
- Clean towels or jar rings – To set hot jars on after canning.
Make sure all equipment is cleaned and sterilized before canning
Ingredients for Baked Beans
Typical baked bean ingredients include:
- Beans – Navy, pinto, great northern, etc. Presoak before canning.
- Sauce – Molasses, brown sugar, ketchup, mustard, etc. Thickened only with tomato paste.
- Aromatics – Onion, garlic, bell pepper, etc.
- Seasonings – Salt, pepper, dry mustard, chili powder, cumin, etc.
- Meat – Bacon, ham hocks, salt pork (optional)
The ingredients can be adjusted to suit your tastes. Just keep the liquid sauce appropriately thickened.
Step-by-Step Canning Process
Follow these steps to safely can baked beans
1. Prepare the Beans
- Pick over dried beans and rinse.
- Place in large pot and cover with 2 inches of water. Soak 12-24 hours.
- Drain beans well. Cover with fresh water and bring to a boil.
2. Make the Sauce
- Sauté aromatics like onion, garlic, and bell pepper.
- Mix sauce ingredients like ketchup, mustard, brown sugar, and seasonings.
- Heat sauce to a boil to thicken slightly.
3. Fill Jars
- Ladle beans into hot sterilized jars, leaving 1-inch headspace.
- Pour sauce over beans, maintaining headspace.
- Release air bubbles by running a bubble remover through beans.
- Wipe jar rims and apply lids and rings.
4. Pressure Can
- Place jar rack and 2 inches of water in canner.
- Load sealed jars onto rack using jar lifter.
- Follow canner instructions to reach required pressure (11 PSI) and processing time (75 min for pints, 90 min for quarts).
- When time is up, allow canner to depressurize naturally.
5. Test & Store
- After processing, test jar seals by pressing center of each lid. Lid should not flex up and down.
- Label sealed jars with contents and canning date. Store in cool, dark place up to 1 year.
Tips for Delicious Baked Beans
- Add 3/4-inch cubes of bacon, ham, or salt pork to each jar for flavor.
- For tangy beans, use mustard, vinegar, or lemon juice. For sweeter beans, use more brown sugar or molasses.
- To reduce flatulence-causing oligosaccharides, discard bean soaking water.
- If beans aren’t covered in sauce in the jar, top off with boiling broth or water, maintaining headspace.
- To avoid mushy beans, don’t soak for too long or overcook before canning.
Food Safety Precautions
Pressure canning is crucial for the safety of canned baked beans. Botulism spores can thrive in low-acid foods like beans. Pressure canning holds the contents at 240°F+/11 PSI, hot enough to kill spores.
Other safety tips:
- Use tested recipes from reputable sources like the USDA or university extension guides.
- Start with high-quality ingredients, washing produce thoroughly.
- Don’t thicken sauce with flour, cornstarch, or other starches. Use only tomato paste.
- Ensure headspace and clean jar rim to allow venting and sealing.
- Never eat from bulging, leaking, or damaged cans. Dispose and replace.
Following validated recipes exactly is key. Don’t make additions or changes that reduce acidity or alter the heat penetration. When in doubt throw it out.
Perfect Home Canned Baked Beans
With the proper steps, you can make delicious and safe baked beans at home. Pressure canning lets you control ingredients while significantly cutting food costs. Experiment with bean types and sauce flavors to create your family’s perfect home-canned baked beans. Enjoy shelf-stable baked bean meals all year round!

Looking for a recipe?
Welcome to my kitchen! This is where I talk about simple, self-sufficient living in the city, backyard homesteading, how to can and store your own food, and everyday recipes.
Get the latest recipes!
|
||
Canning Baked beans
FAQ
Is it possible to can baked beans?
Can you can baked beans without a pressure canner?
Can you can beans that are already cooked?
How long to heat canned baked beans on stove?
