When you purchase through links on our site, we may earn an affiliate commission. Here’s how it works.
Beans, glorious beans! Tomatoes are the most popular home garden crop, but bean seeds can be saved for the next season. Beans come from southern Mexico, Guatemala, Honduras, and Costa Rica. They are usually grouped by how they grow, and you can save almost all of them as seeds for later use. Vegetable and fruit seeds from any plant can be saved and planted again, but tomatoes, peppers, beans, and peas are the easiest because they don’t need any special care before being stored. This is because bean plants and the like are self-pollinating. When you see plants that cross-pollinate, keep in mind that the seeds may grow into plants that are different from the parent plant. Insects visit the seeds of cucumbers, melons, squash, pumpkins, and gourds and pollinate them. This can change the quality of the plants that grow from these seeds in the future.
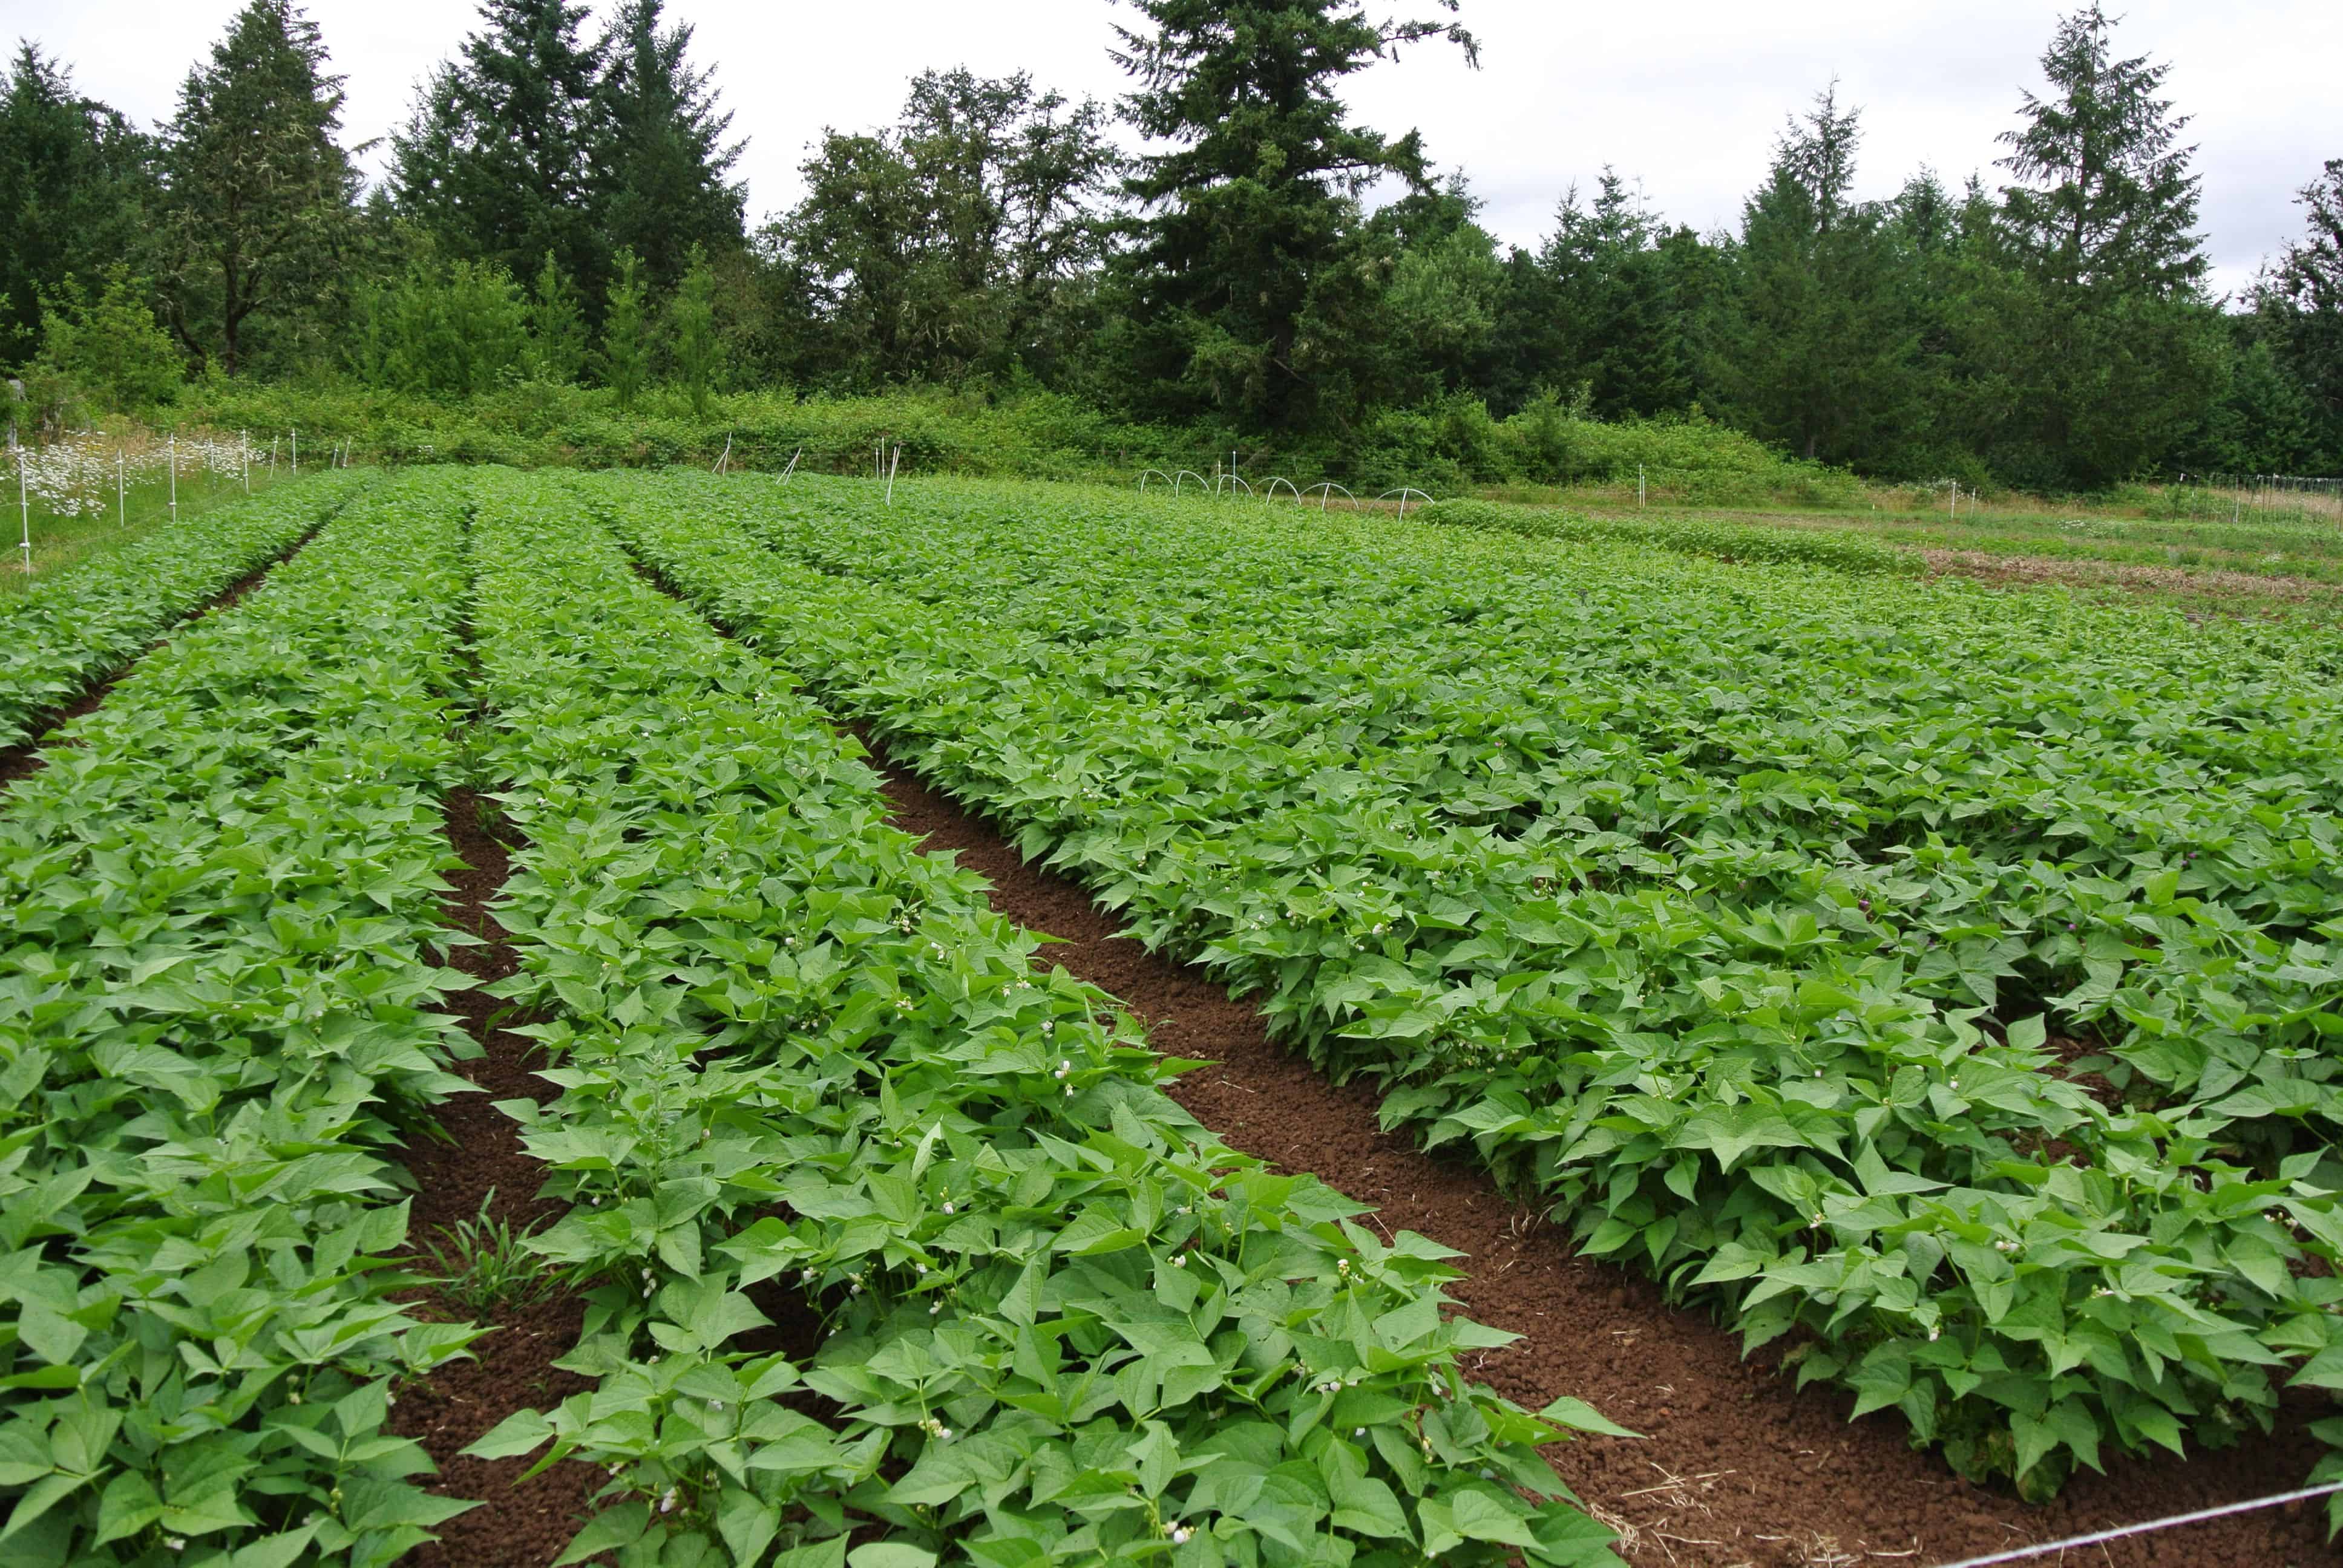
Growing your own green beans is rewarding and cost-effective. With a little planning, you can save seeds from your healthiest green bean plants for replanting next season. Properly dried green bean seeds remain viable for 1-2 years when stored correctly.
Drying and storing the seeds yourself allows you to preserve heritage and heirloom varieties year after year It also gives you control over seed quality and freshness Follow this simple step-by-step guide to learn how to dry green bean seeds for planting,
When to Harvest Green Beans for Seeds
-
Leave seed pods on selected green bean plants after harvesting the last fresh beans Allow pods to remain on the vines until they are completely mature and dry on the plant This is typically 4-6 weeks after the optimum date for eating the green beans fresh,
-
Check pods frequently as they dry Wait until pods turn brown and rattle when shaken. Seeds should be plump inside
-
Harvest seed pods on a dry day after the morning dew has evaporated. Use scissors or pruners to cut the entire pod from the vine. Avoid opening the pods, which could allow moisture in.
Drying the Seed Pods
-
Spread harvested seed pods in a single layer on newspaper, paper towels or mesh screens. Place them in a warm, dry, well-ventilated area out of direct sunlight.
-
Allow pods to dry for 1-2 weeks. Stir pods occasionally to ensure even drying. Pods must be completely dry and brittle when crushed.
-
Monitor carefully for any mold growth. Discard affected pods immediately to prevent spreading.
-
For extra drying insurance, place pods in a food dehydrator on the lowest setting. Use high air flow and monitor closely to avoid over-drying.
-
In humid climates, hang seed pods or use a fan to speed drying and prevent mold growth. Consider using a desiccant like silica gel.
Removing and Cleaning Seeds
-
Once thoroughly dry, pods will split open on their own. To check, give them a crush test – they should shatter easily. If not, continue drying.
-
Hold pods over a bowl and crush gently to release the seeds inside. Discard empty pods.
-
Place seeds in a fine mesh strainer and gently rub together to separate any remaining pod fragments. Alternatively, you can winnow seeds by gently blowing to remove chaff.
-
Spread seeds in a single layer on a sheet of paper and inspect closely. Remove any shriveled or discolored seeds which may not germinate well. Also discard very small seeds.
-
For short term storage, packed seeds can be kept in paper envelopes or breathable paper bags. For extended storage, transfer to sealable glass jars.
Storing Seeds for Planting
-
Label jars clearly with variety and year harvested. This ensures you plant the right seeds at the right time.
-
Store in a cool, dark place with low humidity. A refrigerator is ideal, as long as seeds stay dry. Basements or cellars also work well.
-
Ideal storage conditions are 35-40° F with 35-40% relative humidity. Avoid freezing or overheating.
-
Inspect seeds every few months and discard any with visible mold. Stored properly, bean seeds remain viable for 1-2 years. Germination rate slowly declines over time.
-
For the best germination results, use heirloom seeds within 1 year. Hybrid seeds lose vigor more quickly.
Alternative Drying Methods
-
Low-humidity oven: Spread pods in a single layer on a baking sheet. Warm oven to 100-120°F. Place pods inside with the door propped open. Stir frequently until dry.
-
Food dehydrator: Arrange pods in a single layer on mesh trays. Dehydrate at 100-120°F until completely dry and brittle. Stir occasionally.
-
Microwave: Place a few seed pods between two paper towels and microwave on medium (50% power) in 1 minute increments. Check often to avoid overheating. Allow to cool fully between cycles. Repeat until pods are dry and seeds release easily.
Tips for Success
-
Select pods from your healthiest, highest-yielding plants for seed saving. Avoid diseased plants.
-
Check stored seeds often for any signs of mold or moisture. Discard moldy seeds immediately.
-
For better germination: nick larger seeds with a file before planting. Soak seeds overnight prior to planting.
-
Plant 2-3 seeds together to account for some that won’t germinate. Thin seedlings later.
-
If germination rates decline significantly, it’s time to purchase fresh seeds. Most remain viable for 2 years max.
Saving bean seeds is easy and rewarding! Follow these instructions for harvesting, drying and storing seeds. With minimal effort, you’ll have a supply of free seeds for future seasons.
k
How to Save Bean Seeds
Harvesting of bean pods for seeds is easy. To save bean seeds, let the pods ripen on the plant until they dry out and start to turn brown. The seeds will loosen up and can be heard rattling around inside the pod when shaken. This process may take a month or so past the point of a normal harvest for eating purposes. Once the pods have dried on the plant, this is when to harvest bean seeds. Remove the pods from the plants and lay them out to dry inside for at least two weeks. After two weeks have passed since the bean pods were picked, you can either shell the beans or leave the seeds in the pods until planting time.
When storing seeds, place in a tightly sealed glass jar or other container. Beans of different types can be kept together as long as they are wrapped in separate paper bags that are clearly marked with their name, variety, and the date they were picked. Your bean seeds should stay cool and dry, around 32 to 41 degrees F. (0-5 C. ). The refrigerator is a perfect place for bean seed storage. A small amount of silica gel can be put in the container to keep the bean seeds from molding from taking in too much water. Silica gel is used for drying flowers and can be obtained in bulk from a craft supply store. Powdered milk is another option in utilizing as a desiccant. It will take about six months for one to two tablespoons of powdered milk wrapped in cheesecloth or tissue to keep soaking up water from the bean seed container. When saving bean seeds, use open-pollinated varieties rather than hybrids. These plants, which are often called “heirlooms,” have traits that were passed down from the parent plant. They tend to produce similar fruit and make seeds that grow into similar plants. Make sure that the seeds you choose come from the parent plant that has the healthiest and tastiest plants in your garden.
How to Save Bean Seeds – The Most Simple Seed Saving tutorial EVER!
FAQ
How to dry out green bean seeds for planting?
Can I plant fresh green bean seeds?
Do bean seeds have to dry on the plant?